Oki CX2731MFP CX2731 MFP Setup Guide (English, Fran栩s, Espa?ol, Por - Page 38
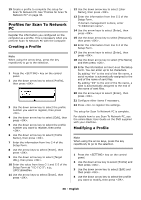
Profiles for Scan To Network PC, Creating a Profile, Modifying a Profile
 |
View all Oki CX2731MFP manuals
Add to My Manuals
Save this manual to your list of manuals |
Page 38 highlights
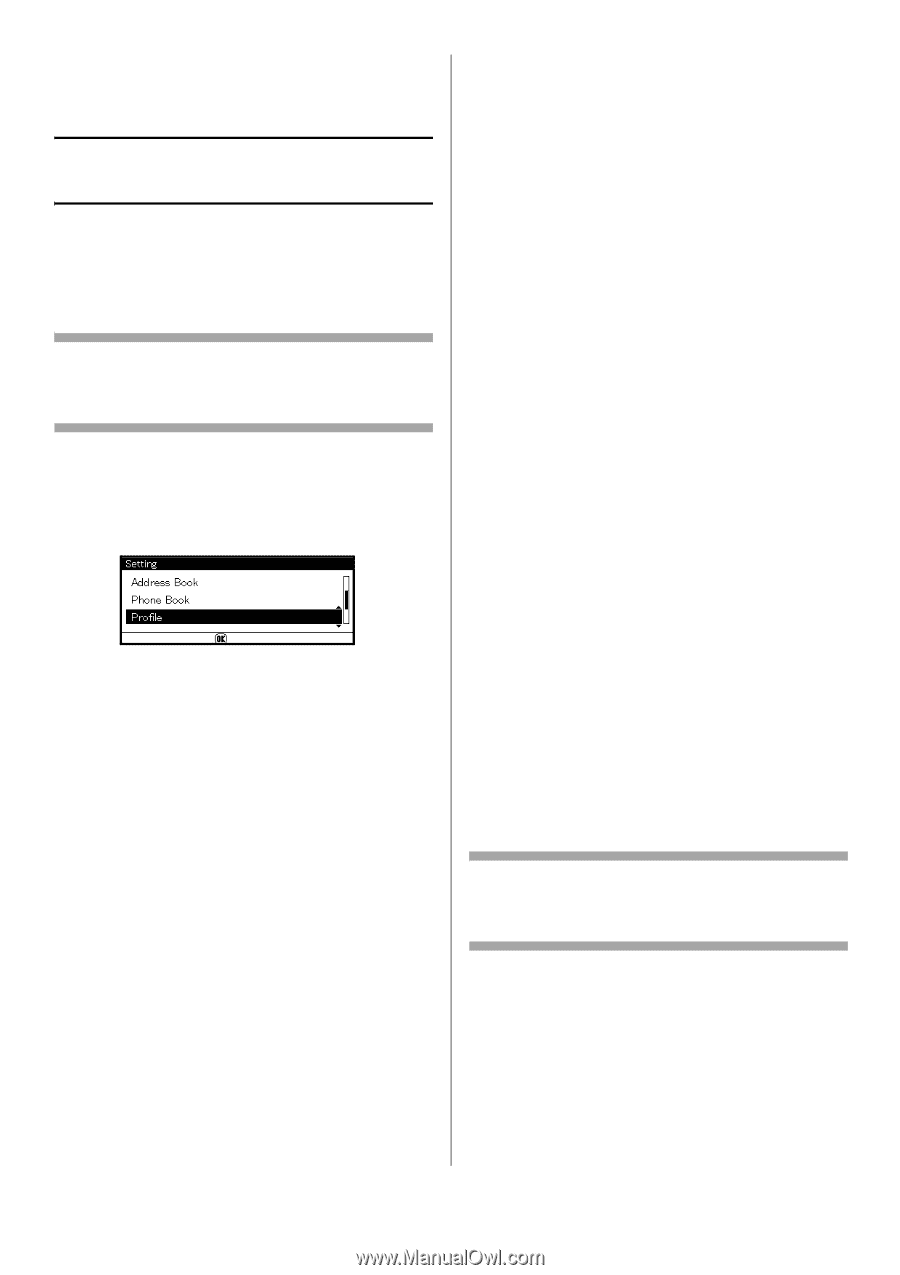
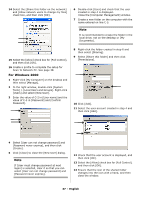
15 Create a profile to complete the setup for Scan To Network PC. See "Profiles for Scan To Network PC" on page 38. Profiles for Scan To Network PC Register the information you configured on the computer as a profile. This is necessary when you perform Scan To Network PC with the computer. Creating a Profile Note When using the arrow keys, press the key repetitively to go to the selection. 1 Press the key on the control panel. 2 Use the down arrow key to select [Profile], then press . 3 Use the down arrow key to select the profile number you want to register, then press . 4 Use the down arrow key to select [Edit], then press . 5 Use the down arrow key to select the profile number you want to register, then press . 6 Use the down arrow key to select [Profile Name], then press . 7 Enter the information from line C-4 of the Setup Form. 8 Use the arrow keys to select [Enter], then press . 9 Use the down arrow key to select [Target URL], then press . 10 Enter the value from lines C-1 and C-5 of the Setup Form as "\\C-1\C-5"; e.g., \\PC1\SalesDev. 11 Use the arrow keys to select [Enter], then press . 12 Use the down arrow key to select [User Name], then press . 13 Enter the information from line C-2 of the Setup Form. If domain management is done, enter "C-2@domain name". 14 Use the arrow keys to select [Enter], then press . 15 Use the down arrow key to select [Password], then press . 16 Enter the information from line C-3 of the Setup Form. 17 Use the arrow keys to select [Enter], then press . 18 Use the down arrow key to select [File Name] and then press . 19 Enter the information on line C-6 on the Setup Form. You can enter up to 64 characters. By adding "#n" to the end of the file name, a serial number is automatically assigned to the end of the name of sent files. By adding "#d" to the end of the file name, a date is automatically assigned to the end of the name of sent files. 20 Use the arrow keys to select [Enter], then press . 21 Configure other items if necessary. 22 Press to register the settings. The setup for Scan To Network PC is complete. For details how to use Scan To Network PC, see the online Basic User Guide on the DVD supplied with your machine. Modifying a Profile Note When using the arrow keys, press the key repetitively to go to the selection. 1 Press the key on the control panel. 2 Use the down arrow key to select [Profile] and then press . 3 Use the down arrow key to select [Edit] and then press . 4 Use the down arrow key to select the profile you want to modify, then press . 38 - English
-
 1
1 -
2
-
3
-
4
-
5
-
6
-
7
-
8
-
9
-
10
-
11
-
12
-
13
-
14
-
15
-
16
-
17
-
18
-
19
-
20
-
21
-
22
-
23
-
24
-
25
-
26
-
27
-
28
-
29
-
30
-
31
-
32
-
 33
33 -
 34
34 -
 35
35 -
 36
36 -
 37
37 -
 38
38 -
 39
39 -
 40
40 -
 41
41 -
 42
42 -
 43
43 -
44
-
45
-
46
-
47
-
48
-
49
-
50
-
51
-
52
-
53
-
54
-
55
-
56
-
57
-
58
-
59
-
60
-
61
-
62
-
63
-
64
-
65
-
66
-
67
-
68
-
69
-
70
-
71
-
72
-
73
-
74
-
75
-
76
-
77
-
78
-
79
-
80
-
81
-
82
-
83
-
84
-
85
-
86
-
87
-
88
-
89
-
90
-
91
-
92
-
93
-
94
-
95
-
96
-
97
-
98
-
99
-
100
-
101
-
102
-
103
-
104
-
105
-
106
-
107
-
108
-
109
-
110
-
111
-
112
-
113
-
114
-
115
-
116
-
117
-
118
-
119
-
120
-
121
-
122
-
123
-
124
-
125
-
126
-
127
-
128
-
129
-
130
-
131
-
132
-
133
-
134
-
135
-
136
-
137
-
138
-
139
-
140
-
141
-
142
-
143
-
144
-
145
-
146
-
147
-
148
-
149
-
150
-
151
-
152
-
153
-
154
-
155
-
156
-
157
-
158
-
159
-
160
-
161
-
162
-
163
-
164
-
165
-
166
-
167
-
168
-
169
-
170
-
171
-
172
-
173
-
174
-
175
-
176
-
177
-
178
-
179
-
180
-
181
-
182
-
183
-
184
-
185
-
186
-
187
-
188
-
189
-
190
-
191
-
192
-
193
-
194
-
195
-
196
-
197
-
198
-
199
-
200
-
201
-
202
-
203
-
204
-
205
-
206
-
207
-
208
-
209
-
210
-
211
-
212
 |
 |