Olympus Stylus 740 Stylus 750 Instruction Manual (English) - Page 21
Silent Mode - parts
 |
UPC - 050332158429
View all Olympus Stylus 740 manuals
Add to My Manuals
Save this manual to your list of manuals |
Page 21 highlights
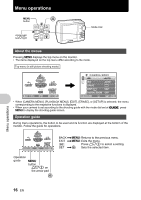
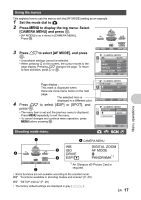
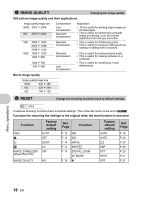
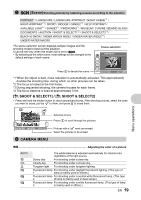
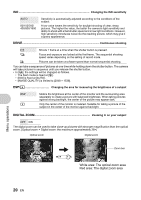
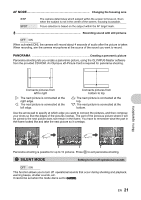
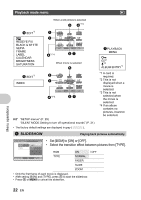
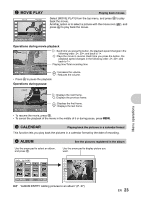
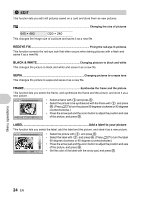
AF MODE Changing the focusing area iESP SPOT The camera determines which subject within the screen to focus on. Even when the subject is not in the center of the screen, focusing is possible. Focus selection is based on the subject within the AF target mark. R Recording sound with still pictures OFF /ON When activated [ON], the camera will record about 4 seconds of audio after the picture is taken. When recording, aim the camera microphone at the source of the sound you want to record. PANORAMA Creating a panoramic picture Panorama shooting lets you create a panoramic picture, using the OLYMPUS Master software from the provided CD-ROM. An Olympus xD-Picture Card is required for panorama shooting. Connects pictures from left to right 3: The next picture is connected at the right edge. 4: The next picture is connected at the left edge. Connects pictures from bottom to top 1 : The next picture is connected at the top. 2: The next picture is connected at the bottom. Use the arrow pad to specify at which edge you want to connect the pictures, and then compose your shots so that the edges of the pictures overlap. The part of the previous picture where it will be joined to the next picture does not remain in the frame. You have to remember what the part in the frame looked like and take the next picture so it overlaps. Menu operations Panorama shooting is possible for up to 10 pictures. Press o to exit panorama shooting. 5 SILENT MODE Setting to turn off operational sounds OFF /ON This function allows you to turn off operational sounds that occur during shooting and playback, warning beeps, shutter sounds, etc. It cannot be set when the mode dial is set to g. EN 21
-
 1
1 -
2
-
3
-
4
-
5
-
6
-
7
-
8
-
9
-
10
-
11
-
12
-
13
-
14
-
15
-
 16
16 -
 17
17 -
 18
18 -
 19
19 -
 20
20 -
 21
21 -
 22
22 -
 23
23 -
 24
24 -
 25
25 -
 26
26 -
27
-
28
-
29
-
30
-
31
-
32
-
33
-
34
-
35
-
36
-
37
-
38
-
39
-
40
-
41
-
42
-
43
-
44
-
45
-
46
-
47
-
48
-
49
-
50
-
51
-
52
-
53
-
54
-
55
-
56
-
57
-
58
-
59
-
60
-
61
-
62
-
63
-
64
-
65
-
66
-
67
-
68
-
69
-
70
-
71
-
72
-
73
-
74
-
75
-
76
-
77
-
78
-
79
-
80
 |
 |
