Olympus VN-180 VN-180 Instructions (English) - Page 7
Basic Operations
 |
View all Olympus VN-180 manuals
Add to My Manuals
Save this manual to your list of manuals |
Page 7 highlights
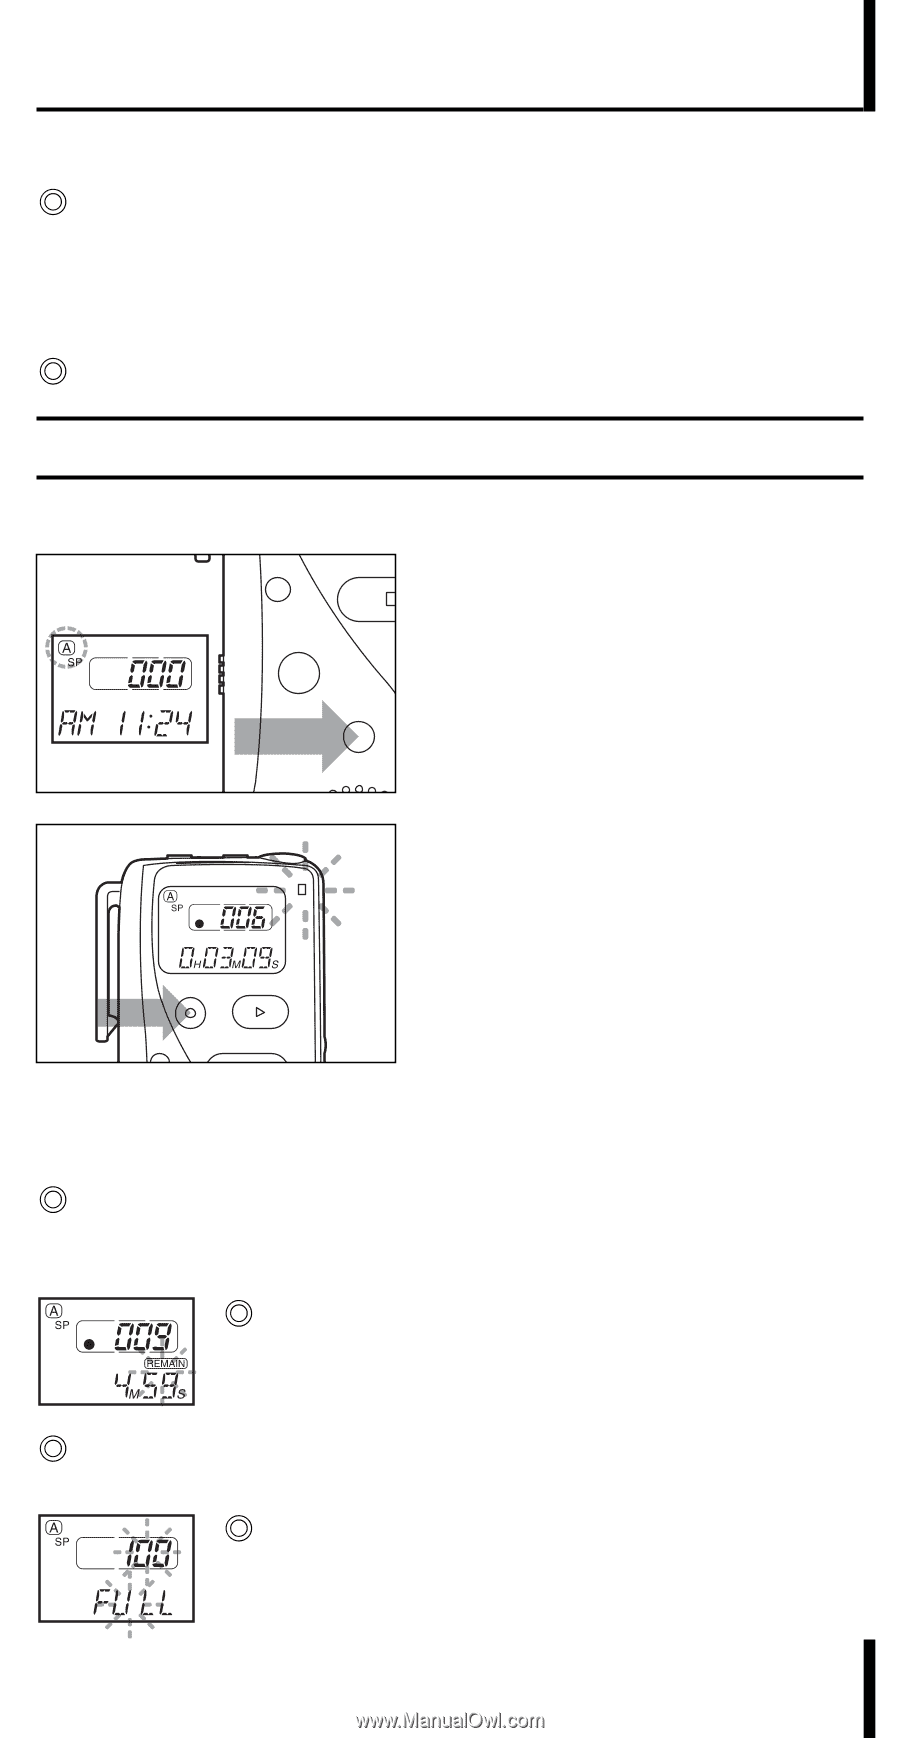
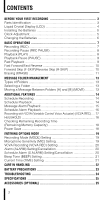
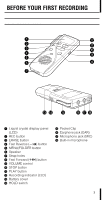
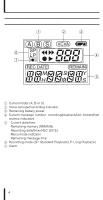
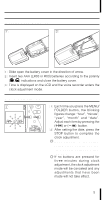
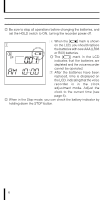
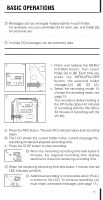
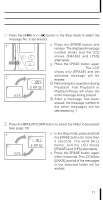
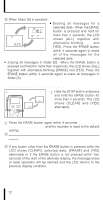
BASIC OPERATIONS This voice recorder has three folders: [A], [B] and [S]. Messages can be arranged independently in each folder. For example, you can use folder [A] for work use, and folder [B] for personal use. Folder [S] is designed for use in the schedule management (see page 14 for details). In folder [S] messages can be sorted by date. Recording (REC) ✰ Normal recording 1 3 1 Press and release the MENU/ FOLDER button, then select folder [A] or [B]. Each time you press the MENU/FOLDER button, the selected folder changes: [A] ➝ [B] ➝ [S] ➝ [A]. 2 Select the recording mode. To change the recording mode, see page 19. The recorder's default setting is the SP mode (about 67 minutes of recording with the VN-180 or 33 minutes of recording with the VN-90). 3 Press the REC button. The red LED indicator lights and recording starts. The LCD shows the current folder name, current message No., recording mode and elapsed recording time. 4 Press the STOP button to stop recording. When the remaining recording time falls below 5 minutes, the elapsed recording time display switches to show the remaining recording time. When the remaining recording time falls below 1 minute, the red LED indicator will blink. Additional recording is not possible when [FULL] is shown on the LCD. To continue recording, you must erase unneeded messages (see page 11). 7
-
 1
1 -
 2
2 -
 3
3 -
 4
4 -
 5
5 -
 6
6 -
 7
7 -
 8
8 -
 9
9 -
 10
10 -
 11
11 -
 12
12 -
13
-
14
-
15
-
16
-
17
-
18
-
19
-
20
-
21
-
22
-
23
-
24
-
25
-
26
 |
 |