Olympus VN 5200 PC VN-5200PC Instructions (English) - Page 4
Recording - recorder
 |
UPC - 050332164789
View all Olympus VN 5200 PC manuals
Add to My Manuals
Save this manual to your list of manuals |
Page 4 highlights
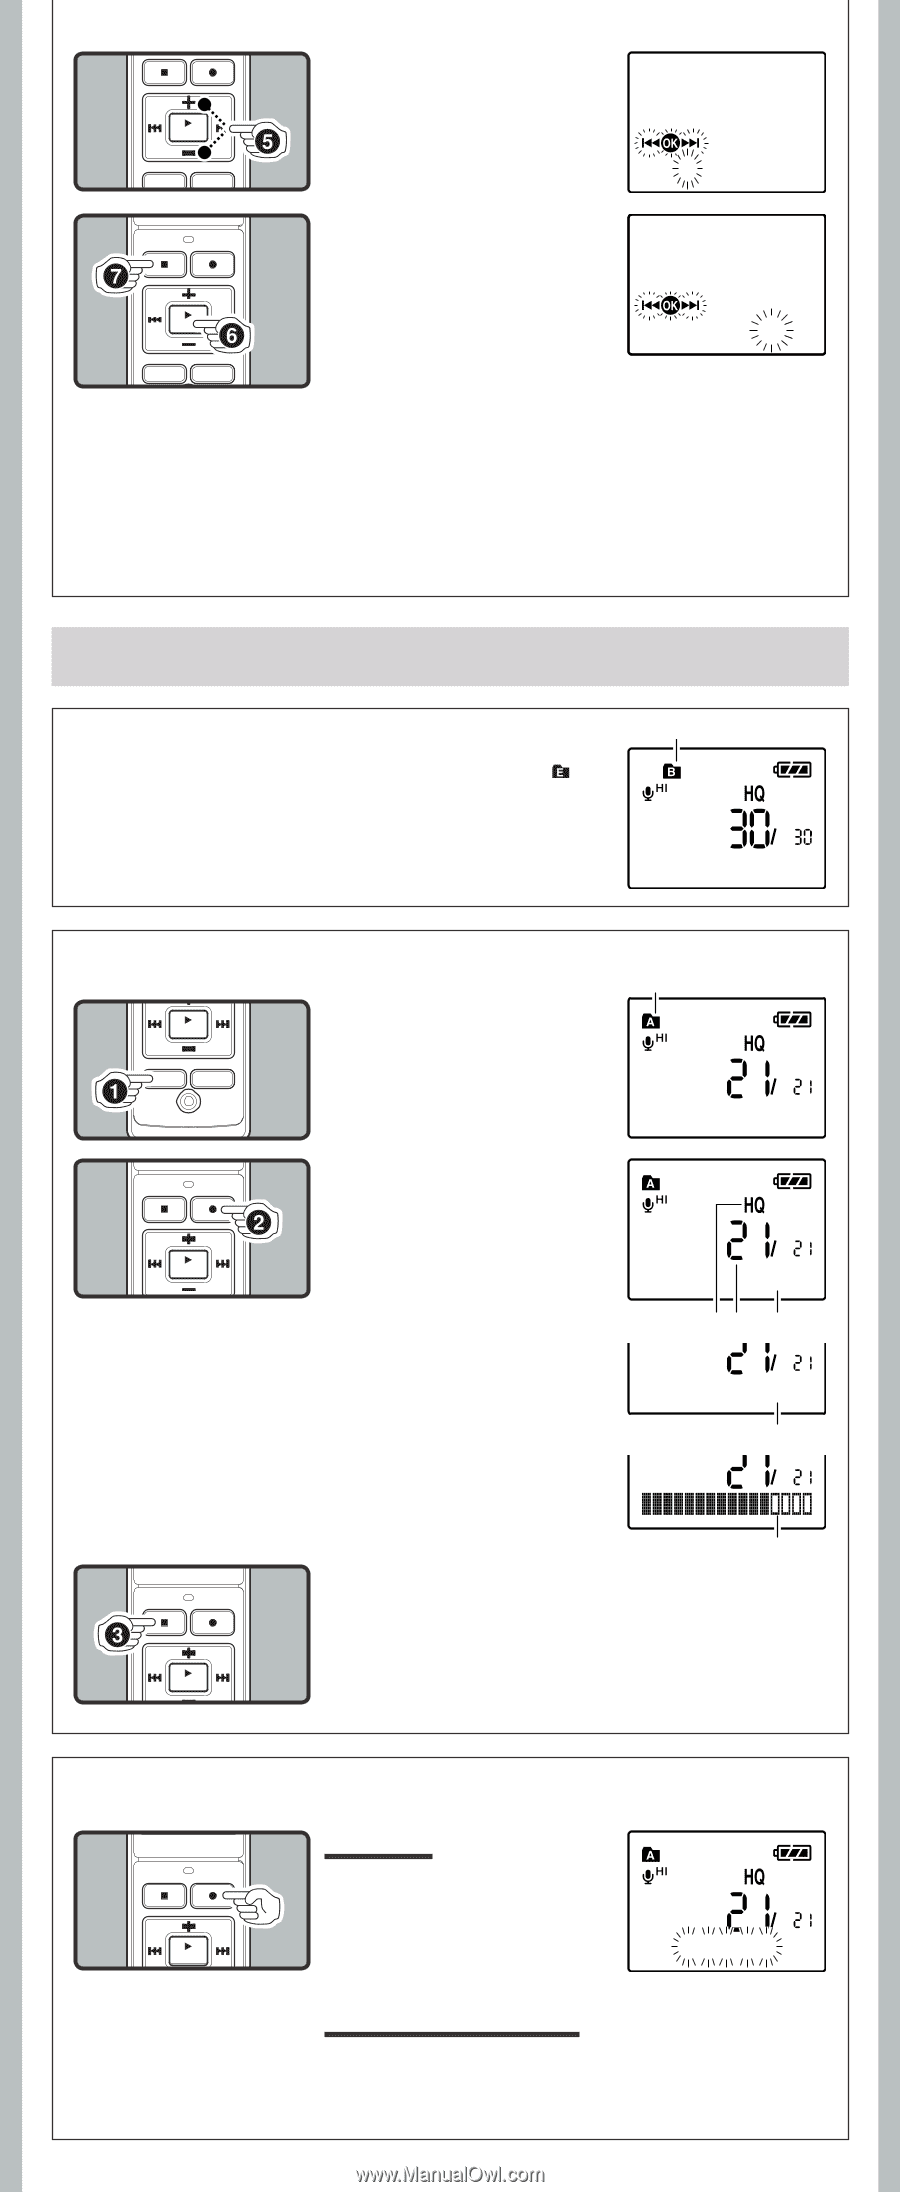
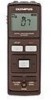
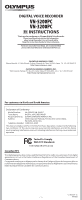
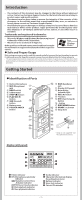
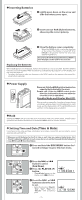
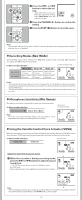
5 Press the + or - button to set. • Follow the same steps by pressing the 9 or 0 button to elect the next item, and press the + or - button to set. 1. 1'08 12:00AM 6 Press the PLAY/OK ( `) button to complete the setup screen. • The clock will start from the set date and time. • Press the PLAY/OK (`) button according to the time signal. 7.25'08 3:00 PM 7 Press the STOP (4) button to close the menu mode. • This completes the time and date setup procedure. Notes: • You can choose between 12 and 24 hour display by pressing the DISP/MENU button while setting the hour and minute. • You can change the order of the date indication by pressing the DISP/MENU button while you are setting the year, month, or day. Recording h Notes on the Folders The recorder provides five folders, [F], [G], [H], [I] and [ ]. To change the folder selection, press the FOLDER/INDEX button while the recorder is stopped. Note: • Up to a total of 200 files can be recorded in each folder. Current folder h Recording 1Press the FOLDER/ INDEX button to select the desired folder. a Current folder a 15m15s 14m15s 2 Press the REC (s) button to start recording. • The record/play indicator light turns red, and recording starts. • If you start recording after inserting the earphone into the earphone jack on the recorder, you can hear the sound being recorded. The sound volume on the recording monitor can be adjusted by pressing the + or - button. b Current recording mode c Current file number d Recording time e Remaining recording time f Recording level meter 15m15s 14m15s bc d Remain 22h52m46s e f 3 Press the STOP (4) button to stop recording. • New recordings are saved as the last file in the folder. h To Pause Recording To Pause: While the recorder is during recording mode, press the REC (s) button. • [Rec Pause] appears on the display. Rec Pause To Resume Recording: Press the REC (s) button again. • Recording will resume at the point of interruption. -4-
-
 1
1 -
 2
2 -
 3
3 -
 4
4 -
 5
5 -
 6
6 -
 7
7 -
 8
8 -
 9
9 -
 10
10 -
11
-
12
 |
 |