Onkyo TX-SR700 Owner Manual - Page 46
To change the display of the input source from, TAPE to MD, Selecting the type of audio input signal
 |
View all Onkyo TX-SR700 manuals
Add to My Manuals
Save this manual to your list of manuals |
Page 46 highlights
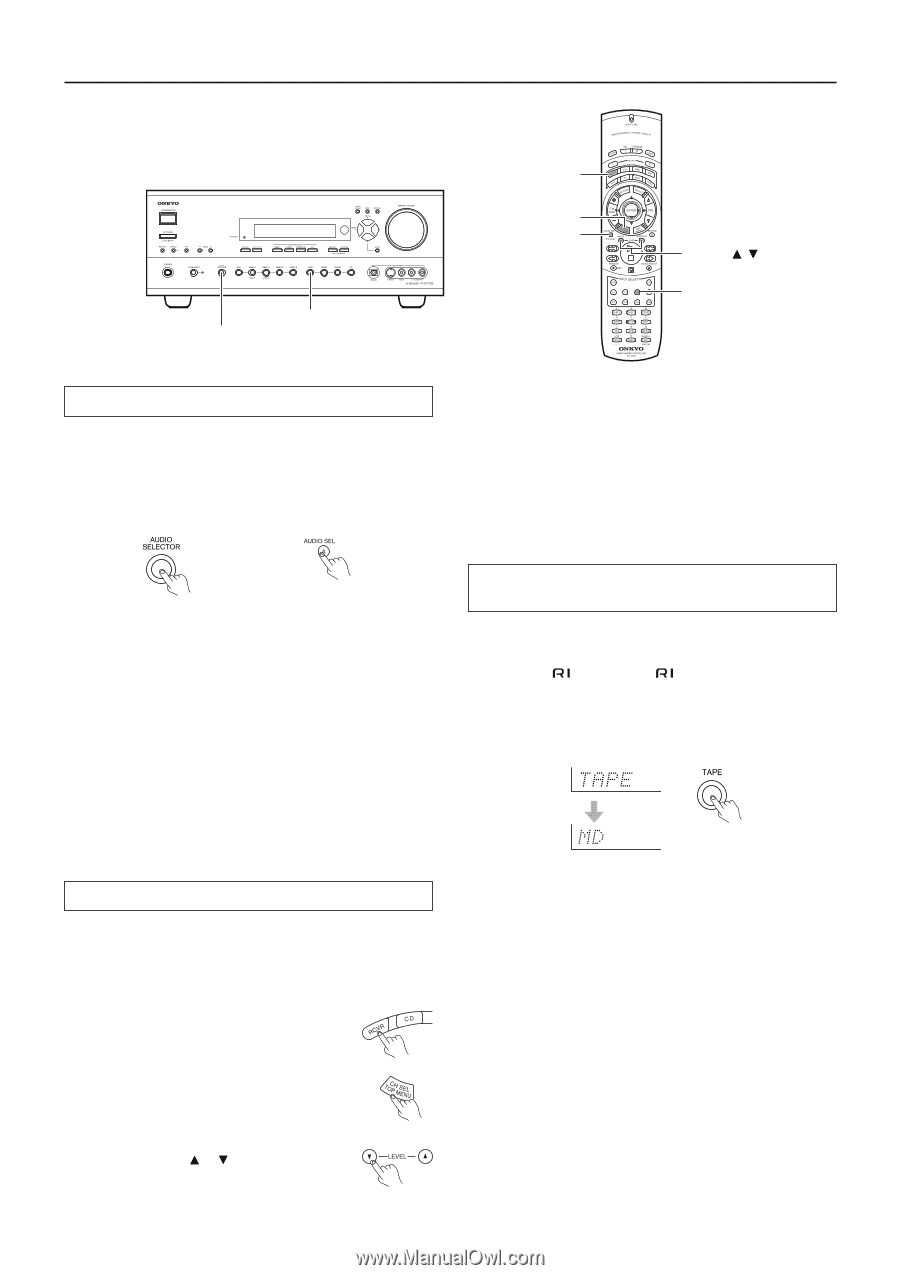
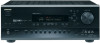
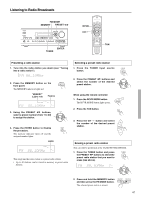
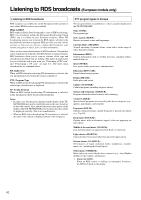
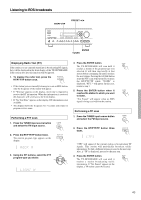
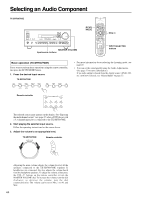
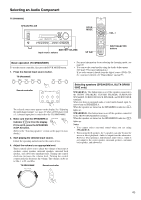
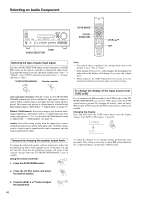
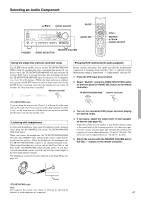
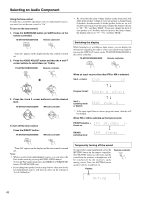
Selecting an Audio Component TAPE AUDIO SELECTOR RCVR MODE CH SEL AUDIO SEL LEVEL / TAP Selecting the type of audio input signal Press the AUDIO SELECTOR button on the front panel (or AUDIO SEL button on the remote controller) to change the audio mode. Each time the button is pressed, the mode changes from "Auto" → "Multich" (only if DVD is selected as the input source) → "Analog" and back to "Auto." TX-SR700/700E/600/600E Remote controller Notes: • You cannot select a speaker if the configuration value of the speaker is set to "No" or "None." • If the speaker level is set to +1 dB or higher, the maximum level indicated on the display will change if you raise the volume level. • When you press the TEST button after you set the level, the current level will be used as the value set via the test tone. Auto (automatic detection): With this setting, the TX-SR700/700E/ 600/600E automatically detects whether the input signal is digital or analog. When a digital signal is not input, then the analog signal is played. This setting only appears if a digital input is selected for the Digital Input setting at "Input Setup" → "Digital Input" (see page 53). Multich (Multichannel): Select this setting to play back the multichannel input from a DVD player with a 5.1-channel input port. This setting only appears if "Yes" is selected for the Multichannel setting at "Input Setup" → "Multichannel" (see page 54). Analog: Select this setting to play back the input from a source component connected to analog audio input jacks. With this setting, even if a digital signal is input from the same component, only the analog signal will be output. To change the display of the input source from TAPE to MD If you connected an MD recorder to the TAPE jacks of the TXSR700/700E/600/600E, you can have "MD" appear when the TAPE source button is pressed. By changing the display, when an Onkyo MD recorder is -connected, the system functions will become enabled. Changing the display: Press and hold down the TAPE source button until the display changes from TAPE to MD (approx. 3 seconds). Temporarily changing the speaker output levels To change the individual speaker volumes temporarily, follow the procedure given below. Each channel can be set between -12 and +12 decibels. Note that the calibration settings will return to the original settings when the TX-SR700/700E/600/600E is put in standby. Using the remote controller: 1. Press the RCVR MODE button. To return the display to its original setting, perform the same procedure. This setting is necessary to allow z system functions for a connected Onkyo cassette tape or MD recorder. 2. Press the CH SEL button and select the desired speaker. 3. Press the LEVEL or button to adjust the volume level. 46
-
 1
1 -
2
-
3
-
4
-
5
-
6
-
7
-
8
-
9
-
10
-
11
-
12
-
13
-
14
-
15
-
16
-
17
-
18
-
19
-
20
-
21
-
22
-
23
-
24
-
25
-
26
-
27
-
28
-
29
-
30
-
31
-
32
-
33
-
34
-
35
-
36
-
37
-
38
-
39
-
40
-
 41
41 -
 42
42 -
 43
43 -
 44
44 -
 45
45 -
 46
46 -
 47
47 -
 48
48 -
 49
49 -
 50
50 -
 51
51 -
52
-
53
-
54
-
55
-
56
-
57
-
58
-
59
-
60
-
61
-
62
-
63
-
64
-
65
-
66
-
67
-
68
-
69
-
70
-
71
-
72
-
73
-
74
-
75
-
76
-
77
-
78
-
79
-
80
 |
 |