Oreck Orbiter Owners Guide - Page 14
Refilling the Boiler Tank, Important, Connect the Hose/Handle and Attachments
 |
View all Oreck Orbiter manuals
Add to My Manuals
Save this manual to your list of manuals |
Page 14 highlights
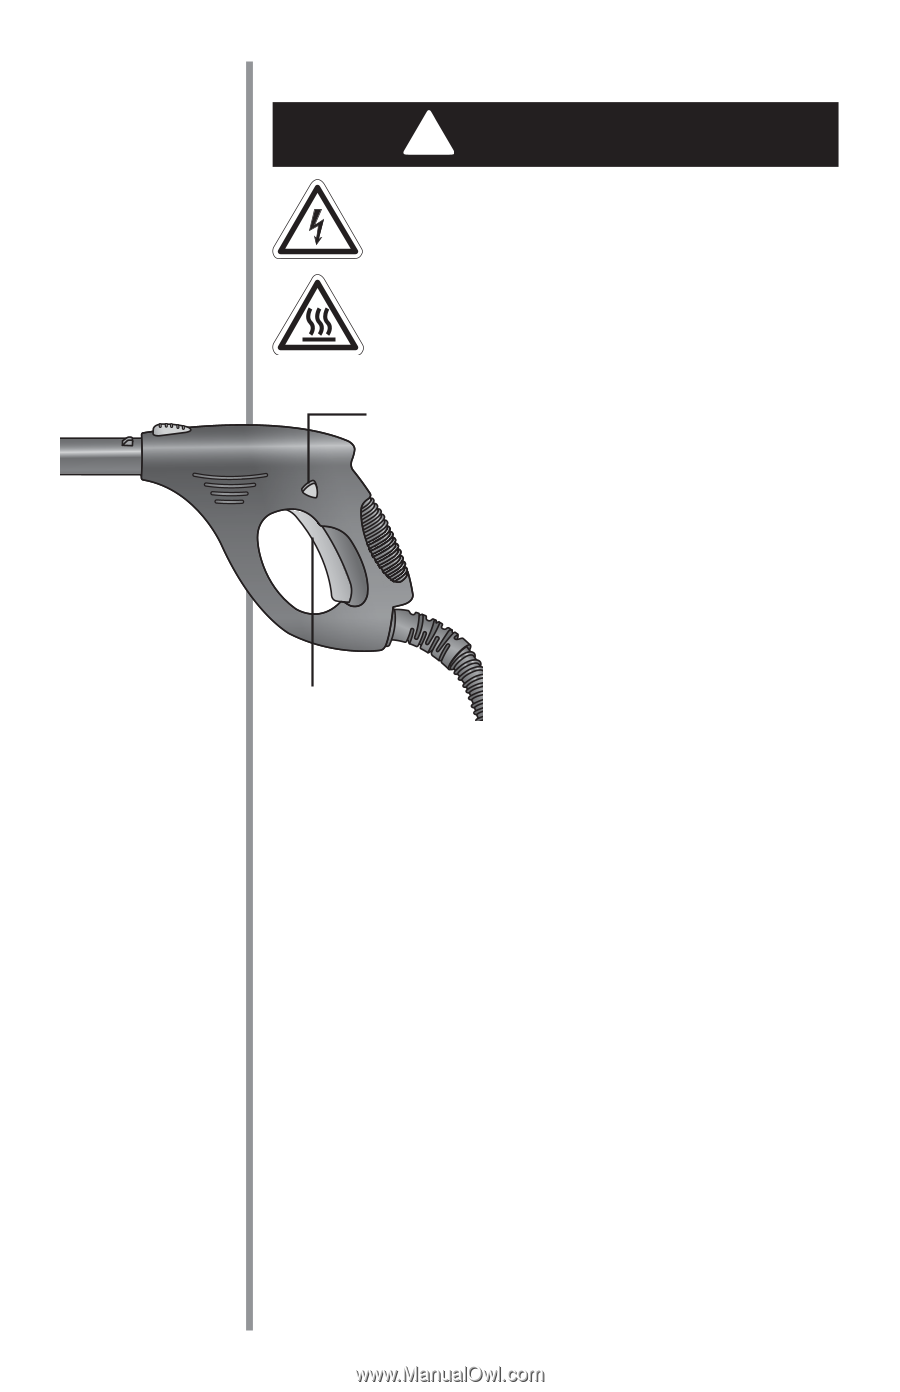
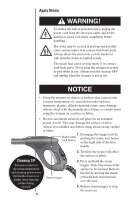
Refilling the Boiler Tank ! WARNING! To reduce the risk of personal injury, unplug the power cord from the electrical outlet and let the unit/accessories cool down completely before handling. Steam may cause serious injury if in contact with body parts. Always release all steam pressure before removing the filler cap. Safety lock Steam trigger 1. Press the steam trigger and release all the steam pressure. 2. Allow the steamer and assembly to cool down. 3. Refill the boiler tank (see Filling the Boiler Tank on page 13). Important! If the boiler tank is dry, turn the steamer OFF and allow it to cool down until the red indicator on the filler cap has gone back in. It is now safe to refill the boiler tank. Do not attempt to remove the cap when the indicator is pushed out. Connect the Hose/Handle and Attachments 1. Choose the adaptor, nozzle and accessory needed for your cleaning job. 2. Follow the assembly steps as described on page 9 to assemble the Steamer in the configuration that you need. 14
-
 1
1 -
2
-
3
-
4
-
5
-
6
-
7
-
8
-
 9
9 -
 10
10 -
 11
11 -
 12
12 -
 13
13 -
 14
14 -
 15
15 -
 16
16 -
 17
17 -
 18
18 -
 19
19 -
20
-
21
-
22
-
23
-
24
 |
 |