Pfaff creative 7510 Owner's Manual - Page 89
Pfaff creative 7510 Manual
 |
View all Pfaff creative 7510 manuals
Add to My Manuals
Save this manual to your list of manuals |
Page 89 highlights
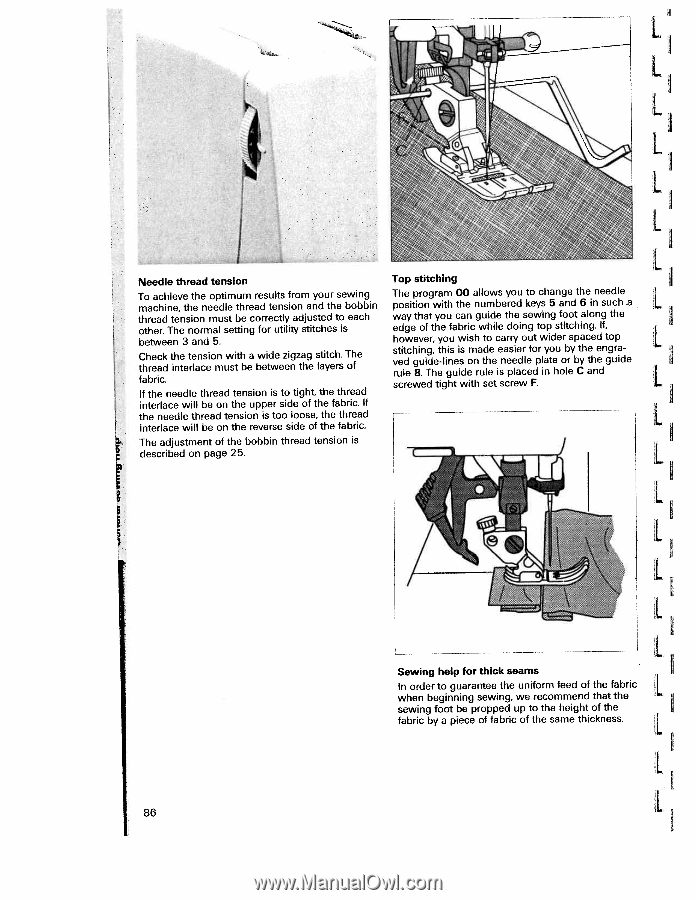
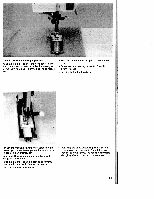
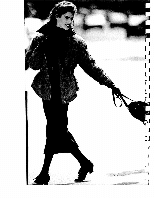
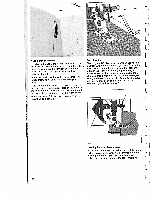
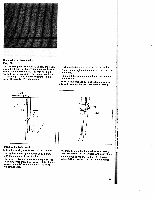
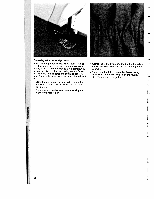
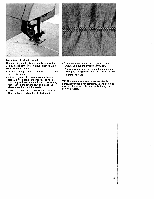
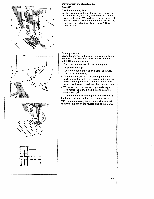
1 LI LI L I LI I I I Needle thread tension Top stitching I To achieve the optimum results from your sewing machine, the needle thread tension and the bobbin thread tension must be correctly adjusted to each other. The normal setting for utility stitches is between 3 and 5. Check the tension with a wide zigzag stitch. The thread interlace must be between the layers of fabric. If the needle thread tension is to tight, the thread interlace will be on the upper side of the fabric. If the needle thread tension is too loose, the thread interlace will be on the reverse side of the fabric. The program 00 allows you to change the needle position with the numbered keys 5 and 6 in such a way that you can guide the sewing foot along the edge of the fabric while doing top stitching. If, however, you wish to carry out wider spaced top stitching, this is made easier for you by the engra ved guide-lines on the needle plate or by the guide rule 8. The guide rule is placed in hole C and screwed tight with set screw F. I I LI L The adjustment of the bobbin thread tension is described on page 25. L IL L L Sewing help for thick seams In order to guarantee the uniform feed of the fabric when beginning sewing, we recommend that the [ sewing foot be propped up to the height of the fabric by a piece of fabric of the same thickness. L L 86 L
-
 1
1 -
2
-
3
-
4
-
5
-
6
-
7
-
8
-
9
-
10
-
11
-
12
-
13
-
14
-
15
-
16
-
17
-
18
-
19
-
20
-
21
-
22
-
23
-
24
-
25
-
26
-
27
-
28
-
29
-
30
-
31
-
32
-
33
-
34
-
35
-
36
-
37
-
38
-
39
-
40
-
41
-
42
-
43
-
44
-
45
-
46
-
47
-
48
-
49
-
50
-
51
-
52
-
53
-
54
-
55
-
56
-
57
-
58
-
59
-
60
-
61
-
62
-
63
-
64
-
65
-
66
-
67
-
68
-
69
-
70
-
71
-
72
-
73
-
74
-
75
-
76
-
77
-
78
-
79
-
80
-
81
-
82
-
83
-
 84
84 -
 85
85 -
 86
86 -
 87
87 -
 88
88 -
 89
89 -
 90
90 -
 91
91 -
 92
92 -
 93
93 -
 94
94 -
95
-
96
-
97
-
98
-
99
-
100
-
101
-
102
-
103
-
104
-
105
-
106
-
107
-
108
-
109
-
110
-
111
-
112
-
113
-
114
-
115
-
116
-
117
-
118
-
119
-
120
-
121
-
122
-
123
-
124
-
125
-
126
-
127
-
128
-
129
-
130
-
131
-
132
-
133
-
134
-
135
-
136
-
137
-
138
-
139
-
140
-
141
-
142
 |
 |