Pfaff kayser 46 Owner's Manual - Page 18
Sewing
 |
View all Pfaff kayser 46 manuals
Add to My Manuals
Save this manual to your list of manuals |
Page 18 highlights
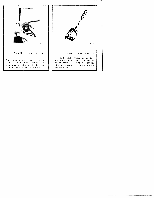
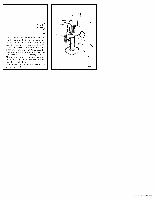
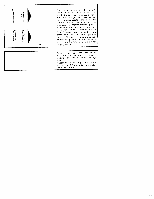
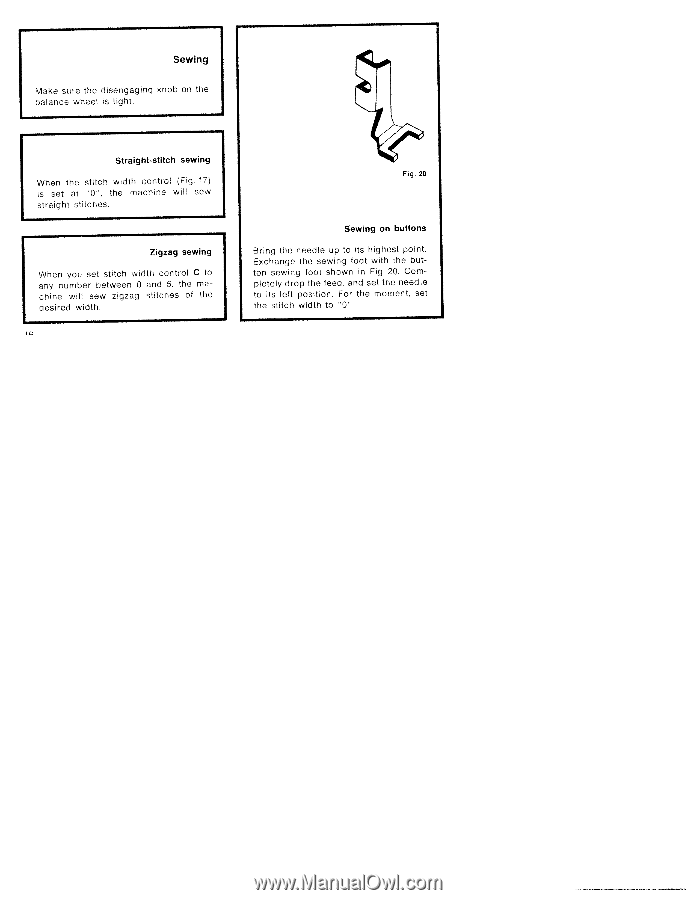
Sewing Make sure the disengaging knob on the balance wheel is tight. Straight-stitch sewing When the stitch width control (Fig. 17) is set at 0 . the machine will sew straight stitches. Zigzag sewing 'Nhen you set stitch width control C to any number between 0 and 5, the ma chine will sew zigzag stitches of the desired width Fig. 20 Sewing on buttons Bring the needle up to its highest point. Exchange the sewing toot with the but ton sewing foot shown in Fig. 20. Com pletely drop the feed, and set the needle to its left position. For the moment, set the stitch width to "0".
-
 1
1 -
2
-
3
-
4
-
5
-
6
-
7
-
8
-
9
-
10
-
11
-
12
-
 13
13 -
 14
14 -
 15
15 -
 16
16 -
 17
17 -
 18
18 -
 19
19 -
 20
20 -
 21
21 -
 22
22 -
 23
23 -
24
-
25
-
26
-
27
-
28
-
29
-
30
-
31
-
32
-
33
-
34
-
35
-
36
-
37
-
38
 |
 |
Sewing
on
buttons
Bring
the
needle
up
to
its
highest
point.
Exchange
the
sewing
toot
with
the
but
ton
sewing
foot
shown
in
Fig.
20.
Com
pletely
drop
the
feed,
and
set
the
needle
to
its
left
position.
For
the
moment,
set
the
stitch
width
to
“0”.
Sewing
Make
sure
the
disengaging
knob
on
the
balance
wheel
is
tight.
Straight-stitch
sewing
When
the
stitch
width
control
(Fig.
17)
is
set
at
0
.
the
machine
will
sew
straight
stitches.
Fig.
20
Zigzag
sewing
‘Nhen
you
set
stitch
width
control
C
to
any
number
between
0
and
5,
the
ma
chine
will
sew
zigzag
stitches
of
the
desired
width