Pfaff kayser 46 Owner's Manual - Page 19
right hole
 |
View all Pfaff kayser 46 manuals
Add to My Manuals
Save this manual to your list of manuals |
Page 19 highlights
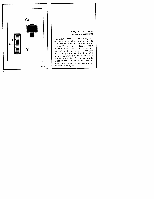
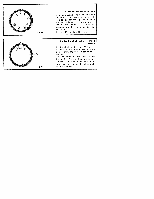
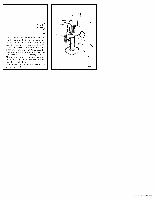
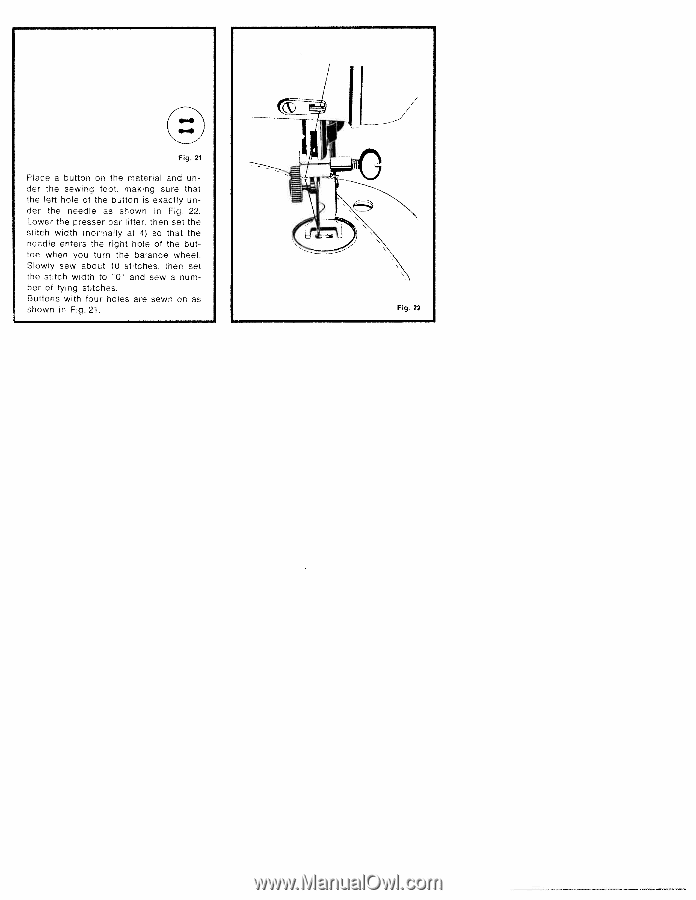
.-. p Fig. 21 Place a button on the material and un der the sewing foot. making sure that the left hole of the button is exactly un der the needle as shown in Fig. 22. Lower the tresser bar lifter, then set the stitch width (normally at 4) so that the needle enters the right hole of the but ton when you turn the balance wheel. Slowly sew about 10 stitches, then set the stitch width to "0' and sew a num ber of tying stitches. Buttons with four holes are sewn on as shown in Fig. 21. Fig. 22
-
 1
1 -
2
-
3
-
4
-
5
-
6
-
7
-
8
-
9
-
10
-
11
-
12
-
13
-
 14
14 -
 15
15 -
 16
16 -
 17
17 -
 18
18 -
 19
19 -
 20
20 -
 21
21 -
 22
22 -
 23
23 -
 24
24 -
25
-
26
-
27
-
28
-
29
-
30
-
31
-
32
-
33
-
34
-
35
-
36
-
37
-
38
 |
 |
.-.
p
Fig.
21
Place
a
button
on
the
material
and
un
der
the
sewing
foot.
making
sure
that
the
left
hole
of
the
button
is
exactly
un
der
the
needle
as
shown
in
Fig.
22.
Lower
the
tresser
bar
lifter,
then
set
the
stitch
width
(normally
at
4)
so
that
the
needle
enters
the
right hole
of
the
but
ton
when
you
turn
the
balance
wheel.
Slowly
sew
about
10
stitches,
then
set
the
stitch
width
to
“0’
and
sew
a
num
ber
of
tying
stitches.
Buttons
with
four
holes
are
sewn
on
as
shown
in
Fig.
21.
Fig.
22