Pioneer AVIC-X910BT Installation Manual - Page 21
Installing this navigation, system, Installation
 |
UPC - 000125629513
View all Pioneer AVIC-X910BT manuals
Add to My Manuals
Save this manual to your list of manuals |
Page 21 highlights
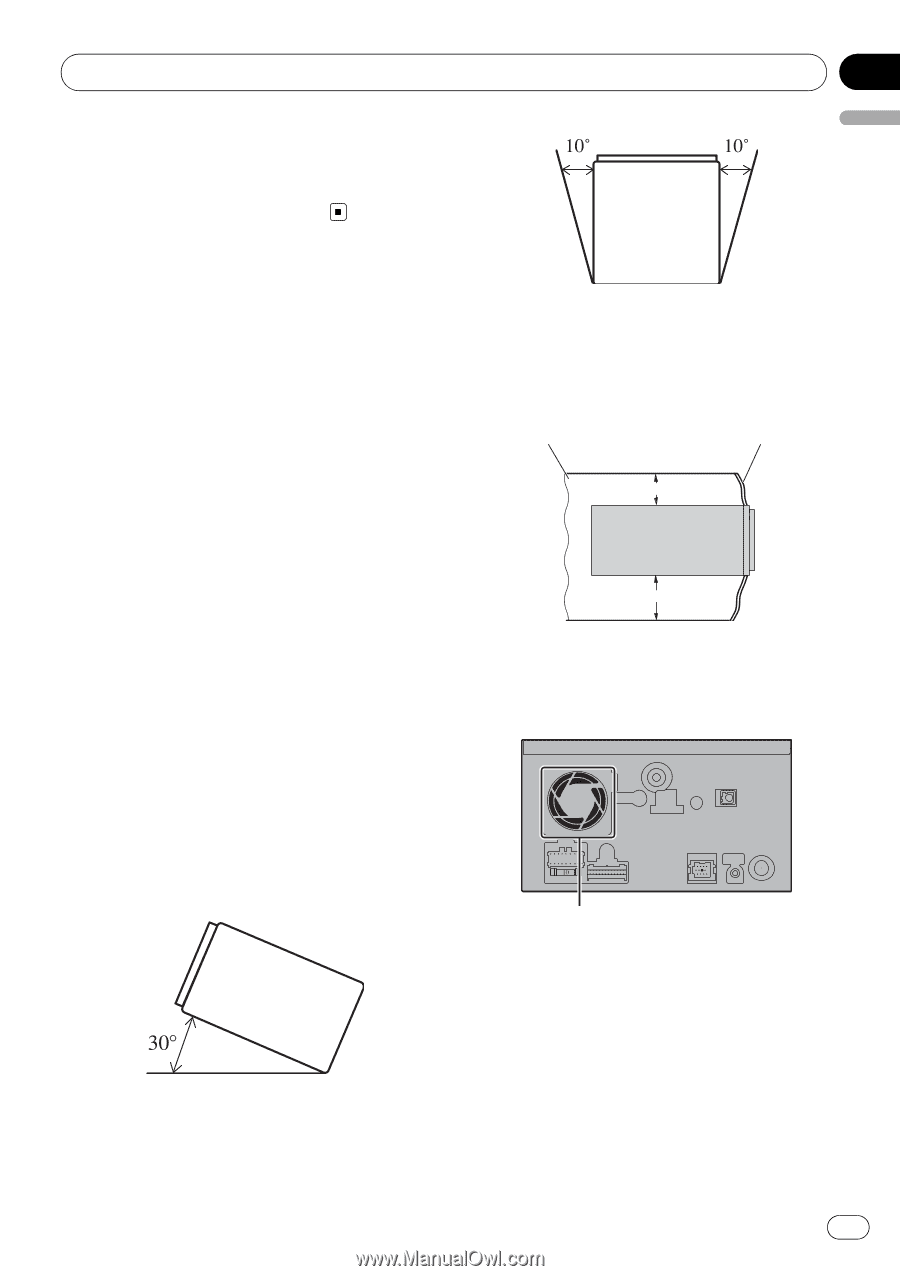
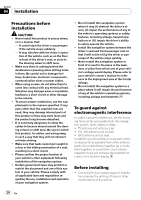
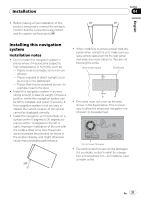
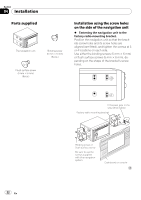
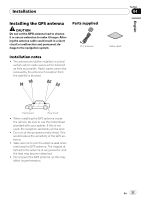
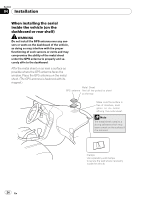
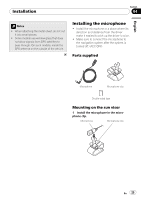
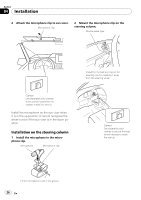
Installation Section 04 English ! Before making a final installation of this product, temporarily connect the wiring to confirm that the connections are correct and the system works properly. Installing this navigation system Installation notes ! Do not install this navigation system in places where it may become subject to high temperatures or humidity, such as: - Places close to a heater, vent or air conditioner. - Places exposed to direct sunlight, such as on top of the dashboard. - Places that may be splashed by rain, for example close to the door. ! Install this navigation system in an area strong enough to bear its weight. Choose a position where this navigation system can be firmly installed, and install it securely. If this navigation system is not securely installed, the current location of the vehicle cannot be displayed correctly. ! Install the navigation unit horizontally on a surface within 0 degrees to 30 degrees tolerance (within 10 degrees to the left or right). Improper installation of the unit with the surface tilted more than these tolerances increases the potential for errors in the location display, and might otherwise cause reduced display performance. ! When installing, to ensure proper heat dispersal when using this unit, make sure you leave ample space behind the rear panel and wrap any loose cables so they are not blocking the vents. Leave ample space Dashboard 5см 10см ! The cords must not cover up the area shown in the figure below. This is necessary to allow the amps and navigation mechanism to dissipate heat. Do not cover this area. ! The semiconductor laser will be damaged if it overheats, so don't install the navigation unit anywhere hot -for instance, near a heater outlet. En 21
-
 1
1 -
2
-
3
-
4
-
5
-
6
-
7
-
8
-
9
-
10
-
11
-
12
-
13
-
14
-
15
-
 16
16 -
 17
17 -
 18
18 -
 19
19 -
 20
20 -
 21
21 -
 22
22 -
 23
23 -
 24
24 -
 25
25 -
 26
26 -
27
-
28
-
29
-
30
-
31
-
32
-
33
-
34
-
35
-
36
-
37
-
38
-
39
-
40
-
41
-
42
-
43
-
44
-
45
-
46
-
47
-
48
-
49
-
50
-
51
-
52
-
53
-
54
-
55
-
56
-
57
-
58
 |
 |