Pioneer DEH-12E Owner's Manual - Page 7
Other Functions, Operating this unit - clock
 |
UPC - 012562968261
View all Pioneer DEH-12E manuals
Add to My Manuals
Save this manual to your list of manuals |
Page 7 highlights
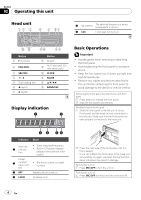
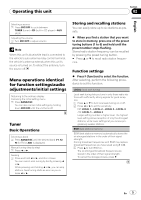
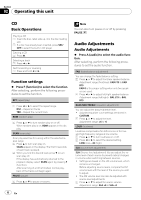
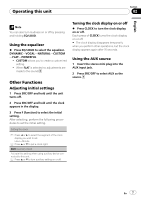
Operating this unit Section 02 English Note You can also turn loudness on or off by pressing and holding EQ/LOUD. Using the equalizer % Press EQ/LOUD to select the equalizer. DYNAMIC-VOCAL-NATURAL-CUSTOM -FLAT-POWERFUL ! CUSTOM allows you to create a customized setting. ! When FLAT is selected no adjustments are made to the sound. Other Functions Adjusting initial settings 1 Press SRC/OFF and hold until the unit turns off. 2 Press SRC/OFF and hold until the clock appears in the display. 3 Press F (function) to select the initial setting. After selecting, perform the following procedures to set the initial setting. Setting the clock 1 Press c or d to select the segment of the clock display you wish to set. Hour-Minute 2 Press a or b to put a clock right. AUX (auxiliary input) Activate this setting when using auxiliary device connected to this unit. 1 Press a or b to turn auxiliary setting on or off. Turning the clock display on or off % Press CLOCK to turn the clock display on or off. Each press of CLOCK turns the clock display on or off. # The clock display disappears temporarily when you perform other operations, but the clock display appears again after 25 seconds. Using the AUX source 1 Insert the stereo mini plug into the AUX input jack. 2 Press SRC/OFF to select AUX as the source. En 7
-
 1
1 -
 2
2 -
 3
3 -
 4
4 -
 5
5 -
 6
6 -
 7
7 -
 8
8 -
 9
9 -
 10
10 -
 11
11 -
 12
12 -
13
-
14
-
15
-
16
-
17
-
18
-
19
-
20
-
21
-
22
-
23
-
24
-
25
-
26
-
27
-
28
-
29
-
30
-
31
-
32
-
33
-
34
-
35
-
36
-
37
-
38
-
39
-
40
-
41
-
42
 |
 |