Pioneer DEH-P3600 Owner's Manual - Page 12
Listening to the radio, Tuner, Rotate to increase or decrease the volume.
 |
UPC - 012562668499
View all Pioneer DEH-P3600 manuals
Add to My Manuals
Save this manual to your list of manuals |
Page 12 highlights
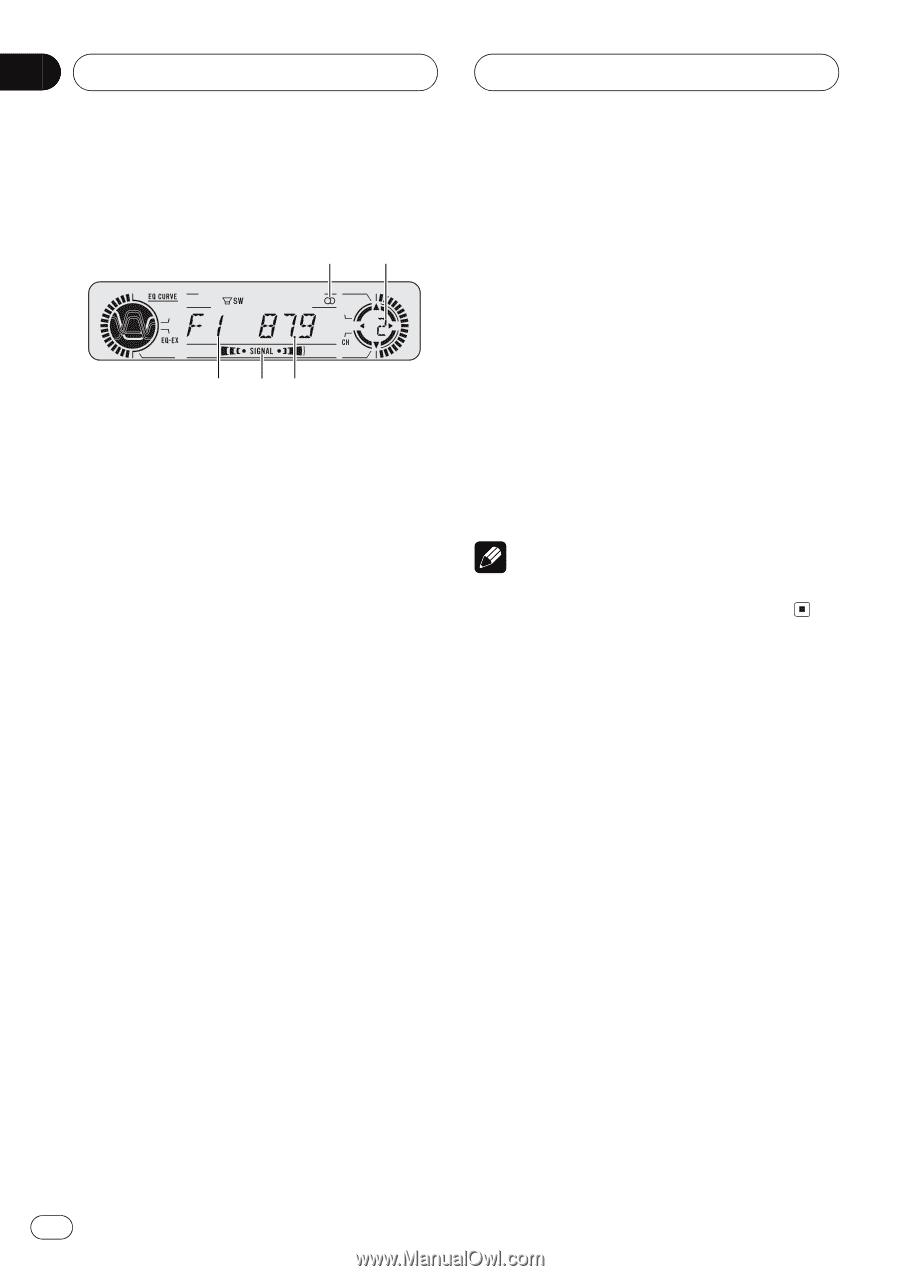
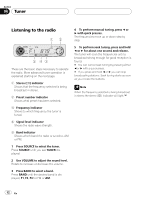
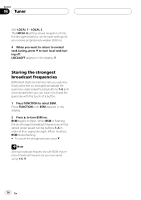
Section 04 Tuner Listening to the radio 12 5 43 These are the basic steps necessary to operate the radio. More advanced tuner operation is explained starting on the next page. 1 Stereo (5) indicator Shows that the frequency selected is being broadcast in stereo. 2 Preset number indicator Shows what preset has been selected. 3 Frequency indicator Shows to which frequency the tuner is tuned. 4 Signal level indicator Shows the radio wave strength. 5 Band indicator Shows which band the radio is tuned to, AM or FM. 1 Press SOURCE to select the tuner. Press SOURCE until you see TUNER displayed. 2 Use VOLUME to adjust the sound level. Rotate to increase or decrease the volume. 3 Press BAND to select a band. Press BAND until the desired band is displayed, F1, F2, F3 for FM or AM. 4 To perform manual tuning, press c or d with quick presses. The frequencies move up or down step by step. 5 To perform seek tuning, press and hold c or d for about one second and release. The tuner will scan the frequencies until a broadcast strong enough for good reception is found. # You can cancel seek tuning by pressing either c or d with a quick press. # If you press and hold c or d you can skip broadcasting stations. Seek tuning starts as soon as you release the buttons. Note When the frequency selected is being broadcast in stereo the stereo (5) indicator will light. 12 En
-
 1
1 -
2
-
3
-
4
-
5
-
6
-
 7
7 -
 8
8 -
 9
9 -
 10
10 -
 11
11 -
 12
12 -
 13
13 -
 14
14 -
 15
15 -
 16
16 -
 17
17 -
18
-
19
-
20
-
21
-
22
-
23
-
24
-
25
-
26
-
27
-
28
-
29
-
30
-
31
-
32
-
33
-
34
-
35
-
36
-
37
-
38
-
39
-
40
-
41
-
42
-
43
-
44
-
45
-
46
-
47
-
48
-
49
-
50
-
51
-
52
-
53
-
54
-
55
-
56
-
57
-
58
-
59
-
60
-
61
-
62
-
63
-
64
-
65
-
66
-
67
-
68
-
69
-
70
-
71
-
72
-
73
-
74
-
75
-
76
-
77
-
78
-
79
-
80
-
81
-
82
-
83
-
84
-
85
-
86
-
87
-
88
-
89
-
90
-
91
-
92
-
93
-
94
-
95
-
96
-
97
-
98
-
99
-
100
-
101
-
102
-
103
-
104
-
105
-
106
-
107
-
108
-
109
-
110
-
111
-
112
-
113
-
114
-
115
-
116
-
117
-
118
-
119
-
120
-
121
-
122
-
123
-
124
 |
 |