Poulan ES300 User Manual - Page 12
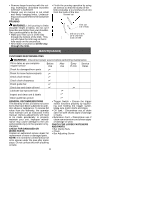
Check Chain Tension, Check Chain Sharpness, Check Guide Bar, Lubrication - sprocket
 |
View all Poulan ES300 manuals
Add to My Manuals
Save this manual to your list of manuals |
Page 12 highlights
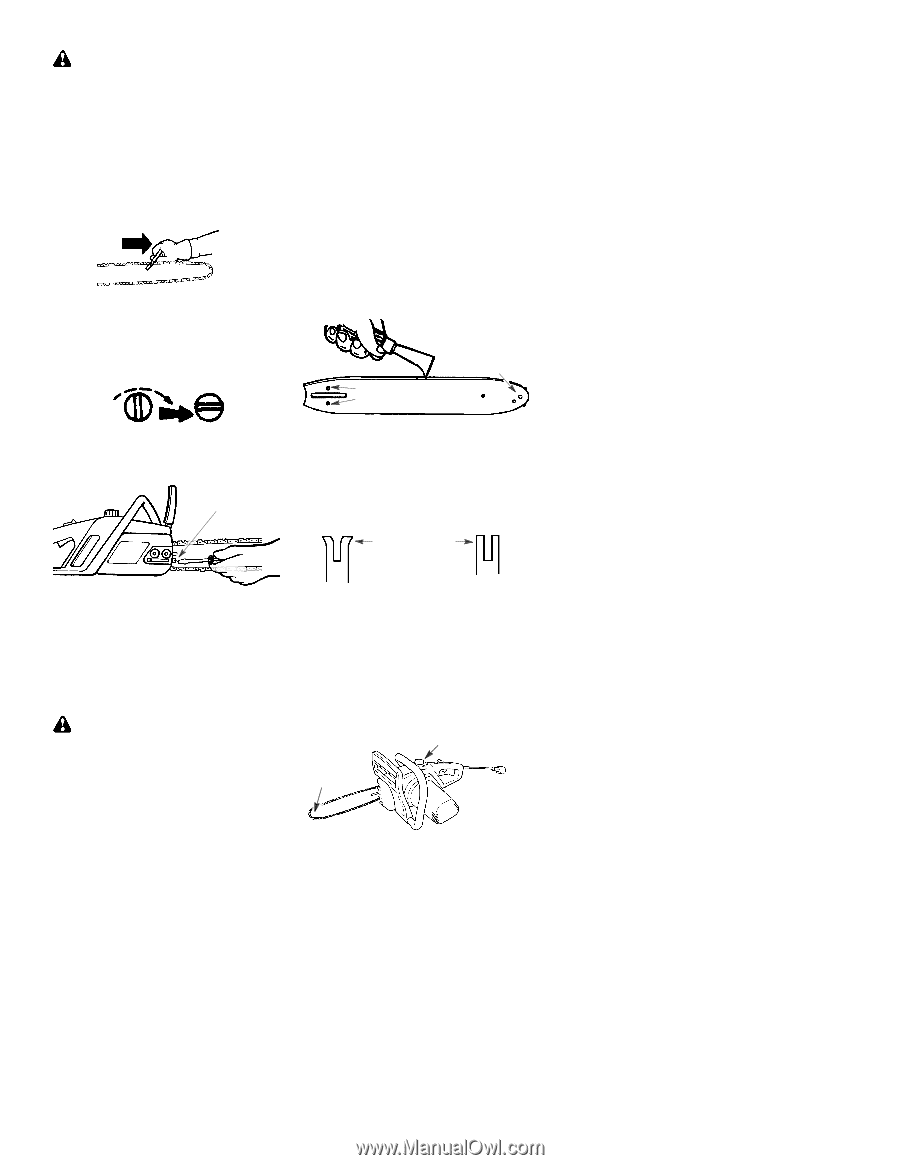
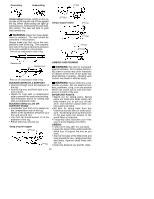
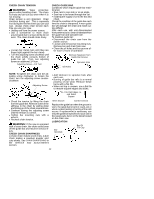
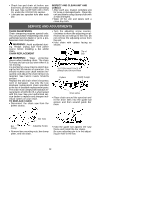
CHECK CHAIN TENSION WARNING: Wear protective gloves when handling chain. The chain is sharp and can cut you even when it is not moving. Chain tension is very important. Chain stretches during use. This is especially true during the first few times you use your saw. Always check chain tension each time you use your saw. D Unplug unit from the power source. D Use a screwdriver to move chain around guide bar to ensure kinks do not exist. The chain should rotate freely. D Loosen bar clamp nuts until they are finger tight against the bar clamp. D Turn the adjusting screw clockwise until the chain solidly contacts bottom of guide bar rail. Then, turn adjusting screw an additional 1/4 turn. Adjusting Screw -- 1/4 Turn CHECK GUIDE BAR Conditions which require guide bar maintenance: S Saw cuts to one side or at an angle. S Saw has to be forced through the cut. S Inadequate supply of oil to the bar and chain. Check the condition of the guide bar each time the chain is sharpened. A worn guide bar will damage the chain and make cutting difficult. After each use, with unit disconnected from power source, clean all sawdust from the guide bar and sprocket hole. To maintain guide bar: S Disconnect the chain saw from the power source. S Loosen and remove bar mounting nuts. Remove bar and chain from saw. S Clean the oil holes and bar groove af- ter each 5 hours of operation. Remove Sawdust From Guide Bar Groove Oil Holes Sprocket Hole NOTE: To tighten the chain, turn the adjusting screw clockwise; to loosen the chain, turn the adjusting screw counterclockwise. Adjusting Screw S Add lubricant to sprocket hole after each use. S Burring of guide bar rails is a normal process of rail wear. Remove these burrs with a flat file. S When rail top is uneven, use a flat file to restore square edges and sides. File Rail Edges and Sides Square D Check the tension by lifting the chain from the guide bar. Remove some of the stiffness in the chain by pulling down and letting go of the chain several times. D Continue turning the adjusting screw until the tension is correct. D Tighten bar mounting nuts with a wrench. D Recheck chain tension. WARNING: If the saw is operated with a loose chain, the chain could jump off the guide bar and result in serious injury. CHECK CHAIN SHARPNESS A sharp chain makes wood chips. A dull chain makes a sawdust powder and cuts slowly. See CHAIN SHARPENING in the SERVICE AND ADJUSTMENTS section. Worn Groove Correct Groove Replace the guide bar when the groove is worn, the guide bar is bent or crack--ed, or when excess heating or burring of the rails occurs. If replacement is necessary, use only the guide bar specified for your saw in the repair parts list or on the decal located on the chain saw. LUBRICATION Bar Sprocket Bar Oil Fill Cap 12
-
 1
1 -
2
-
3
-
4
-
5
-
6
-
 7
7 -
 8
8 -
 9
9 -
 10
10 -
 11
11 -
 12
12 -
 13
13 -
 14
14 -
 15
15 -
 16
16
 |
 |