ProForm 375 English Manual - Page 9
ProForm 375 Manual
 |
View all ProForm 375 manuals
Add to My Manuals
Save this manual to your list of manuals |
Page 9 highlights
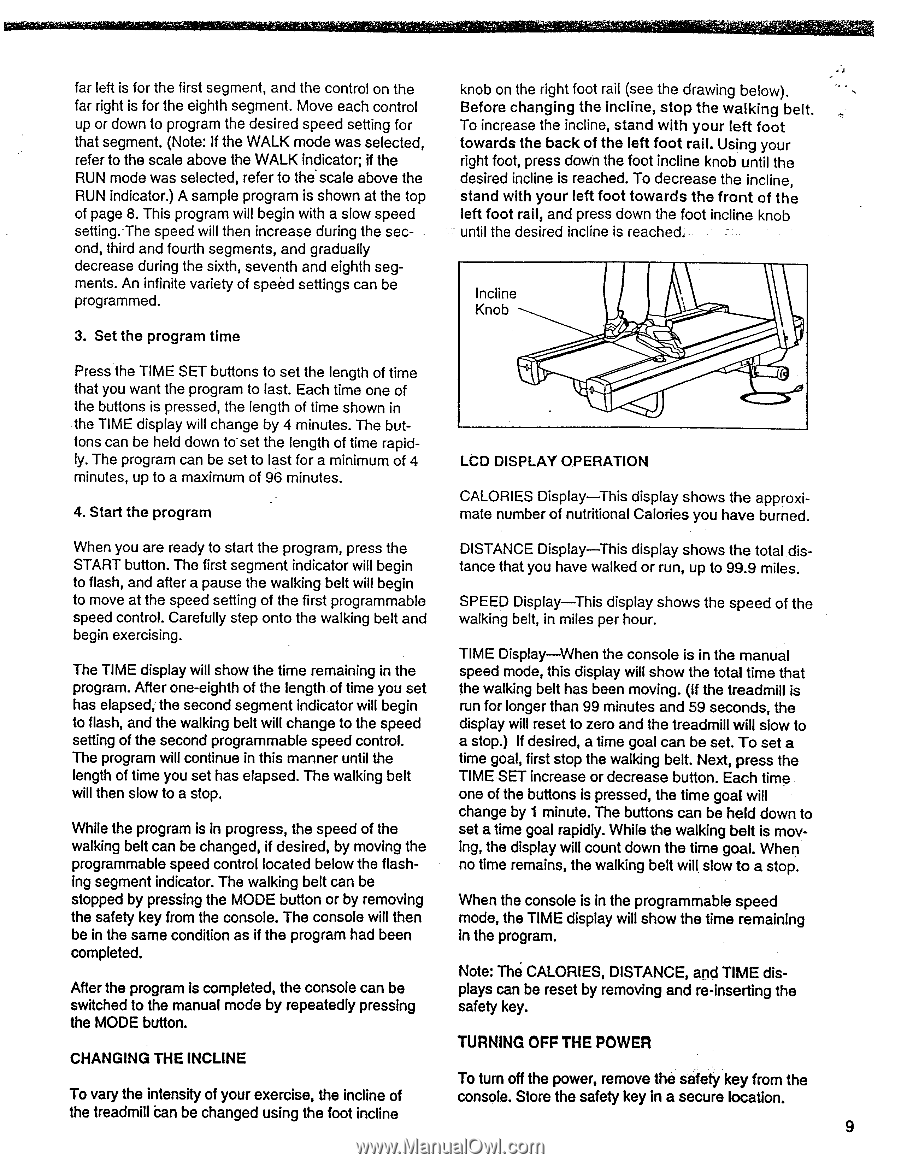
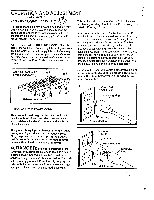
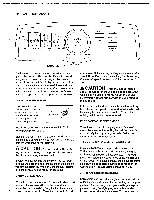
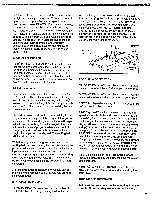
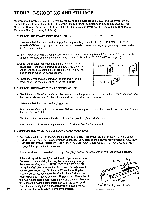
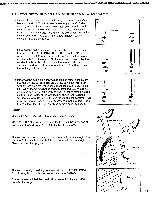
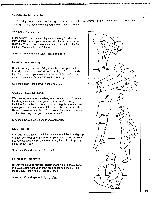
far left is for the first segment, and the control on the far right is for the eighth segment. Move each control up or down to program the desired speed setting for that segment. (Note: If the WALK mode was selected, refer to the scale above the WALK indicator; if the RUN mode was selected, refer to the scale above the RUN indicator.) A sample program is shown at the top of page 8. This program will begin with a slow speed setting. The speed will then increase during the second, third and fourth segments, and gradually decrease during the sixth, seventh and eighth segments. An infinite variety of speed settings can be programmed. 3. Set the program time knob on the right foot rail (see the drawing below). Before changing the incline, stop the walking belt. To increase the incline, stand with your left foot towards the back of the left foot rail. Using your right foot, press down the foot incline knob until the desired incline is reached. To decrease the incline, stand with your left foot towards the front of the left foot rail, and press down the foot incline knob until the desired incline is reached. - Incline Knob Press the TIME SET buttons to set the length of time that you want the program to last. Each time one of the buttons is pressed, the length of time shown in the TIME display will change by 4 minutes. The buttons can be held down to set the length of time rapidly. The program can be set to last for a minimum of 4 minutes, up to a maximum of 96 minutes. 4. Start the program LCD DISPLAY OPERATION CALORIES Display-This display shows the approximate number of nutritional Calories you have burned. When you are ready to start the program, press the DISTANCE Display-This display shows the total dis- START button. The first segment indicator will begin tance that you have walked or run, up to 99.9 miles. to flash, and after a pause the walking belt will begin to move at the speed setting of the first programmable SPEED Display-This display shows the speed of the speed control. Carefully step onto the walking belt and walking belt, in miles per hour. begin exercising. TIME Display-When the console is in the manual The TIME display will show the time remaining in the speed mode, this display will show the total time that program. After one-eighth of the length of time you set the walking belt has been moving. (If the treadmill is has elapsed, the second segment indicator will begin run for longer than 99 minutes and 59 seconds, the to flash, and the walking belt will change to the speed display will reset to zero and the treadmill will slow to setting of the second programmable speed control. a stop.) If desired, a time goal can be set. To set a The program will continue in this manner until the time goal, first stop the walking belt. Next, press the length of time you set has elapsed. The walking belt TIME SET increase or decrease button. Each time will then slow to a stop. one of the buttons is pressed, the time goal will change by 1 minute. The buttons can be held down to While the program is in progress, the speed of the set a time goal rapidly. While the walking belt is mov- walking belt can be changed, if desired, by moving the ing, the display will count down the time goal. When programmable speed control located below the flash- no time remains, the walking belt will slow to a stop. ing segment indicator. The walking belt can be stopped by pressing the MODE button or by removing When the console is in the programmable speed the safety key from the console. The console will then mode, the TIME display will show the time remaining be in the same condition as if the program had been in the program. completed. Note: The CALORIES, DISTANCE, and TIME dis- After the program is completed, the console can be plays can be reset by removing and re-inserting the switched to the manual mode by repeatedly pressing safety key. the MODE button. TURNING OFF THE POWER CHANGING THE INCLINE To turn off the power, remove the safety key from the To vary the intensity of your exercise, the incline of console. Store the safety key in a secure location. the treadmill .can be changed using the foot incline 9
-
 1
1 -
2
-
3
-
 4
4 -
 5
5 -
 6
6 -
 7
7 -
 8
8 -
 9
9 -
 10
10 -
 11
11 -
 12
12 -
 13
13 -
 14
14 -
15
-
16
 |
 |