RCA D52W136D User Guide & Warranty - Page 24
Using the TV's Features
 |
UPC - 034909312179
View all RCA D52W136D manuals
Add to My Manuals
Save this manual to your list of manuals |
Page 24 highlights
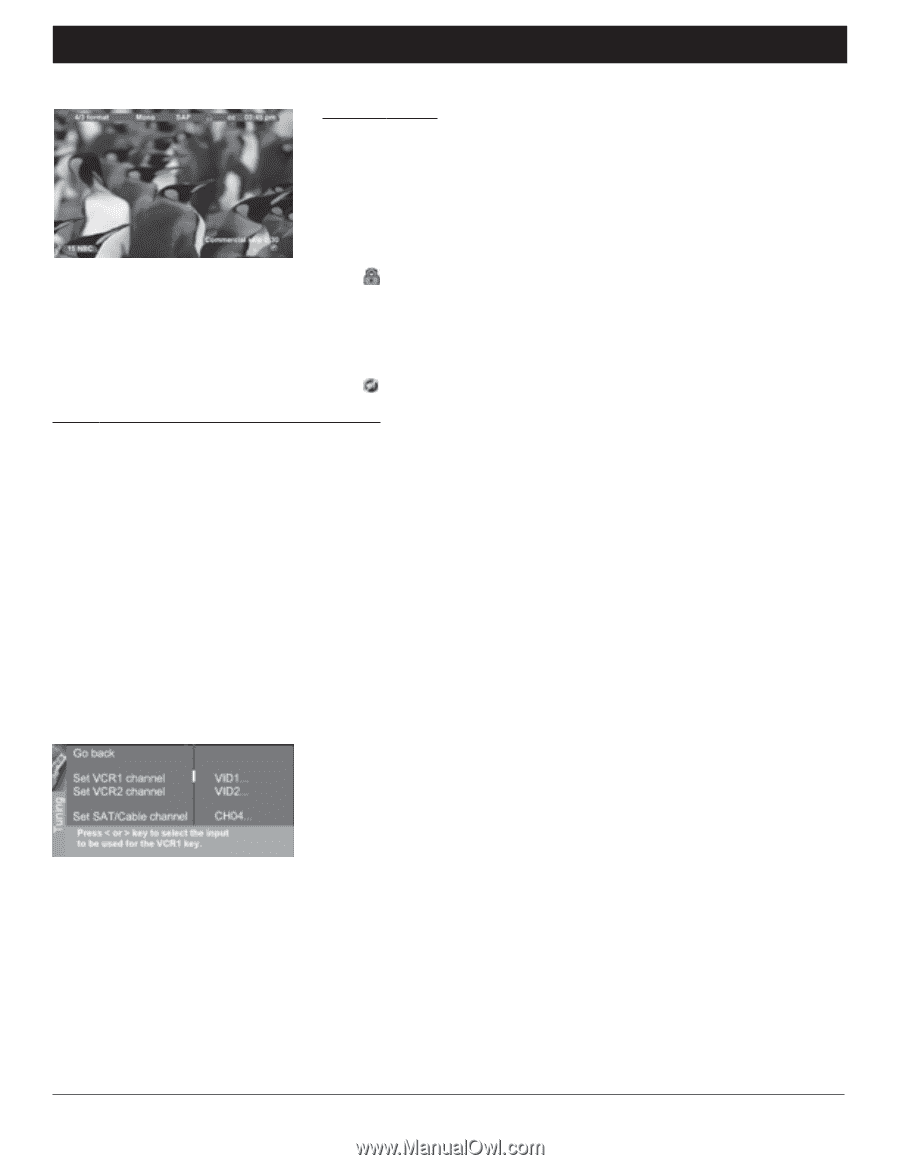
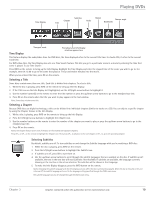
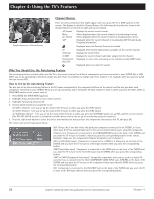
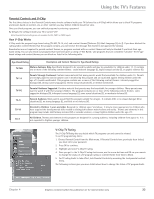
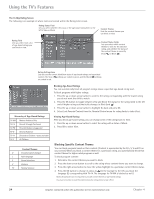
Chapter 4: Using the TV's Features Sample displays on a Channel Banner. Channel Banner There are several indicators that might appear when you press the TV or INFO buttons on the remote. This display is called the Channel Banner. The following list describes the items on the Channel Banner screen (left to right and top to bottom). 4/3 format Mono (or Stereo) SAP Displays the current screen format. Mono displayed when the current channel is broadcasting in mono. Stereo displayed when the current channel is broadcasting in stereo. Displayed when the current channel is broadcasting SAP (Second Audio Program) information. Displayed when the Parental Controls are locked. CC 03:45 pm 15 NBC Commercial skip 0:30 Displayed when Closed Captioning is available on the current channel. Displays the current time. Displays the current channel and label assigned to the channel. Displayed to count time remaining on the commercial skip (SKIP) timer. Displayed when you mute the sound. Why You Should Use the Autotuning Feature The autotuning feature automatically tunes the TV to the correct channel for different components you have connected to your TV/DVD (like a VCR) When you set up autotuning in the menu system you don't have to remember to change your TV to channel 3, for example, when you want to watch the tape in your VCR. How to Set Up the Autotuning Feature The way you set up the autotuning feature in the TV's menu corresponds to the component buttons on the remote and the way you have each component connected to your TV/DVD. When you set up autotuning, you're telling the TV what channel to tune to when you press the VCR1, VCR2, or SAT•CABLE button on the remote control. 1. Press MENU (the MAIN MENU appears). 2. Highlight Setup and press OK on your remote control. 3. Highlight Autotuning and press OK. 4. Choose which channel you would like to set: Set VCR 1 Channel Lets you set up the channel the TV tunes to when you press the VCR1 button. Set VCR 2 Channel Lets you set up the channel the TV tunes to when you press the VCR2 button. Set SAT/Cable Channel Lets you set up the channel the TV tunes to when you press the SAT•CABLE button on an RCA satellite receiver remote. (The RCA DTC100 HD receiver is considered a satellite device and can be set up for autotuning using this channel.) 5. Press the right arrow button to select the choice that matches the way you have the component connected to this TV, and press OK. The choices and a brief explanation follow: N/A Choose this if you don't have this particular component connected to the TV/DVD, or if you don't want the TV to automatically tune to the correct channel when you're using this component. Channel 3 or 4 Component is connected to the CABLE/ANTENNA jack on the back of the TV/DVD, and you want the TV to tune to channel 3 when you press the corresponding button on the remote. Reminder: make sure the component's Channel 3/4 switch is set to channel 3. VID1 or VID2 (Video Input) Component is connected to a VIDEO or S-Video jack on the back of the TV/DVD and you want the TV to tune to a VID input channel when you press the corresponding button. FRNT (Front Video Input) Component is connected to the VIDEO jack on the front of the TV/DVD and you want the TV to tune to the front VID input channel (FRNT) when you press the corresponding button. CMP1 or CMP2 (Component Video Input) Compatible component video source, such as a digital TV converter box, is connected to the three COMPONENT VIDEO INPUT jacks (Y,PB,PR) on the back of the TV/DVD and you want the TV to tune to the component video input channel (CMP) when you press the corresponding button. DVI Component is connected to the DVI-HDCP jack on the back of the TV/DVD and you want the TV to tune to the DVI input channel when you press the corresponding button. 22 Graphics contained within this publication are for representation only. Chapter 4
-
 1
1 -
2
-
3
-
4
-
5
-
6
-
7
-
8
-
9
-
10
-
11
-
12
-
13
-
14
-
15
-
16
-
17
-
18
-
 19
19 -
 20
20 -
 21
21 -
 22
22 -
 23
23 -
 24
24 -
 25
25 -
 26
26 -
 27
27 -
 28
28 -
 29
29 -
30
-
31
-
32
-
33
-
34
-
35
-
36
-
37
-
38
-
39
-
40
-
41
-
42
-
43
-
44
-
45
-
46
-
47
-
48
 |
 |