RCA RS2047 User Manual - RS2047 - Page 6
CD & USB Playback, Clock and Timer - 5 disc changer
 |
View all RCA RS2047 manuals
Add to My Manuals
Save this manual to your list of manuals |
Page 6 highlights
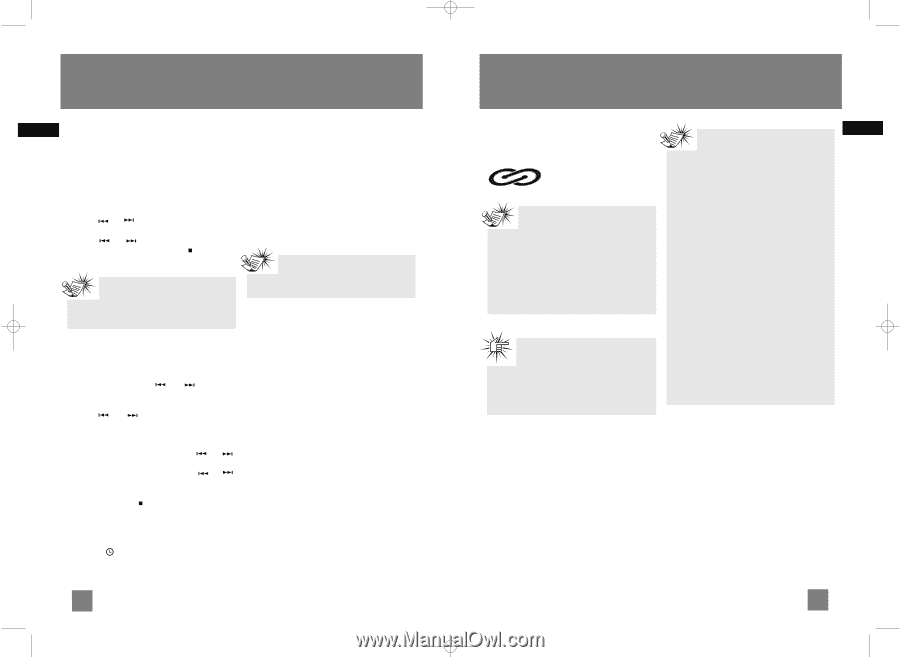
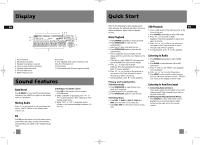
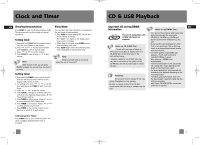
RS2047EN 3/1/06 1:53 PM Page 12 Clock and Timer EN Showing Demonstration Sleep Mode Press DEMO to turn on/off demonstration mode. The demonstration scrolls through all display operations. Setting Clock 1. Press and hold CLOCK on the remote control until the hour flashes on the display. 2. Press or to set the hour and then press CLOCK to shift to minute digits. 3. Press or to set the minute. 4. Press CLOCK to save settings or to quit setting. You can select the time interval in minutes before the unit turns off automatically. • Press SLEEP to select among OFF, 120, 90, 60, 45, 30, 15 and 5 minutes. The "SLEEP" icon lights on the display when sleep mode is activated. • When sleep is activated, press SLEEP once to view remaining sleep time. • Press SLEEP again when the remaining sleep time is displayed to change sleep time. Note: Note: When system is ON, you can press CLOCK to display the current time for about 2 seconds. Sleep is automatically de-activated when the unit is turned off. Setting Timer 1. Press and hold TIMER on the remote control until the ON and clock hour flashes on the display ( ON - timer on time ). 2. For setting time, press or to set the hour and then press TIMER to shift to minute digits. 3. Press or to set the minute. 4. Press TIMER to change to OF (timer off time) with clock time flashing. Repeat steps 2 & 3 for timer off time setting. 5. Press TIMER to select source. Press or to select between DISC/ TUNER/ USB. 6. Press TIMER to set volume. Adjust or to select desired volume level. 7. Press TIMER on the remote control to turn timer on or press to quit setting. Activating the Timer Press TIMER once to turn on/off the alarm. The timer icon is displayed when timer is activated. 6 CD & USB Playback Important CD and mp3/WMA Information EN Notes on mp3/WMA Disc: CD-R / RW This unit is compatible with CD-RW/ CD-R discs for playback. Notes on CD-R/RW Disc: • Do not affix any type of labels to either side (recordable or labeled side) of a CD-R/RW disc as this may result in the unit malfunctioning. • Playback capability for CD-RW discs may vary due to variations in the quality of the CD-RW disc and the recorder used to create the disc. Attention: Do not push to force closing of the tray during CD playback or tray opening. Be sure to remove all discs from the disc compartment before moving or transporting the unit! • Use .mp3 as the extension when converting audio files into mp3 for saving onto CD-R(W) or CD-ROM, e.g. Abc08.mp3. Do not use any other extension e.g. .doc, .pdf. • Do not use the .mp3 extension for other text or non-audio data files as this may result in serious malfunction and harmful noise interference. • For better quality in mp3/WMA disc playback, the CD quality should be recorded 128kbps or above. • Disc data size > 650MB is not recommended. • Total files and folders in the disc should not exceed 250, it also depends on the length of the file/folder names. • For mixed mode discs, only one mode will be selected for playback depending on the recording format. • To ensure good performance, wait until the disc changer completely reads the disc before proceeding. • mp3 files in CD ROM EXTRA format disc cannot be recognized. 7
-
 1
1 -
 2
2 -
 3
3 -
 4
4 -
 5
5 -
 6
6 -
 7
7 -
 8
8 -
 9
9 -
 10
10 -
 11
11
 |
 |