Ryobi AP1301 English Manual - Page 19
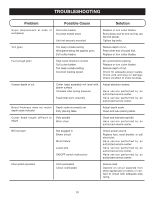
Brush Replacement, Cleaning, Danger - planer blades change
 |
View all Ryobi AP1301 manuals
Add to My Manuals
Save this manual to your list of manuals |
Page 19 highlights
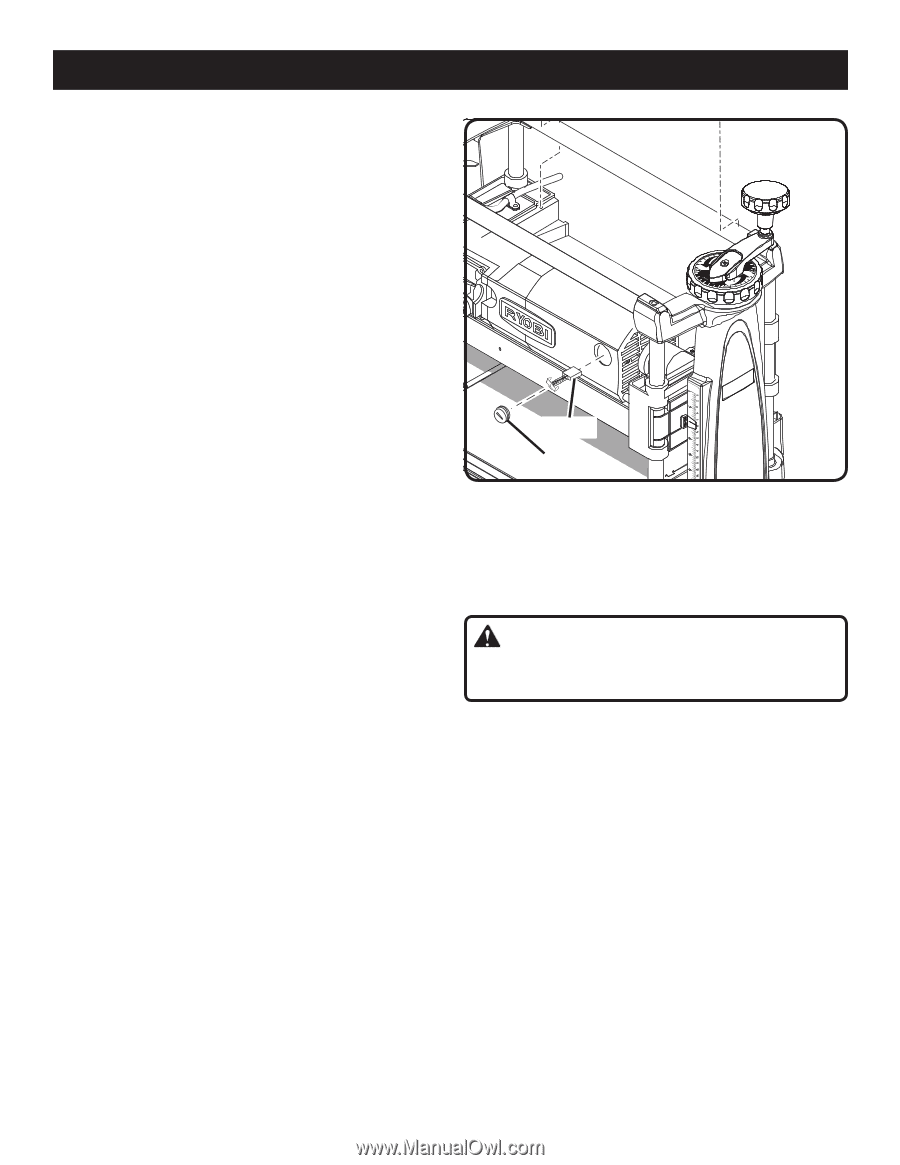
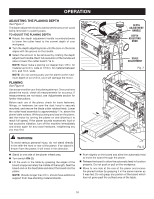
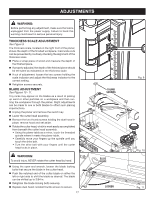
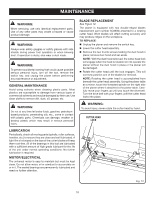
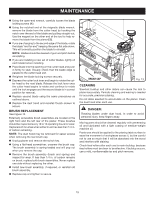
MAINTENANCE Using the open-end wrench, carefully loosen the blade locking screws ( 1 ). Using the notched end of the magnetic blade wrench, remove the blade from the cutter head by hooking the notch over the end of the blade and pulling straight out. Use the magnet on the other end of the tool to help remove the blade from the planer ( 2 ). If you are changing to the second edge of the blade, rotate the blade "end for end" keeping the same flat side down. This will correctly position the blade to reinstall. NOTE: Blades should be cleaned of gum and pitch before reinstalling. If you are installing a new set of cutter blades, lightly oil each blade before installing. Place blade into the opening on the cutter head and push in firmly to seat. Visually check that the blade edge is parallel to the cutter head slot. Retighten the blade locking screws securely. Depress the cutter lock lever and begin to rotate the cutter head to the next blade. Release the lock lever once the cutter head begins to rotate and continue to rotate until the lock engages and the second blade is in correct position for removal. Replace second blade using the same procedures as outlined above. Replace the dust hood and reinstall thumb screws to secure. BRUSH REPLACEMENT See Figure 13. Externally accessible brush assemblies are located at the right front and the left rear of the planer. These brushes should be inspected every 10 to 15 operating hours for wear. Replace both brushes when either brush has less than 1/4 in. of carbon remaining. NOTE: The dust hood may be removed for easier access when removing the rear brush cap. Unplug planer and remove the switch key. Using a flat-head screwdriver, unscrew the brush cap. The brush assembly is spring-loaded and will pop out when you remove the cap. Remove the brush assembly (brush and spring) and inspect for wear. If less than 1/4 in. of carbon remains on brush, replace both brush assemblies. Never replace one side without replacing the other. Install new brush assembly, if required, or reinstall old brush assembly. Replace cap and tighten to secure. BRUSH BRUSH CAP Fig. 13 CLEANING Sawdust buildup and other debris can cause the tool to plane inaccurately. Periodic cleaning and waxing is needed for accurate, precision planing. Do not allow sawdust to accumulate on the planer. Clean the dust hood after each use. DANGER: Rotating blades under dust hood. In order to avoid personal injury, keep fingers away. Moving parts should be cleaned regularly with penetrating oil and lubricated with a light coating of medium-weight machine oil. Paste wax should be applied to the planing table surface to ease the movement of workpieces across it, but be careful not to use so much that it will be absorbed into the wood and interfere with staining. Check feed rollers after each use for resin buildup, because feed rollers must be clean to be effective. If buildup occurs, use a mild, nonflammable tar and pitch remover. 19
-
 1
1 -
2
-
3
-
4
-
5
-
6
-
7
-
8
-
9
-
10
-
11
-
12
-
13
-
 14
14 -
 15
15 -
 16
16 -
 17
17 -
 18
18 -
 19
19 -
 20
20 -
 21
21 -
 22
22
 |
 |