Samsung PN50C6500TF User Manual (user Manual) (ver.1.0) (English) - Page 18
Sound Menu, Setting up the TV with Your PC, Changing the Preset Sound Mode, Adjusting Sound Settings - software
 |
View all Samsung PN50C6500TF manuals
Add to My Manuals
Save this manual to your list of manuals |
Page 18 highlights
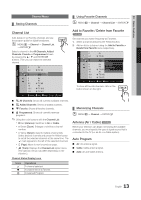
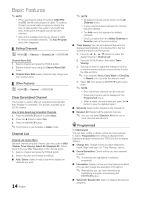
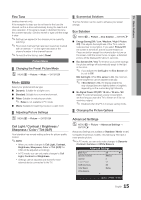
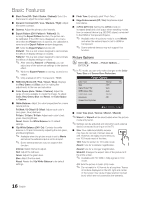
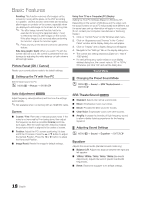
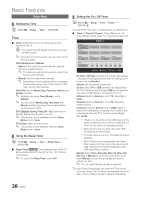
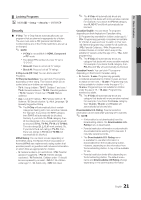
Basic Features Scrolling: This function removes after-images on the screen by moving all the pixels on the PDP according to a pattern. Use this function when there are remaining after-images or symbols on the screen, especially when you displayed a still image on the screen for a long time. ✎✎ The after-image removal function has to be executed for a long time (approximately 1 hour) to effectively remove after-images on the screen. If the after-image is not removed after performing the function, repeat the function again. ✎✎ Press any key on the remote control to cancel this feature. Side Gray (Light / Dark): When you watch TV with the screen ratio set to 4:3, the screen is prevented from any damage by adjusting the white balance on both extreme left and right sides. Picture Reset (OK / Cancel) Resets your current picture mode to its default settings. ¦¦ Setting up the TV with Your PC Set the input source to PC. OO MENUm → Picture → ENTERE Using Your TV as a Computer (PC) Display Setting Up Your PC Software (Based on Windows XP) Depending on the version of Windows and the video card, the actual screens on your PC will probably look different, but the same basic set-up information will apply in most cases. (If not, contact your computer manufacturer or Samsung Dealer.) 1. Click on "Control Panel" on the Windows start menu. 2. Click on "Appearance and Themes" in the "Control Panel" window and a display dialog-box will appear. 3. Click on "Display" and a display dialog box will appear. 4. Navigate to the "Settings" tab on the display dialog-box. yy The correct size setting (resolution) [Optimum: 1920 X 1080 pixels] yy If a vertical-frequency option exists on your display settings dialog box, the correct value is '60' or '60 Hz'. Otherwise, just click 'OK' and exit the dialog box. Sound Menu ¦¦ Changing the Preset Sound Mode OO MENUm → Sound → SRS TheaterSound → ENTERE Auto Adjustment t Adjust frequency values/positions and fine tune the settings automatically. ✎✎Not available when connecting with an HDMI/DVI cable. Screen ■■ Coarse / Fine: Removes or reduces picture noise. If the noise is not removed by Fine-tuning alone, then adjust the frequency as best as possible (Coarse) and Finetune again. After the noise has been reduced, readjust the picture so that it is aligned to the center of screen. ■■ Position: Adjust the PC's screen positioning if it does not fit the TV screen. Press the ▲ or ▼ button to adjust the Vertical-Position. Press the ◄ or ► button to adjust the Horizontal-Position. ■■ Image Reset: Resets the image to default settings. SRS TheaterSound t ■■ Standard: Selects the normal sound mode. ■■ Music: Emphasizes music over voices. ■■ Movie: Provides the best sound for movies. ■■ Clear Voice: Emphasizes voices over other sounds. ■■ Amplify: Increase the intensity of high-frequency sound to allow a better listening experience for the hearing impaired. ¦¦ Adjusting Sound Settings OO MENUm → Sound → Equalizer → ENTERE Equalizer Adjusts the sound mode (standard sound mode only). ■■ Balance L/R: Adjusts the balance between the right and left speaker. ■■ 100Hz / 300Hz / 1kHz / 3kHz / 10kHz (Bandwidth Adjustment): Adjusts the level of specific bandwidth frequencies. ■■ Reset: Resets the equalizer to its default settings. 18 English
-
 1
1 -
2
-
3
-
4
-
5
-
6
-
7
-
8
-
9
-
10
-
11
-
12
-
 13
13 -
 14
14 -
 15
15 -
 16
16 -
 17
17 -
 18
18 -
 19
19 -
 20
20 -
 21
21 -
 22
22 -
 23
23 -
24
-
25
-
26
-
27
-
28
-
29
-
30
-
31
-
32
-
33
-
34
-
35
-
36
-
37
-
38
-
39
-
40
-
41
-
42
-
43
-
44
-
45
-
46
-
47
-
48
-
49
-
50
-
51
-
52
-
53
-
54
-
55
-
56
-
57
-
58
-
59
-
60
 |
 |