Samsung SM-J320AZ User Manual - Page 11
Install a Memory Card, Install the Battery, Replace the Back Cover, Charge the Battery
 |
View all Samsung SM-J320AZ manuals
Add to My Manuals
Save this manual to your list of manuals |
Page 11 highlights
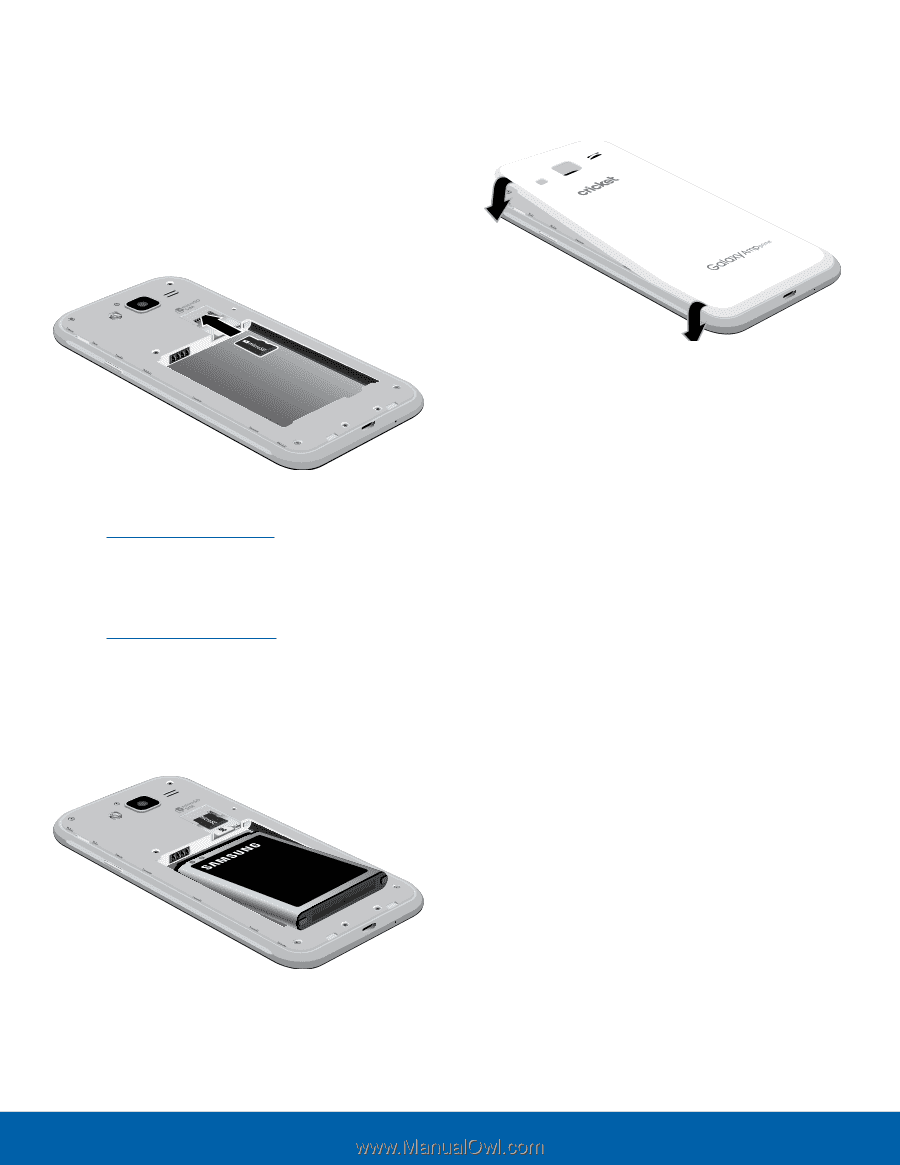
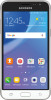
Install a Memory Card You can install an optional microSD™ or microSDHC™ memory card (not included) to add more memory space to your device. Note: A memory card can be installed at any time. It is not necessary to install it prior to using the device. Note: The micro SD card slot is located above the SIM card slot. Replace the Back Cover 1. Place the back cover onto the back of the device and press down. 1. Remove the back cover. For more information, see Remove the Back Cover. 2. Slide the memory card into the slot with the gold contacts facing down. 3. Replace the back cover. For more information, see Replace the Back Cover. Install the Battery 1. Insert the battery into the opening on the back of the device, making sure the connectors align. 2. Press along the edge of the back cover until you have a secure seal. Charge the Battery Your device is powered by a rechargeable, standard Li-Ion battery. A USB charger (charging head and USB cable) is included with the device for charging the battery from any standard outlet. The battery comes partially charged. A fully discharged battery requires up to four hours of charge time. You can use the device while charging. Note: It is recommended you fully charge the battery before using your device for the first time. Caution: Use only charging devices and batteries approved by Samsung™. Samsung accessories are designed for your device to maximize battery life. Using other accessories may invalidate your warranty and may cause damage. 2. Gently press down to secure the battery. Getting Started 5 Assemble Your Device
-
 1
1 -
2
-
3
-
4
-
5
-
 6
6 -
 7
7 -
 8
8 -
 9
9 -
 10
10 -
 11
11 -
 12
12 -
 13
13 -
 14
14 -
 15
15 -
 16
16 -
17
-
18
-
19
-
20
-
21
-
22
-
23
-
24
-
25
-
26
-
27
-
28
-
29
-
30
-
31
-
32
-
33
-
34
-
35
-
36
-
37
-
38
-
39
-
40
-
41
-
42
-
43
-
44
-
45
-
46
-
47
-
48
-
49
-
50
-
51
-
52
-
53
-
54
-
55
-
56
-
57
-
58
-
59
-
60
-
61
-
62
-
63
-
64
-
65
-
66
-
67
-
68
-
69
-
70
-
71
-
72
-
73
-
74
-
75
-
76
-
77
-
78
-
79
-
80
-
81
-
82
-
83
-
84
-
85
-
86
-
87
-
88
-
89
-
90
-
91
-
92
-
93
-
94
-
95
-
96
-
97
-
98
-
99
-
100
-
101
-
102
-
103
-
104
-
105
-
106
-
107
-
108
-
109
 |
 |