Seagate Mirra Personal Server Installation Guide (Mac) - Page 2
Backing Up Your Files - windows 7
 |
View all Seagate Mirra Personal Server manuals
Add to My Manuals
Save this manual to your list of manuals |
Page 2 highlights
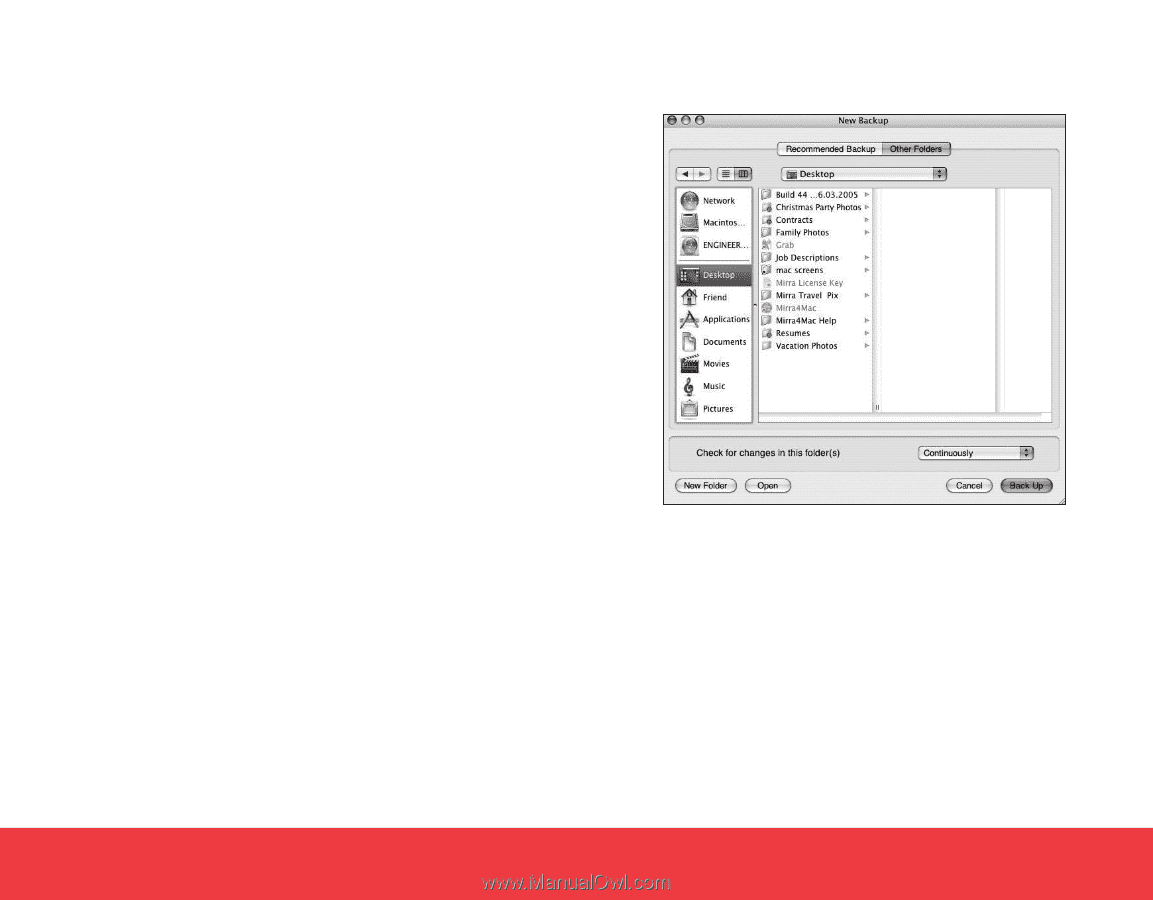
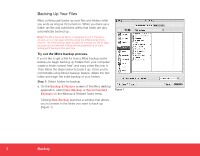
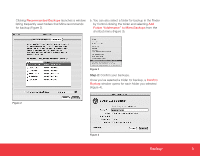
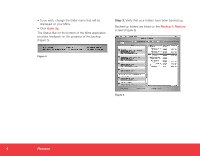
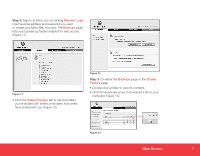
Backing Up Your Files Mirra continuously backs up your files and folders while you work as long as it's turned on. When you back up a folder, all files and subfolders within that folder are also automatically backed up. Note: The Mirra Personal Server is designed to run in the background, so you can keep working during the initial backup if you choose. The initial backup takes roughly 20 minutes per GB of data, because all your selected folders are being backed up at once. Subsequent backups take less time. Try out the Mirra backup process. If you'd like to get a feel for how a Mirra backup works before you begin backing up folders from your computer, create a folder named "test" and copy a few files into it. Then follow the steps below to back it up. Once you're comfortable using Mirra's backup feature, delete the test folder and begin the initial backup of your folders. Step 1: Select folders for backup. a. On the Backup & Restore screen of the Mirra desktop application, select New Backup or Recommended Backups on the Backup & Restore Tasks menu. Figure 1 Clicking New Backup launches a window that allows you to browse to the folder you want to back up (Figure 1). 2 Backup
-
 1
1 -
 2
2 -
 3
3 -
 4
4 -
 5
5 -
 6
6 -
 7
7 -
 8
8 -
9
-
10
-
11
-
12
-
13
-
14
-
15
-
16
-
17
-
18
-
19
-
20
 |
 |