Sharp 4P-B86EJ2U Operation Manual - Page 28
ENGLISH], Contents, >>, <<, Setup, On-Screen Display Menu
 |
View all Sharp 4P-B86EJ2U manuals
Add to My Manuals
Save this manual to your list of manuals |
Page 28 highlights
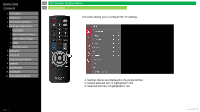
[ENGLISH] Contents 1. Part Names 2. Introduction 3. Direct Button Operation 4. On-Screen Display Menu 1. Introduction 2. Menu Operation Buttons 3. Video / Audio Settings 4. Setup 5. Parental Control 5. Application 6. Using a PC 7. Using the touch function 8. Appendix 9. Specifications 10. Trademarks 11. Dimensional Drawings >> On-Screen Display Menu "Public Mode". Ver. 1.1 en-US 27
-
 1
1 -
2
-
3
-
4
-
5
-
6
-
7
-
8
-
9
-
10
-
11
-
12
-
13
-
14
-
15
-
16
-
17
-
18
-
19
-
20
-
21
-
22
-
 23
23 -
 24
24 -
 25
25 -
 26
26 -
 27
27 -
 28
28 -
 29
29 -
 30
30 -
 31
31 -
 32
32 -
 33
33 -
34
-
35
-
36
-
37
-
38
-
39
-
40
-
41
-
42
-
43
-
44
-
45
-
46
-
47
-
48
-
49
-
50
-
51
-
52
-
53
-
54
-
55
-
56
-
57
-
58
-
59
-
60
-
61
-
62
-
63
-
64
-
65
-
66
-
67
-
68
-
69
-
70
-
71
-
72
-
73
-
74
-
75
-
76
-
77
-
78
-
79
 |
 |
[ENGLISH]
Contents
>>
<<
1. Part Names
2. Introduction
3. Direct Button Operation
4.
On-Screen Display Menu
1. Introduction
2. Menu Operation Buttons
3. Video / Audio Settings
4. Setup
5. Parental Control
5. Application
6. Using a PC
7. Using the touch function
8. Appendix
9. Specifications
10. Trademarks
11. Dimensional Drawings
Ver. 1.1
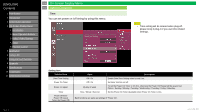
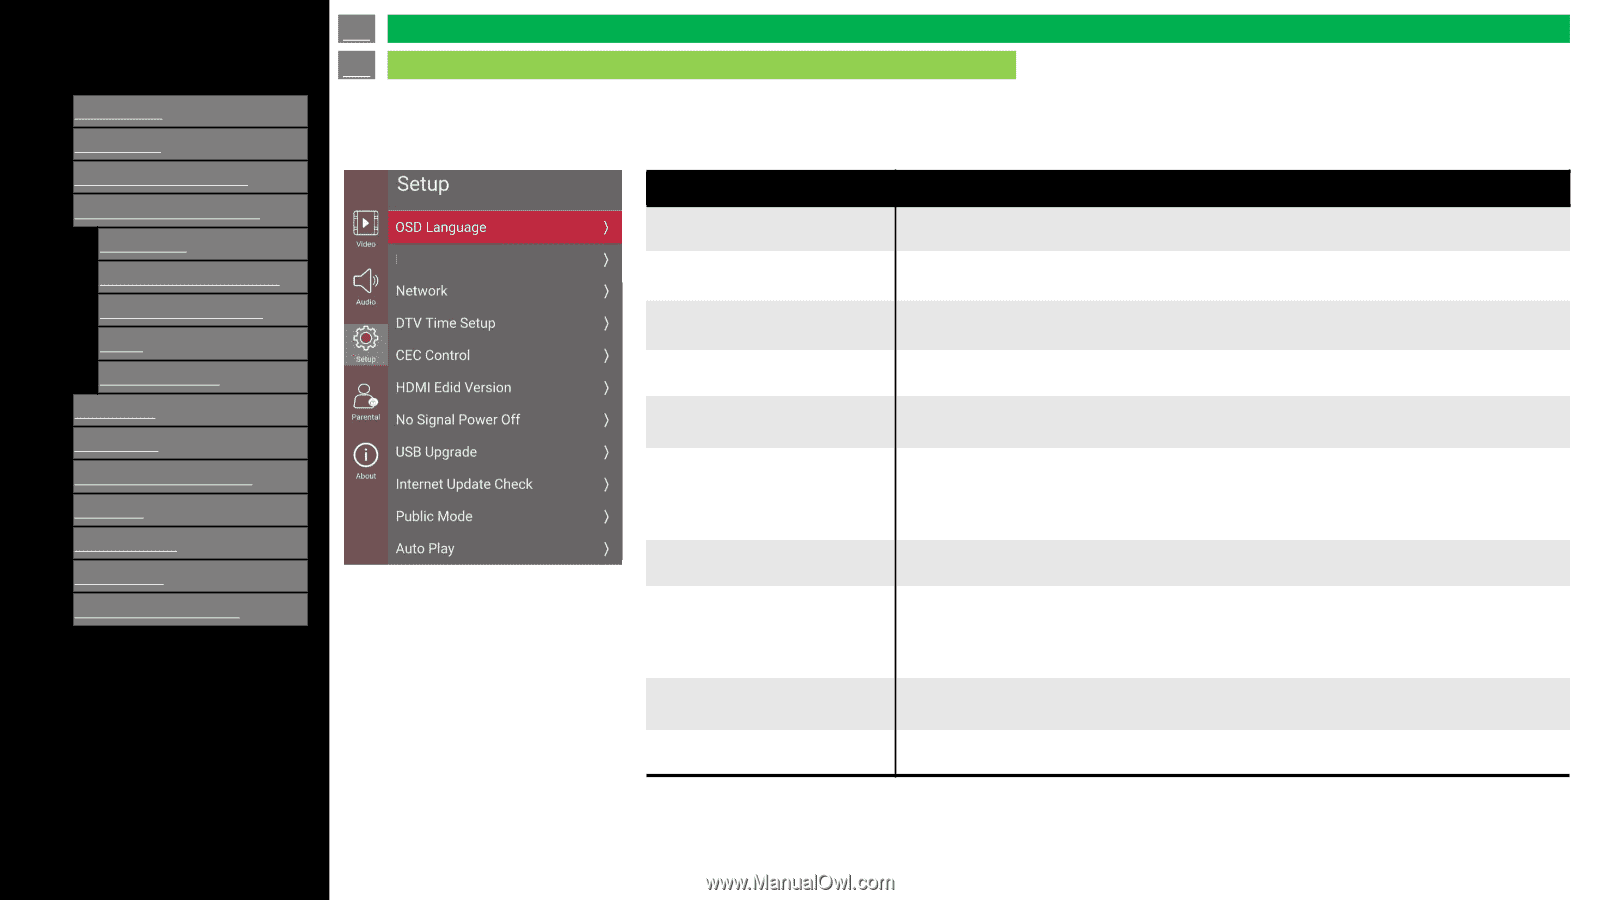
The menu Setup page provides OSD Language, Network, DTV Time Setup, CEC Control, HDMI EDID Version,
No Signal Power Off, USB Upgrade, Internet Update Check, Public Mode, Auto Play, E-Manual and Reset to
Default.
Selected item
OSD Language
To adjust Language: English, Spanish and French.
Caption
To adjust the caption configuration.
Network
To adjust the network configuration.
DTV Time Setup
To adjust Time related settings: Time zone, Time, Sleep timer and Auto Sleep.
CEC Control
1. Connected CEC Device (Ex: AVR) to HDMI port.
2. Press
“
OPTION
”
key to launch CEC Menu, enable CEC Function.
HDMI EDID Version
HDMI EDID Version include : HDMI EDID1.4 / HDMI EDID 2.0 / HDMI AUTO / HDMI
EDID 2.1.
When set to HDMI AUTO, it can automatic recognition for HDMI EDID 1.4 or HDMI
EDID 2.0.
No Signal Power Off
To set “on”, Power off when no signal.
USB Upgrade
Plug the USB flash disk to TV with FW (MstarUpgrade.bin), select USB Auto Upgrade,
will do upgrade, if name isn’t “
MstarUpgrade.bin
” in USB disk, TV will display “Please
insert USB before execute USB Auto Upgrade”.
Please check SHARP’s web
-site for downloading FW and detailed information.
Internet Update Check
“Internet Update Check” is the OTA upgrade function.
The TV needs to be connected to network before use.
Public Mode
See “Setup” > “Public Mode”.
en-US 27
Setup
On-Screen Display Menu
Caption