Sharp MX-4101N Quick Start Guide - Page 114
Changing the paper size used for a print job
 |
View all Sharp MX-4101N manuals
Add to My Manuals
Save this manual to your list of manuals |
Page 114 highlights
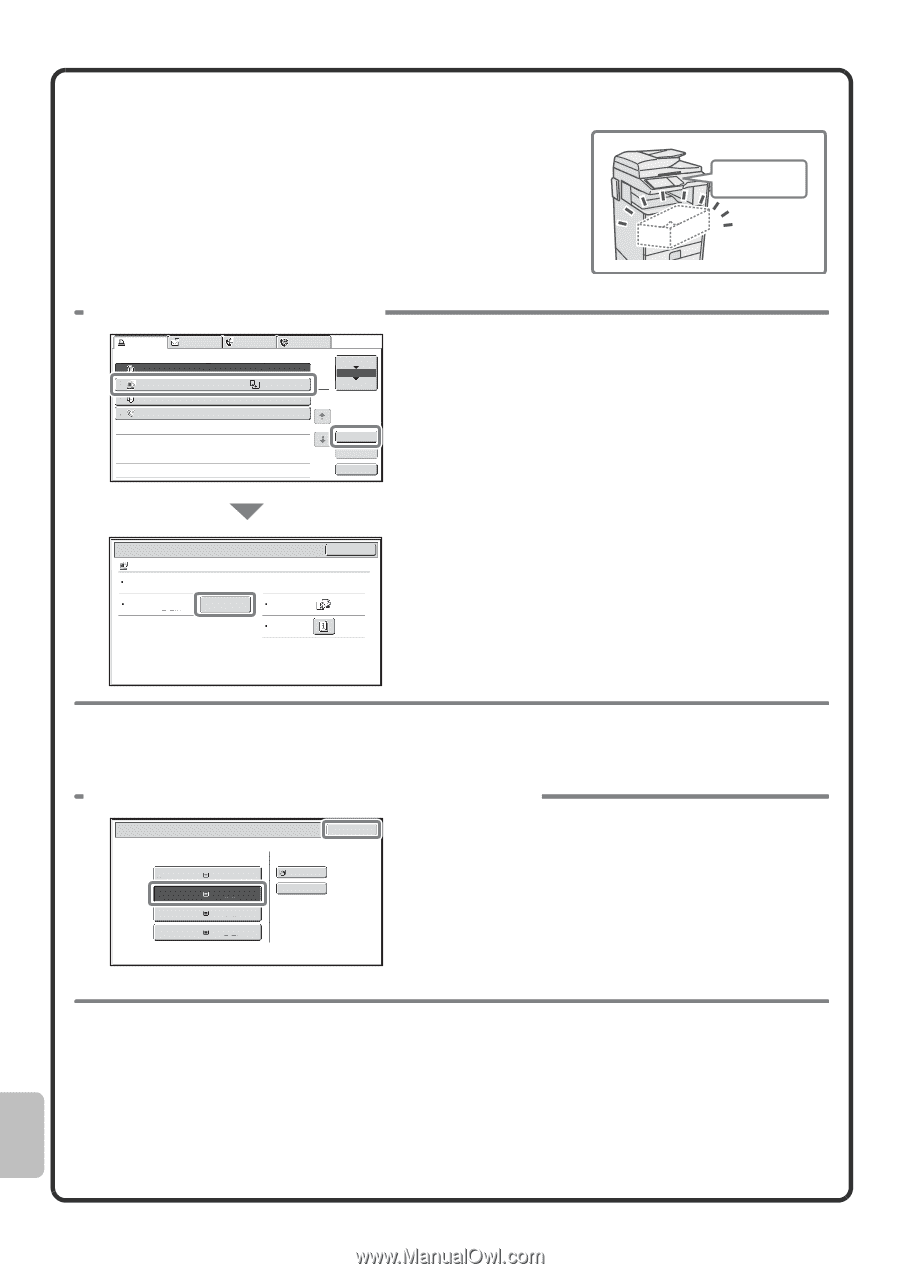
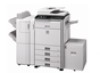
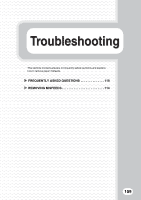
Changing the paper size used for a print job When the size of paper specified for a print job is not loaded in any of the machine's paper trays, follow the steps below to change the paper size. Paper Empty 1 Check details on the job. Print Job Job Queue 1 Copy 2 Computer01 3 Copy 4 1234567890 Scan to Fax Job Internet Fax Sets / Progress 020 / 001 Status Copying 020 / 000 002 / 000 Paper Empty 1 1 Waiting 001 / 000 Waiting Spool Job Queue Complete Detail Priority Stop/Delete Press the [JOB STATUS] key on the operation panel to display the job status screen. Select the job whose status is [Paper Empty] and touch the [Detail] key. To delete the job, you can press the [Stop/Delete] key. Detail Computer01 020 / 000 OK Paper Empty Color / B/W: Full Color Paper: 5½x8½ Plain Paper Select Output: Special Modes: Check the paper size specified for the job in the detail screen, and touch the [Paper Select] key. 2 Change the paper size used for the job. Paper Select Paper Tray 1. 8½x11 Plain 2. 8½x11R Plain 3. 8½x14 Plain 4. 11x17 Plain OK Bypass Tray Plain Select the paper size on which you wish to print the job from the set paper sizes. To avoid cutting off part of the image, select a paper size that is larger than the paper size specified for the job. 112
-
 1
1 -
2
-
3
-
4
-
5
-
6
-
7
-
8
-
9
-
10
-
11
-
12
-
13
-
14
-
15
-
16
-
17
-
18
-
19
-
20
-
21
-
22
-
23
-
24
-
25
-
26
-
27
-
28
-
29
-
30
-
31
-
32
-
33
-
34
-
35
-
36
-
37
-
38
-
39
-
40
-
41
-
42
-
43
-
44
-
45
-
46
-
47
-
48
-
49
-
50
-
51
-
52
-
53
-
54
-
55
-
56
-
57
-
58
-
59
-
60
-
61
-
62
-
63
-
64
-
65
-
66
-
67
-
68
-
69
-
70
-
71
-
72
-
73
-
74
-
75
-
76
-
77
-
78
-
79
-
80
-
81
-
82
-
83
-
84
-
85
-
86
-
87
-
88
-
89
-
90
-
91
-
92
-
93
-
94
-
95
-
96
-
97
-
98
-
99
-
100
-
101
-
102
-
103
-
104
-
105
-
106
-
107
-
108
-
 109
109 -
 110
110 -
 111
111 -
 112
112 -
 113
113 -
 114
114 -
 115
115 -
 116
116 -
 117
117 -
 118
118 -
 119
119 -
120
 |
 |