Sharp XL-DH229N XL-DH229N Operation Manual - Page 11
Listening to the radio continued, Setting the clock Remote control
 |
UPC - 074000369603
View all Sharp XL-DH229N manuals
Add to My Manuals
Save this manual to your list of manuals |
Page 11 highlights
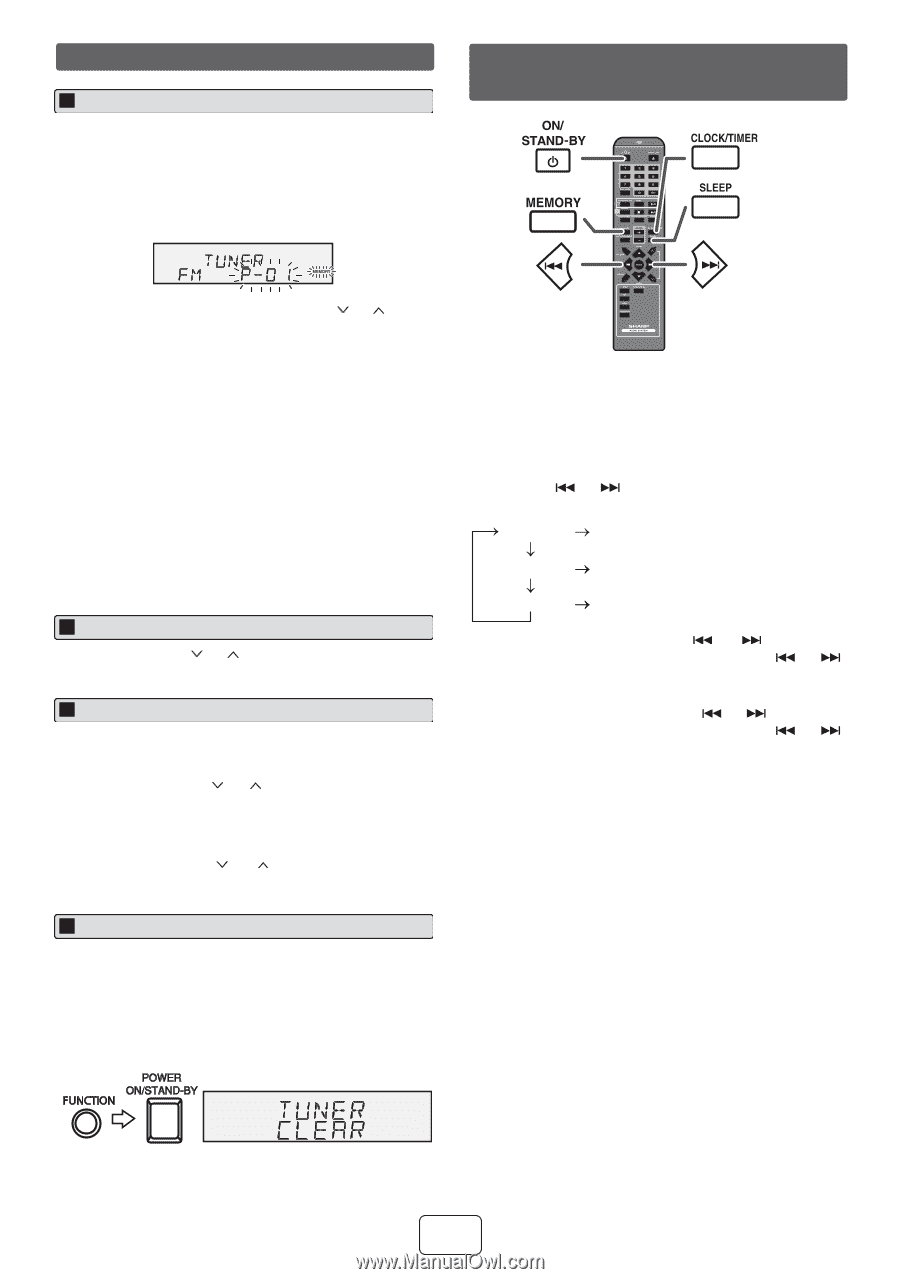
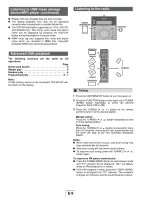
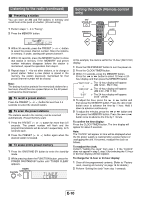
Listening to the radio (continued) Presetting a station You can store 40 AM and FM stations in memory and recall them at the push of a button. (Preset tuning) 1 Perform steps 1 - 3 in "Tuning". 2 Press the MEMORY button. Setting the clock (Remote control only) CD USB 3 Within 30 seconds, press the PRESET ( or ) button to select the preset channel number. Store the stations in memory, in order, starting with preset channel 1. 4 Within 30 seconds, press the MEMORY button to store that station in memory. If the "MEMORY" and preset number indicators disappear before the station is memorized, repeat the operation from step 2. 5 Repeat steps 1 - 4 to set other stations, or to change a preset station. When a new station is stored in the memory, the station previously memorized for that preset channel number will be erased. Note: The backup function protects the memorized stations for a few hours should there be a power failure or the AC power cord become disconnected. To recall a preset station Press the PRESET ( or ) button for less than 0.5 seconds to select the desired station. To scan the preset stations The stations saved in the memory can be scanned automatically. (Preset memory scan) 1 Press the PRESET ( or ) button for more than 0.5 seconds. The preset number will flash and the programmed stations will be tuned in sequentially, for 5 seconds each. 2 Press the PRESET ( or ) button again when the desired station is located. To erase entire preset memory 1 Press the ON/STAND-BY button to enter the stand-by mode. 2 While pressing down the FUNCTION button, press the POWER ON/STAND-BY button until "TUNER CLEAR" appears. In this example, the clock is set for the 12-hour (AM 12:00) display. 1 Press the ON/STAND-BY button to turn the power on. 2 Press the CLOCK/TIMER button. 3 Within 10 seconds, press the MEMORY button. Press the or button to select 12-hour or 24hour display and then press the MEMORY button. "AM 12:00" The 12-hour display will appear. (AM 12:00 - PM 11:59) "AM 0:00" The 12-hour display will appear. (AM 0:00 - PM 11:59) "0:00" The 24-hour display will appear. (0:00 - 23:59) 4 To adjust the hour, press the or button and then press the MEMORY button. Press the or button once to advance the time by 1 hour. Hold it down to advance continuously. 5 To adjust the minutes, press the or button and then press the MEMORY button. Press the or button once to advance the time by 1 minute. To confirm the time display: Press the CLOCK/TIMER button. The time display will appear for about 5 seconds. Note: The "CLOCK" will appear or time will be displayed when the AC power supply is restored after a power failure or unplugging the unit. If incorrect, readjust the clock as follows. To readjust the clock: Perform "Setting the clock" from step 1. If the "CLOCK" does not appear in step 2, step 3 (for selecting the 12-hour or 24-hour display) will be skipped. To change the 12-hour or 24-hour display: 1 Clear all the programmed contents. [Refer to "Factory reset, clearing all memory" on page 14 for details.] 2 Perform "Setting the clock" from step 1 onwards. E-10
-
 1
1 -
2
-
3
-
4
-
5
-
 6
6 -
 7
7 -
 8
8 -
 9
9 -
 10
10 -
 11
11 -
 12
12 -
 13
13 -
 14
14 -
 15
15 -
 16
16
 |
 |