Singer 14J250 Stylist II Serger Instruction Manual - Page 65
Optional Accessories
 |
View all Singer 14J250 Stylist II Serger manuals
Add to My Manuals
Save this manual to your list of manuals |
Page 65 highlights
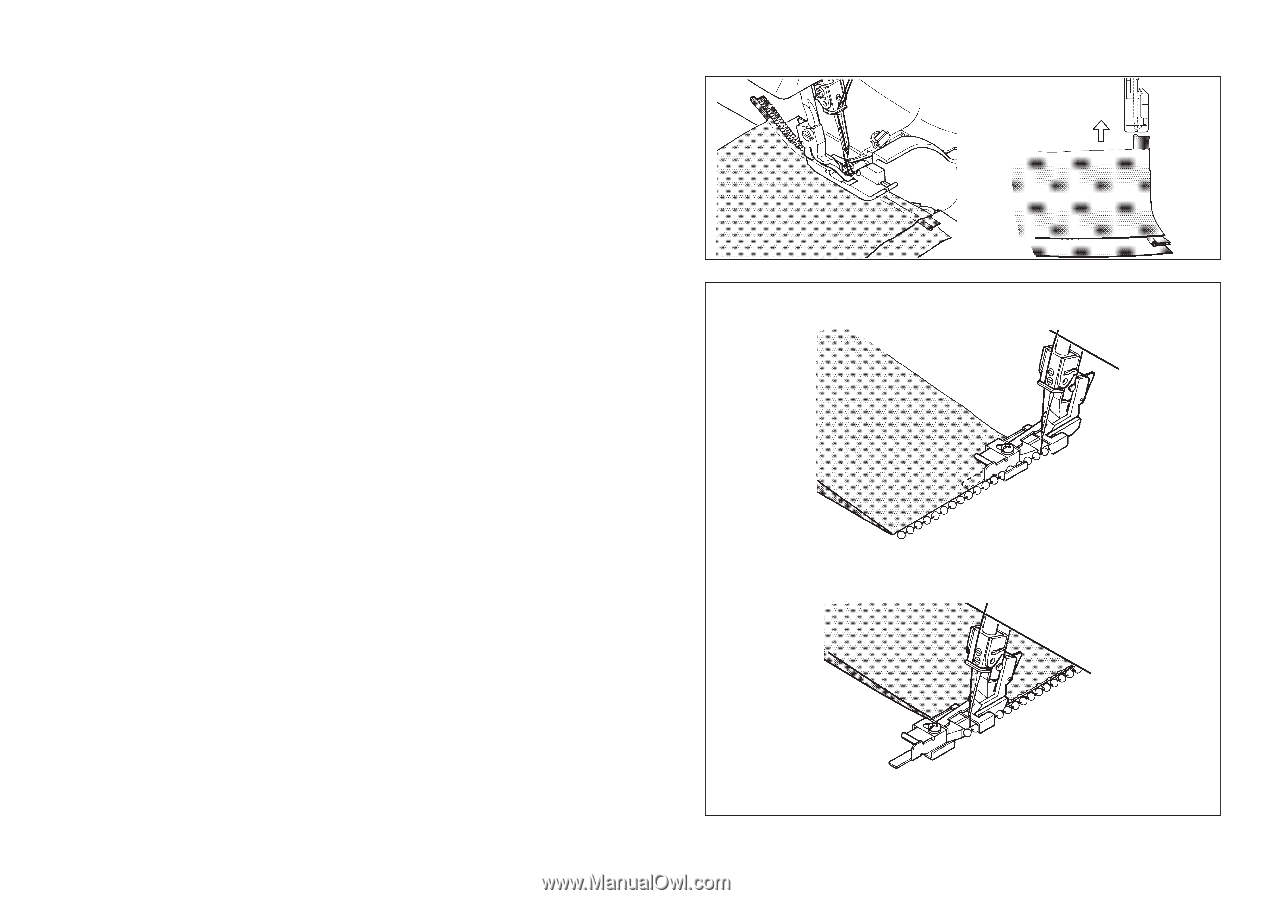
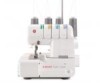
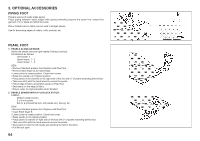
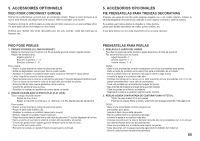
5. OPTIONAL ACCESSORIES PIPING FOOT Prepare a piece of ready-made piping. Place piping between seam edges with piping extending beyond the seam line, toward the garment. Pin or baste and stitch the seam. Flat or folded braid or ribbon can be used in straight seams. Use for decorating edges of collars, cuffs, pockets, etc. PEARL FOOT 1. PEARLS ALONG AN EDGE: Set for left needle (remove right needle) 3-thread overlock. Set tensions as follows: Left needle: 4 Upper looper: 1 - 2 Lower looper: 7 - 8 SEW: • Remove Standard presser foot. Replace with Pearl foot. • Remove stitch finger as for rolled edge. • Lower cutter to lowest position. Close front covers. • Raise the needle to it's highest position. • Place pearls in the channel on the right side of the foot with 2" of pearls extending behind foot. • Take one stitch with the hand wheel to secure the pearls. • Follow edge of fabric along fabric guide on Pearl foot. • Sew pearls on the edge of fabric. • Return cutter to original position when finished. 2. PEARLS SEWING WITH A FLATLOCK STITCH: FABRIC: Medium weight woven 2 or 4 mm pearls Set for a 3-thread flat lock, left needle only. See pg. 32 SEW: • Remove Standard presser foot. Replace with Pearl foot. • Insert Stitch finger B • Lower cutter to lowest position. Close front cover. • Raise needle to it's highest position. • Place pearls in channel on right side of the foot with 2" of pearls extending behind foot. • Take one stitch with the hand wheel to secure the pearls. • Sew pearls on with the left needle just catching the fold of the fabric. • Pull flat lock open. 64
-
 1
1 -
2
-
3
-
4
-
5
-
6
-
7
-
8
-
9
-
10
-
11
-
12
-
13
-
14
-
15
-
16
-
17
-
18
-
19
-
20
-
21
-
22
-
23
-
24
-
25
-
26
-
27
-
28
-
29
-
30
-
31
-
32
-
33
-
34
-
35
-
36
-
37
-
38
-
39
-
40
-
41
-
42
-
43
-
44
-
45
-
46
-
47
-
48
-
49
-
50
-
51
-
52
-
53
-
54
-
55
-
56
-
57
-
58
-
59
-
 60
60 -
 61
61 -
 62
62 -
 63
63 -
 64
64 -
 65
65 -
 66
66 -
 67
67
 |
 |