Singer One Instruction Manual 4 - Page 65
Trim underlay.
 |
View all Singer One manuals
Add to My Manuals
Save this manual to your list of manuals |
Page 65 highlights
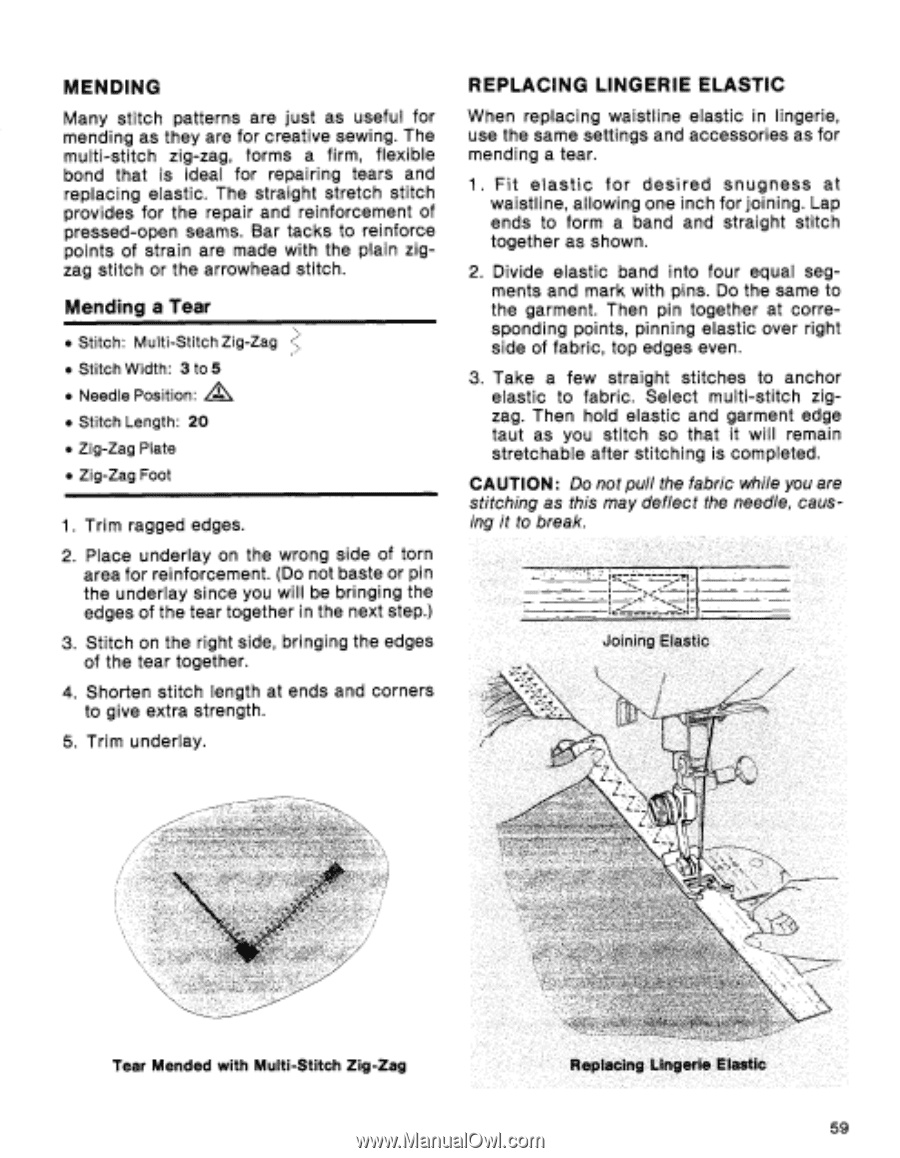
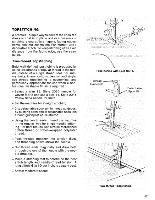
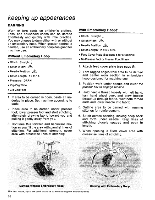
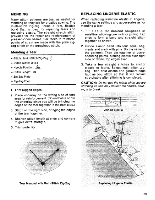
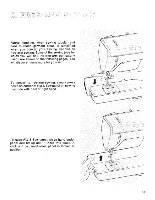
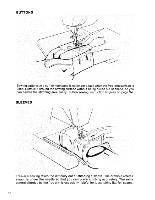
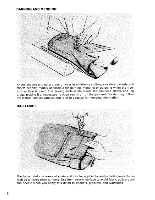
MENDING Many stitch patterns are just as useful for mending as they are for creative sewing. The multi-stitch zig-zag, forms a firm, flexible bond that is ideal for repairing tears and replacing elastic. The straight stretch stitch provides for the repair and reinforcement of pressed-open seams. Bar tacks to reinforce points of strain are made with the plain zigzag stitch or the arrowhead stitch. Mending a Tear • Stitch: Multi-Stitch Zig-Zag • Stitch Width: 3 to 5 • Needle Position' • Stitch Length: 20 • Zig-Zag Plate • Zig-Zag Foot 1. Trim ragged edges. 2. Place underlay on the wrong side of torn area for reinforcement. (Do not baste or pin the underlay since you will be bringing the edges of the tear together in the next step.) 3. Stitch on the right side, bringing the edges of the tear together. 4. Shorten stitch length at ends and corners to give extra strength. 5. Trim underlay. REPLACING LINGERIE ELASTIC When replacing waistline elastic in lingerie, use the same settings and accessories as for mending a tear. 1. Fit elastic for desired snugness at waistline, allowing one inch for joining. Lap ends to form a band and straight stitch together as shown. 2. Divide elastic band into four equal segments and mark with pins. Do the same to the garment. Then pin together at corresponding points, pinning elastic over right side of fabric, top edges even. 3. Take a few straight stitches to anchor elastic to fabric. Select multi-stitch zigzag. Then hold elastic and garment edge taut as you stitch so that it will remain stretchable after stitching is completed. CAUTION: Do not pull the fabric while you are stitching as this may deflect the needle, causing it to break. Joining Elastic Tear Mended with Multi-Stitch Zig-Zag Replacing Lingerie Elastic 59
-
 1
1 -
2
-
3
-
4
-
5
-
6
-
7
-
8
-
9
-
10
-
11
-
12
-
13
-
14
-
15
-
16
-
17
-
18
-
19
-
20
-
21
-
22
-
23
-
24
-
25
-
26
-
27
-
28
-
29
-
30
-
31
-
32
-
33
-
34
-
35
-
36
-
37
-
38
-
39
-
40
-
41
-
42
-
43
-
44
-
45
-
46
-
47
-
48
-
49
-
50
-
51
-
52
-
53
-
54
-
55
-
56
-
57
-
58
-
59
-
 60
60 -
 61
61 -
 62
62 -
 63
63 -
 64
64 -
 65
65 -
 66
66 -
 67
67 -
 68
68 -
 69
69 -
 70
70 -
71
-
72
-
73
-
74
-
75
-
76
-
77
 |
 |