Singer P-1250 I PROFESSIONAL Instruction Manual - Page 6
Singer P-1250 I PROFESSIONAL Manual
 |
View all Singer P-1250 I PROFESSIONAL manuals
Add to My Manuals
Save this manual to your list of manuals |
Page 6 highlights
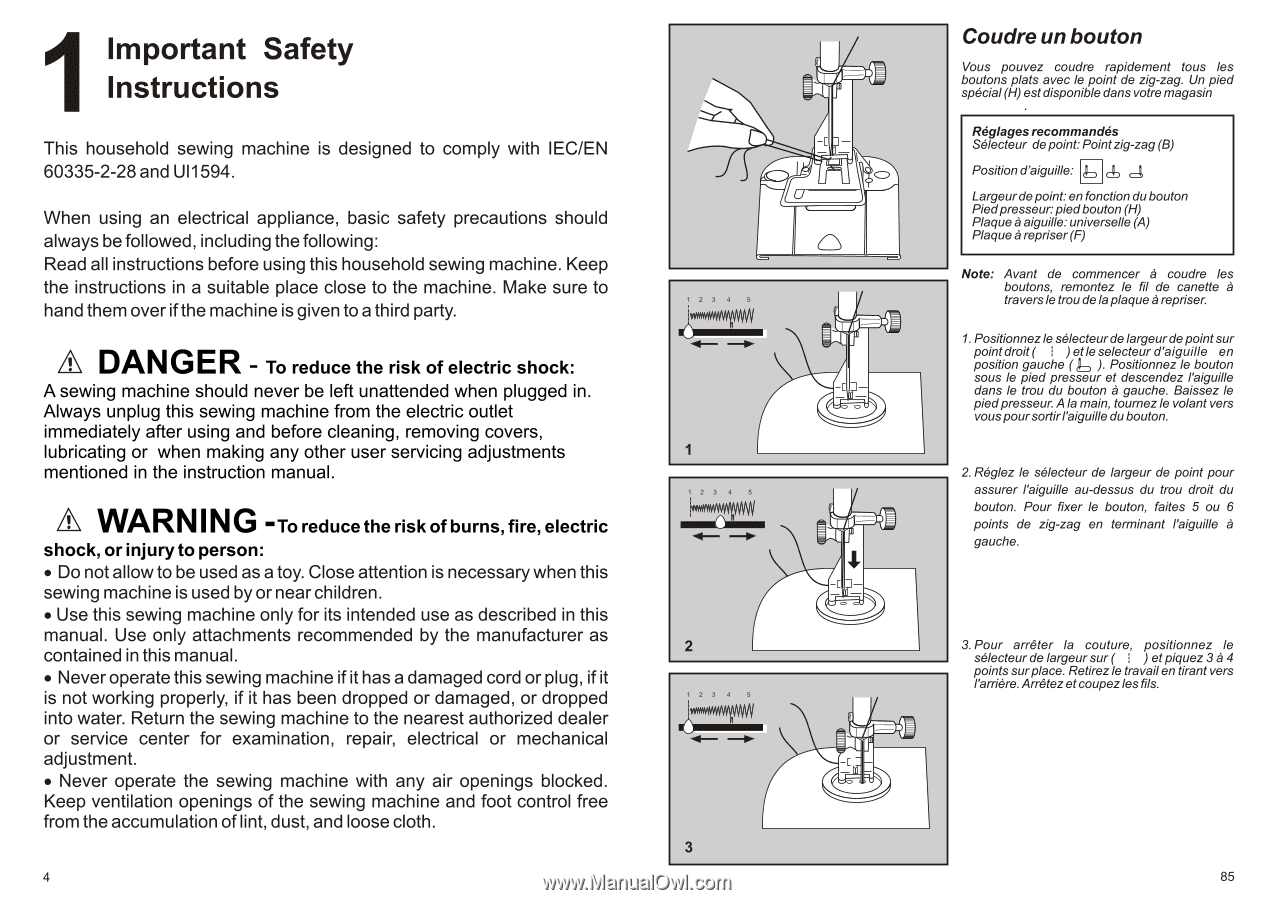
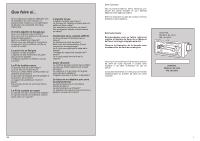
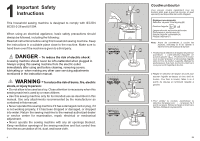
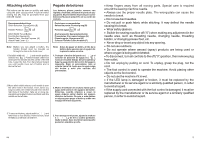
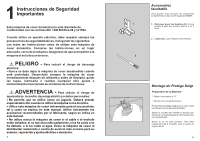
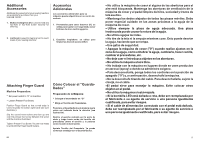
1 Important Safety Instructions This household sewing machine is designed to comply with IEC/EN 60335-2-28 and Ul1594. When using an electrical appliance, basic safety precautions should always be followed, including the following: Read all instructions before using this household sewing machine. Keep the instructions in a suitable place close to the machine. Make sure to hand them over if the machine is given to a third party. DANGER - To reduce the risk of electric shock: A sewing machine should never be left unattended when plugged in. Always unplug this sewing machine from the electric outlet immediately after using and before cleaning, removing covers, lubricating or when making any other user servicing adjustments mentioned in the instruction manual. WARNING - To reduce the risk of burns, fire, electric shock, or injury to person: Do not allow to be used as a toy. Close attention is necessary when this sewing machine is used by or near children. Use this sewing machine only for its intended use as described in this manual. Use only attachments recommended by the manufacturer as contained in this manual. Never operate this sewing machine if it has a damaged cord or plug, if it is not working properly, if it has been dropped or damaged, or dropped into water. Return the sewing machine to the nearest authorized dealer or service center for examination, repair, electrical or mechanical adjustment. Never operate the sewing machine with any air openings blocked. Keep ventilation openings of the sewing machine and foot control free from the accumulation of lint, dust, and loose cloth. 4 123 4 5 1 123 4 5 2 123 4 5 3 Coudre un bouton Vous pouvez coudre rapidement tous les boutons plats avec le point de zig-zag. Un pied spécial (H) est disponible dans votre magasin . Réglages recommandés Sélecteur de point: Point zig-zag (B) Position d'aiguille: Largeur de point: en fonction du bouton Pied presseur: pied bouton (H) Plaque à aiguille: universelle (A) Plaque à repriser (F) Note: Avant de commencer à coudre les boutons, remontez le fil de canette à travers le trou de la plaque à repriser. 1. Positionnez le sélecteur de largeur de point sur point droit ( ) et le selecteur d'aiguille en position gauche ( ). Positionnez le bouton sous le pied presseur et descendez l'aiguille dans le trou du bouton à gauche. Baissez le pied presseur. A la main, tournez le volant vers vous pour sortir l'aiguille du bouton. 2. Réglez le sélecteur de largeur de point pour assurer l'aiguille au-dessus du trou droit du bouton. Pour fixer le bouton, faites 5 ou 6 points de zig-zag en terminant l'aiguille à gauche. 3. Pour arrêter la couture, positionnez le sélecteur de largeur sur ( ) et piquez 3 à 4 points sur place. Retirez le travail en tirant vers l'arrière. Arrêtez et coupez les fils. 85
-
 1
1 -
 2
2 -
 3
3 -
 4
4 -
 5
5 -
 6
6 -
 7
7 -
 8
8 -
 9
9 -
 10
10 -
 11
11 -
 12
12 -
13
-
14
-
15
-
16
-
17
-
18
-
19
-
20
-
21
-
22
-
23
-
24
-
25
-
26
-
27
-
28
-
29
-
30
-
31
-
32
-
33
-
34
-
35
-
36
-
37
-
38
-
39
-
40
-
41
-
42
-
43
-
44
-
45
-
46
 |
 |