Singer SteamWorks Pro Instruction Manual - Page 5
Crease Attachment Assembly and Use, Fabric Brush Assembly and Use - steamer
 |
View all Singer SteamWorks Pro manuals
Add to My Manuals
Save this manual to your list of manuals |
Page 5 highlights
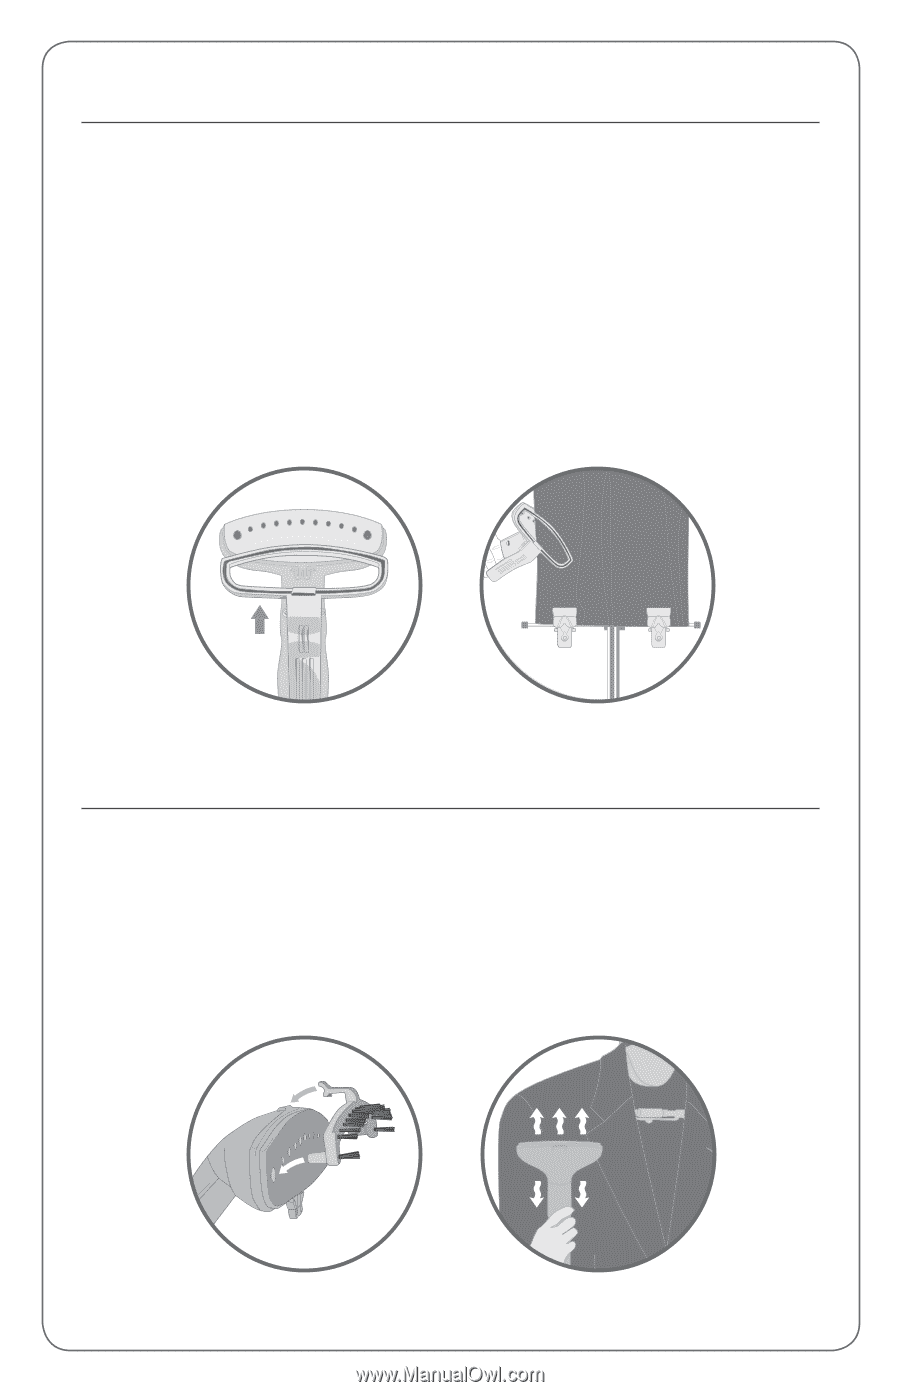
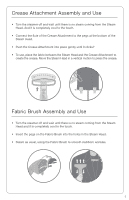
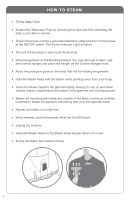
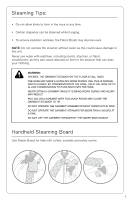
Crease Attachment Assembly and Use • Turn the steamer off and wait until there is no steam coming from the Steam Head. And it is completely cool to the touch. • Connect the flute of the Crease Attachment to the pegs at the bottom of the Steam Head. • Push the Crease Attachment into place gently until it clicks? • To use, place the fabric between the Steam Head and the Crease Attachment to create the crease. Move the Steam Head in a vertical motion to press the crease. Fabric Brush Assembly and Use • Turn the steamer off and wait until there is no steam coming from the Steam Head and it is completely cool to the touch. • Insert the pegs on the Fabric Brush into the holes in the Steam Head. • Steam as usual, using the Fabric Brush to smooth stubborn wrinkles. 5
-
 1
1 -
 2
2 -
 3
3 -
 4
4 -
 5
5 -
 6
6 -
 7
7 -
 8
8 -
 9
9 -
 10
10 -
 11
11 -
12
-
13
-
14
 |
 |