Singer The SINGER 160 Instruction Manual 2 - Page 1
Singer The SINGER 160 Manual
 |
View all Singer The SINGER 160 manuals
Add to My Manuals
Save this manual to your list of manuals |
Page 1 highlights
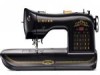
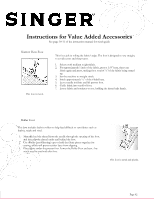
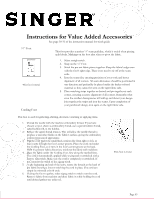
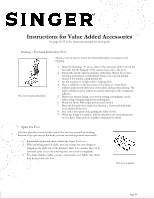
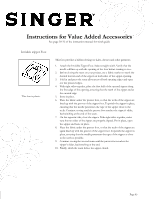
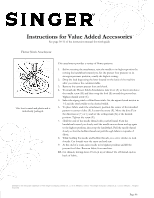
Instructions for Value Added Accessories See page 30-31 of the instruction manual for stitch guide Fringe Foot This foot is used to create and attach fringe to edges. This foot is metal and plastic. 1. Remove current presser foot and shank. 2. Loosen thumb screw using needle plate screwdriver. Attach Fringe Foot. Tighten thumb screw. 3. Set the machine to zigzag stitch. 4. Set the stitch length to 0.3-0.8. Prior to sewing, turn the handwheel toward you to ensure that the needle will not hit the center bar when stitching. 5. Set the stitch width to its widest width. For best results, you may need to loosen top thread tension. 6. Fold under the project's fabric edge and press. Press a piece of scrap fabric of equal length. Put the two pressed edges together and center them under the Fringe Foot. 7. Sew slowly and gently guide the fabric. 8. Pull out the bobbin thread from the stitching. 9. Remove the Fringe Foot. Attach the General Purpose Foot and shank. 10. Using the straight stretch stitch, sew between the edge of the zigzag stitch and the project's fabric edge. Make sure to sew on top of the zigzag stitching. Pull away the scrap fabric. Cut & Hem Attachment This foot is used to trim excess material while sewing. 1. Move the plastic sleeve that covers the needle clamp screw to the right. 2. Attach the Cut & Hem, making sure the attachment's "arm" fits around the needle bar thumb screw. Tighten the thumb screw, securing the foot. 3. Set the machine to zigzag stitch or overedge stitch. 4. Slowly turn the handwheel towards you; the needle should go over the stitch finger on the foot. If the needle is hitting the metal stitch finger or metal side, then widen or narrow the stitch width. Never use a straight stitch. 5. Cut a ½" wide by 1"deep notch at the top edge of your fabric. 6. Place the fabric OVER the first metal platform and then UNDER the second metal platform. If the foot is not cutting, it is usually because the material is not placed OVER the first metal platform. 7. Sew slowly and gently guide the fabric. The Cut & Hem works best if no more than ½" is being trimmed. This foot is metal and plastic. Page 01
-
 1
1 -
 2
2 -
 3
3 -
 4
4 -
 5
5 -
 6
6
 |
 |