Singer The SINGER 160 Instruction Manual 2 - Page 3
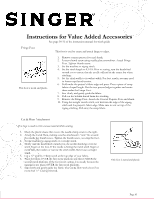
Cording Foot
 |
View all Singer The SINGER 160 manuals
Add to My Manuals
Save this manual to your list of manuals |
Page 3 highlights
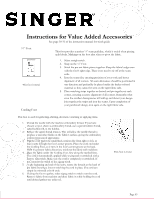
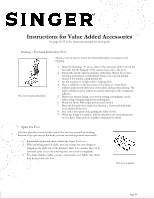
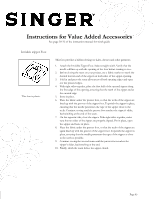
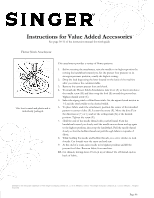
Instructions for Value Added Accessories See page 30-31 of the instruction manual for stitch guide ¼" Foot This foot provides a perfect ¼" seam guideline, which is useful when piecing quilt blocks. Markings on the foot alert when to pivot the fabric. This foot is metal. Cording Foot 1. Select straight stitch. 2. Snap on the ¼" Foot. 3. Stitch the pre-cut fabric pieces together. Keep the fabric's edge even with the foot's right edge. There is no need to tie off at the seam ends. 4. Iron the seams flat, ensuring precision of your work and better alignment of all corners. All seam allowances should be positioned in one direction and preferably be placed under the darker-colored material, so they cannot be seen on the right fabric side. 5. Place matching strips together as desired and pin together at each corner, ensuring accurate alignment of all corners. Remember that even the smallest discrepancies will add up and distort your design. Join together the strips and iron the seams. Upon completion of your patchwork design, iron again on the right fabric side. This foot is used for gathering, shirring, decorative stitching or applying trims. 1. Thread the needle with the machine embroidery thread. If you have chosen a rayon sheen as embroidery thread, use a special bobbin thread, called bobbin fill, in the bobbin. 2. Reduce the upper thread tension. This will allow the needle thread to produce a smoother finish on the fabric's surface, giving the embroidery a more pronounced appearance. 3. Pull the cord under the small black tension disc from right to left, so that it runs through the foot's center groove. Place the cord end under the Cording Foot, so it runs in the foot's center groove at the back. Hint: To prevent fabric distortion, reinforce the fabric with stabilizer. 4. Place the fabric under the Cording Foot. Sew along the marked lines. The cord is automatically applied while sewing and overstitched with a narrow satin stitch. Make sure the cord is completely overstitched. If not, increase the width of the zigzag stitch. 5. At the beginning and end of the seam, secure the threads at the back of the fabric by tying a knot or stitching the cord in place. The cord can simply be trimmed at both ends. 6. If using the foot to gather, select zigzag stitch to stitch over the cord. Remove fabric from machine and draw fabric in while holding the cord until desired gathers are achieved. This foot is metal. Page 03
-
 1
1 -
 2
2 -
 3
3 -
 4
4 -
 5
5 -
 6
6
 |
 |