Sony BDV-E4100 Operating Instructions - Page 23
Step 4: Performing the Easy Setup
 |
View all Sony BDV-E4100 manuals
Add to My Manuals
Save this manual to your list of manuals |
Page 23 highlights
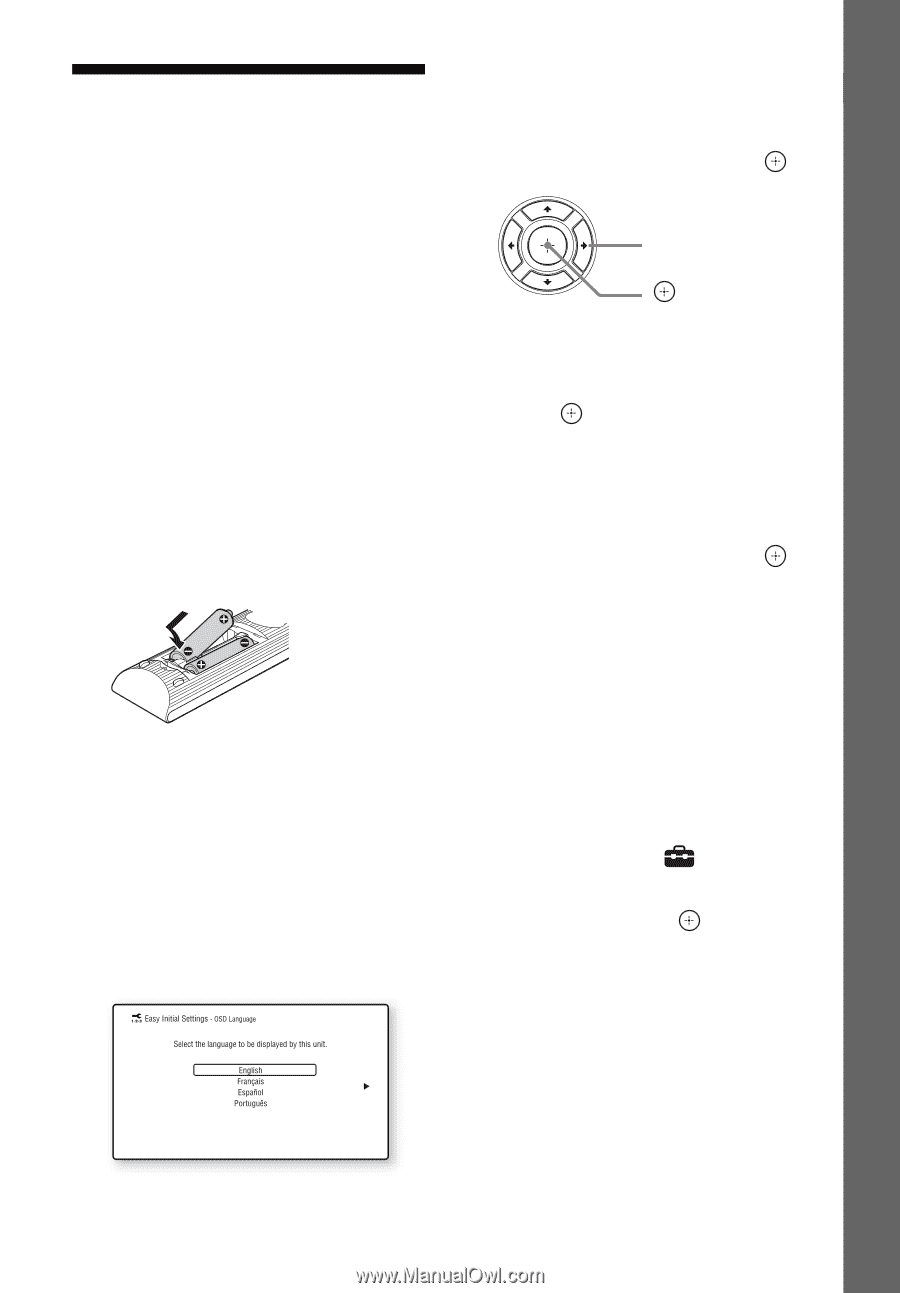
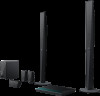
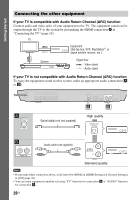
Getting Started Step 4: Performing the Easy Setup Before performing Step 4 Make sure all connections are secure, and then connect the AC power cord (mains lead). Follow the Steps below to make the basic adjustments and network settings for the system. Displayed items vary depending on the area. 1 Insert two R6 (size AA) batteries (supplied) by matching the 3 and # ends on the batteries to the markings inside the compartment. 2 Turn on the TV. 3 Press [/1. 4 Switch the input selector on your TV so that the signal from the system appears on the TV screen. The [Easy Initial Settings] for OSD language selection appears. 5 Perform [Easy Initial Settings]. Follow the on-screen instructions to make the basic settings using B/V/v/b and . B/V/v/b 6 After completing the [Easy Initial Settings], press V/v to select [Easy Network Settings], then press . The [Easy Network Settings] display appears. 7 Follow the on-screen instructions to make the network settings using B/V/v/b and . If the system cannot connect to the network, see "Network connection" (page 59) or "Wireless LAN connection" (page 59). To recall the [Easy Network Settings] display 1 Press HOME. The home menu appears on the TV screen. 2 Press B/b to select [Setup]. 3 Press V/v to select [Easy Network Settings], then press . 23US
-
 1
1 -
2
-
3
-
4
-
5
-
6
-
7
-
8
-
9
-
10
-
11
-
12
-
13
-
14
-
15
-
16
-
17
-
 18
18 -
 19
19 -
 20
20 -
 21
21 -
 22
22 -
 23
23 -
 24
24 -
 25
25 -
 26
26 -
 27
27 -
 28
28 -
29
-
30
-
31
-
32
-
33
-
34
-
35
-
36
-
37
-
38
-
39
-
40
-
41
-
42
-
43
-
44
-
45
-
46
-
47
-
48
-
49
-
50
-
51
-
52
-
53
-
54
-
55
-
56
-
57
-
58
-
59
-
60
-
61
-
62
-
63
-
64
-
65
-
66
-
67
-
68
-
69
-
70
-
71
-
72
 |
 |