Sony LBT-ZX6 Operating Instructions - Page 11
Setting the clock, Positioning the speakers for, FST-ZX6/LBT-ZX6 only
 |
UPC - 027242680807
View all Sony LBT-ZX6 manuals
Add to My Manuals
Save this manual to your list of manuals |
Page 11 highlights
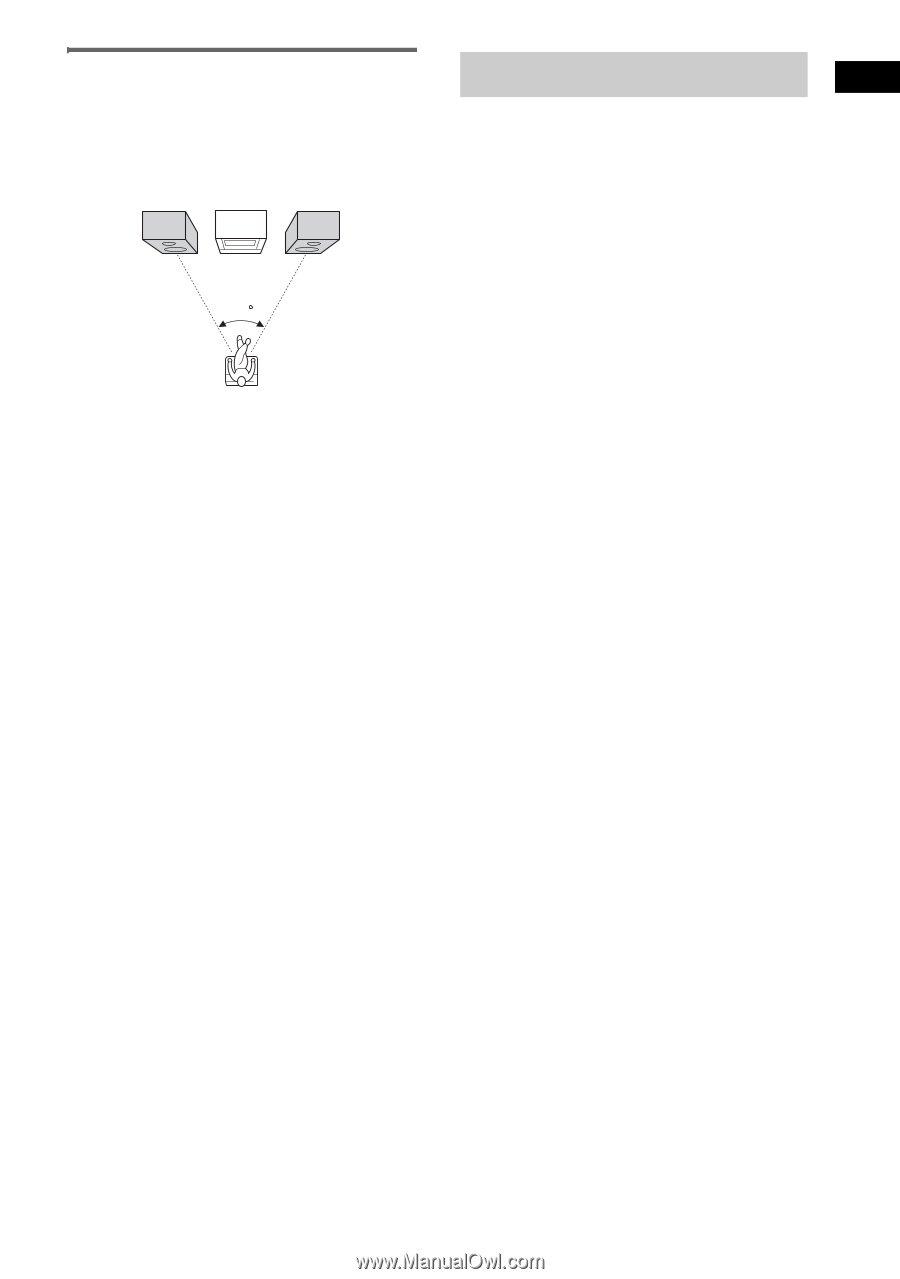
Getting Started Positioning the speakers for FST-ZX6/LBT-ZX6 only Place the front speakers at an angle of 45 degrees from your listening position. Front Speaker (L) Main Unit Front Speaker (R) 45 Setting the clock 1 Press ?/1 to turn on the system. 2 Press CLOCK/TIMER SET. "CLOCK" appears in the display. Then, the hour indication flashes in the display. 3 Press M or m (or >+ or -. on the remote) repeatedly to set the hour. 4 Press ENTER. The minute indication flashes in the display. 5 Press M or m (or >+ or -. on the remote) repeatedly to set the minute. 6 Press ENTER. The clock starts functioning. To adjust the clock 1 Press CLOCK/TIMER SET. "PLAY SET?" flashes in the display. 2 Press M or m (or >+ or -. on the remote) to select "CLOCK SET?", then press ENTER. The hour indication flashes in the display. 3 Do the same procedures as step 3 to 6 above. Note The clock settings are canceled when you disconnect the power cord or if a power failure occurs. 11GB
-
 1
1 -
2
-
3
-
4
-
5
-
 6
6 -
 7
7 -
 8
8 -
 9
9 -
 10
10 -
 11
11 -
 12
12 -
 13
13 -
 14
14 -
 15
15 -
 16
16 -
17
-
18
-
19
-
20
-
21
-
22
-
23
-
24
-
25
-
26
-
27
-
28
-
29
-
30
-
31
-
32
-
33
-
34
-
35
-
36
-
37
-
38
-
39
-
40
-
41
-
42
-
43
-
44
-
45
-
46
-
47
-
48
 |
 |