Sony RM-VL700S Operating Instructions - Page 17
Repeat Steps 4 and 5 to, Press and hold the button - remote code
 |
View all Sony RM-VL700S manuals
Add to My Manuals
Save this manual to your list of manuals |
Page 17 highlights
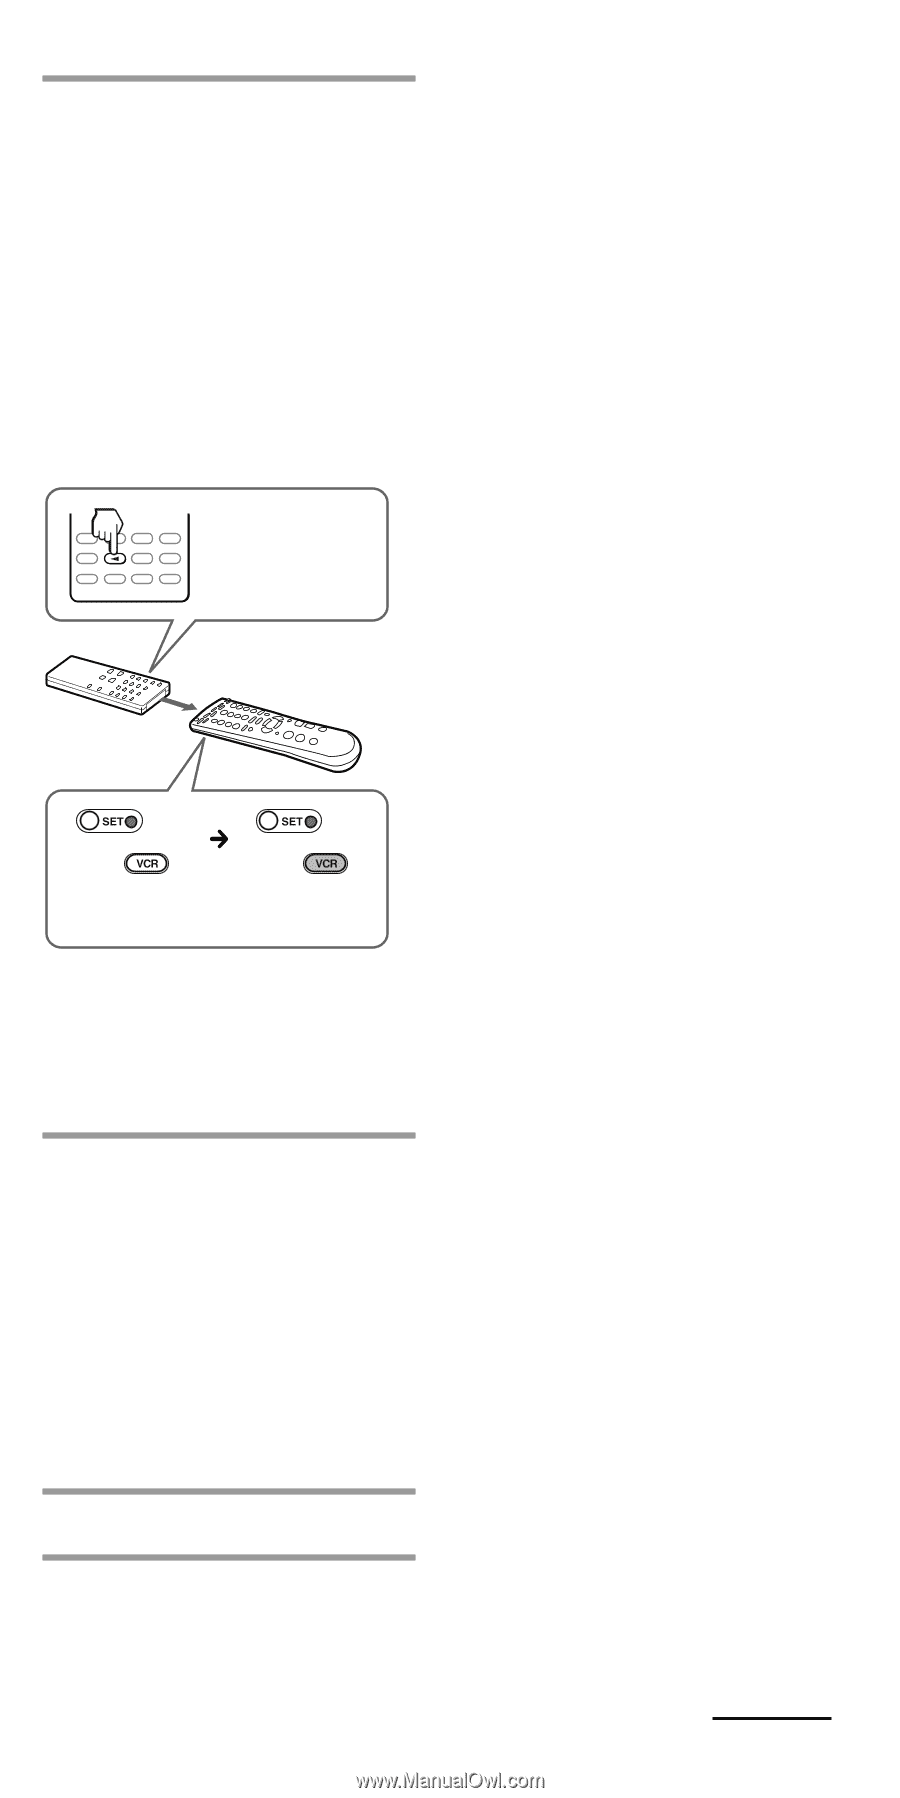
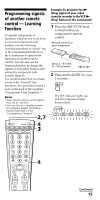
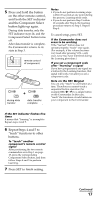
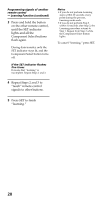
5 Press and hold the button on the other remote control, until both the SET indicator and the Component Select button lights up again. During data transfer, only the SET indicator stays lit, and the Component Select button turns off. After data transfer is complete, the Commander returns to its state in Step 3. remote control of component during data transfer data transfer complete Notes • If you do not perform Learning steps within 20 seconds at any point during the process, Learning mode ends. • If you do not perform Step 5 within 10 seconds after Step 4, the learning procedure returns to Step 3. Repeat Step 4. To cancel setup, press SET. If the Commander does not seem to be working If the "learned" button does not operate properly, "teach" once again. (For example, if the volume becomes very loud after pressing VOL+ only once, noise may have interfered during the Learning procedure.) If you set a component code after "learning" a signal If you have programmed any signal on a button by the Learning function, that signal will work even after you set a component code. Note on the REC zsignal You can only "teach" to one button at a time. Therefore you cannot teach a sequential button operation (for example REC z + B) to a single button on the Commander. In this case, "teach" the functions of each button on your component to the Commander. If the SET indicator flashes five times It means that "learning" is incomplete. Repeat steps 4 and 5. 6 Repeat Steps 4 and 5 to "teach" functions to other buttons. To "teach" another component's remote control signal After positioning the two remote commanders as in Step 1 on page 15, press the corresponding Component Select button, and then follow Steps 4 and 5 to perform Learning. 7 Press SET to finish setting. Continued 17
-
 1
1 -
2
-
3
-
4
-
5
-
6
-
7
-
8
-
9
-
10
-
11
-
 12
12 -
 13
13 -
 14
14 -
 15
15 -
 16
16 -
 17
17 -
 18
18 -
 19
19 -
 20
20 -
 21
21 -
 22
22 -
23
-
24
-
25
-
26
-
27
-
28
-
29
-
30
-
31
-
32
-
33
-
34
-
35
-
36
-
37
-
38
-
39
-
40
 |
 |