Stihl HS 82 R Product Instruction Manual - Page 8
English
 |
View all Stihl HS 82 R manuals
Add to My Manuals
Save this manual to your list of manuals |
Page 8 highlights
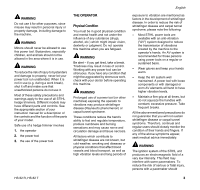
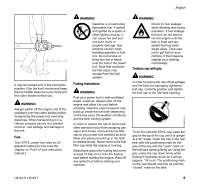
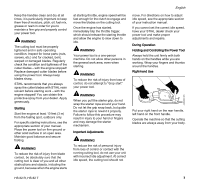
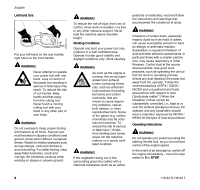
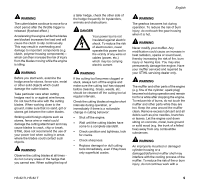
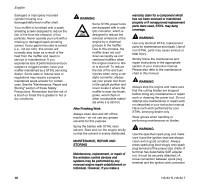
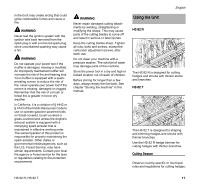
English Fold the grip flush with the top of the cap. Grip the cap and check for tightness. If the grip does not lie completely flush with the cap and the detent on the grip does not fit in the corresponding recess in the filler opening, or if the cap is loose in the filler opening, the cap is not properly seated and tightened and you must repeat the above steps. Misaligned, damaged or broken cap N If the cap does not drop fully into the opening when the positioning marks line up and/or if the cap does not tighten properly when twisted, the base of the cap may be prematurely rotated (in relation to the top) to the closed position. Such misalignment can result from handling, cleaning or an improper attempt at tightening. 1 Left: Right: Bottom of cap in closed position - inner mark (1) in line with outer mark. Bottom of cap in correct position for installation - inner mark is under the grip and not in line with the outer mark. N To return the cap to the open position for installation, turn the cap (with the grip up) until it drops fully into the tank opening. Next, twist the cap counterclockwise as far as it will go (approx. 1/4 turn) - this will twist the base of the cap into the correct position for installation. Then, twist the cap clockwise, closing it normally. N If your cap still does not tighten properly, it may be damaged or broken; immediately stop use of the unit and take it to your authorized STIHL dealer for repair. 001BA239 KN 001BA238 KN See also the "Fueling" chapter in your Instruction Manual for additional information. Before Starting WARNING Always check your power tool for proper condition and operation before starting, particularly the throttle trigger, throttle trigger lockout, stop switch and cutting tool. The stop switch must move easily in direction of STOP or 0 and spring back to the normal run position F. The throttle trigger must move freely and always spring back to the idle position. Never attempt to modify the controls or safety devices. WARNING Check fuel system for leaks, especially the visible parts, e.g., filler cap, hose connections, manual fuel pump (only for power tools equipped with a manual fuel pump). Do not start the engine if there are leaks or damage - risk of fire! Have the machine repaired by a servicing dealer before using it. WARNING Never use a power tool that is damaged or not properly maintained. WARNING Check that the spark plug boot is securely mounted on the spark plug - a loose boot may cause arcing that could ignite combustible fumes and cause a fire. 6 HS 82 R, HS 82 T
-
 1
1 -
2
-
 3
3 -
 4
4 -
 5
5 -
 6
6 -
 7
7 -
 8
8 -
 9
9 -
 10
10 -
 11
11 -
 12
12 -
 13
13 -
14
-
15
-
16
-
17
-
18
-
19
-
20
-
21
-
22
-
23
-
24
-
25
-
26
-
27
-
28
-
29
-
30
-
31
-
32
-
33
-
34
-
35
-
36
-
37
-
38
-
39
-
40
-
41
-
42
-
43
-
44
-
45
-
46
-
47
-
48
-
49
-
50
-
51
-
52
-
53
-
54
-
55
-
56
-
57
-
58
-
59
-
60
-
61
-
62
-
63
-
64
-
65
-
66
-
67
-
68
-
69
-
70
-
71
-
72
-
73
-
74
-
75
-
76
 |
 |
