TP-Link TD-8817 User Guide - Page 17
Login - windows 7
 |
UPC - 845973060107
View all TP-Link TD-8817 manuals
Add to My Manuals
Save this manual to your list of manuals |
Page 17 highlights
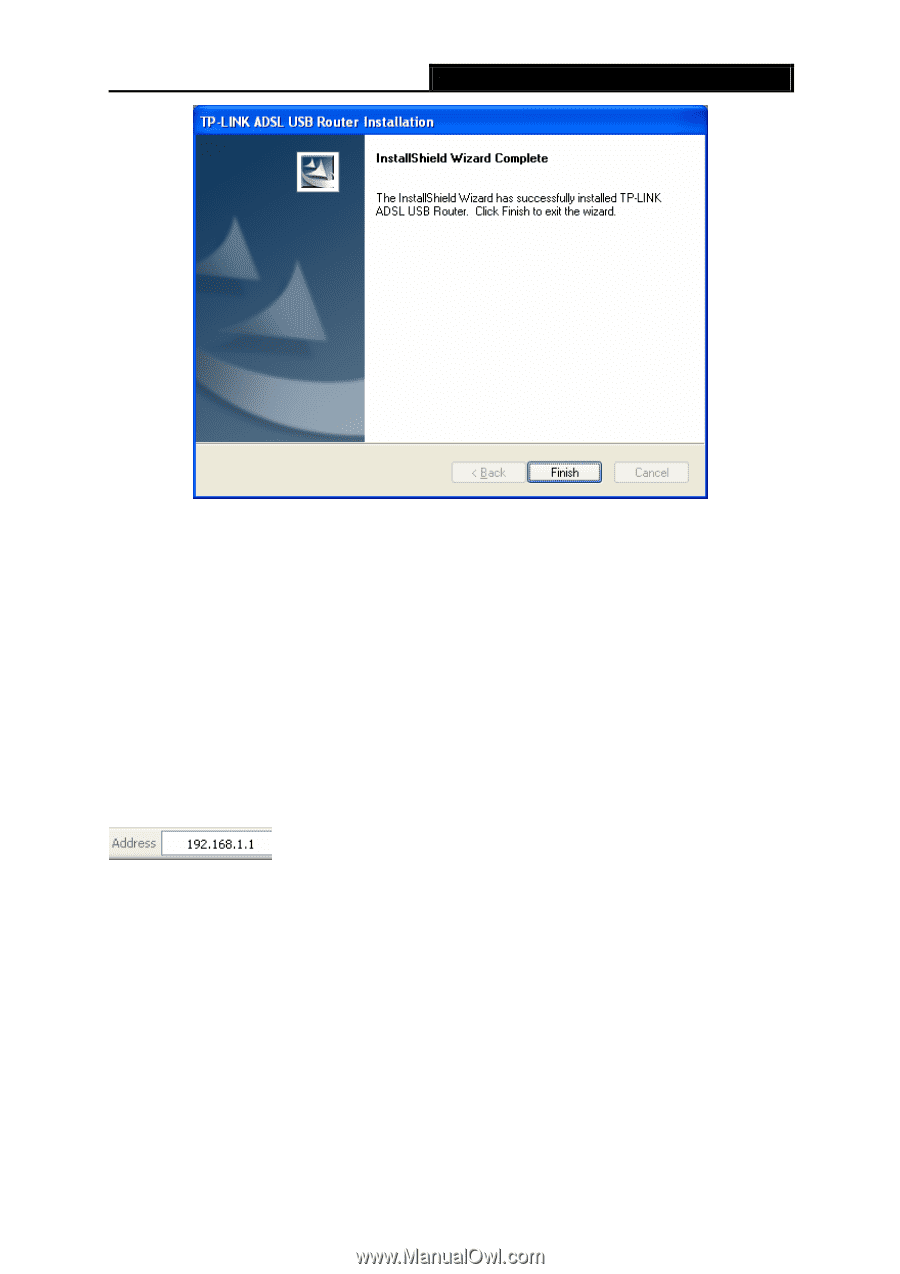
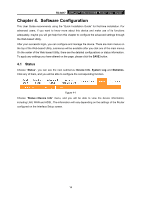
TD-8817 ADSL2/2+ Ethernet/USB Router User Guide Figure 3-9 ) Note: 1) All of the above settings are under windows XP. 2) If you want to pull out the USB device you must disconnect the network of USB first. 3) In the Vista operating system, maybe the "Unknown Device" screen will pop up when you insert the USB cable of the Router to a computer, please just unplug the USB cable and try again. 3.3 Login Once your host PC is properly configured, please proceed as follows to use the Web-based Utility: Start your web browser and type the private IP address of the Router in the URL field: 192.168.1.1. After that, you will see the screen shown below, enter the default User Name admin and the default Password admin, and then click OK to access to the Quick Setup screen. You can follow the steps below to complete the Quick Setup. 11
-
 1
1 -
2
-
3
-
4
-
5
-
6
-
7
-
8
-
9
-
10
-
11
-
 12
12 -
 13
13 -
 14
14 -
 15
15 -
 16
16 -
 17
17 -
 18
18 -
 19
19 -
 20
20 -
 21
21 -
 22
22 -
23
-
24
-
25
-
26
-
27
-
28
-
29
-
30
-
31
-
32
-
33
-
34
-
35
-
36
-
37
-
38
-
39
-
40
-
41
-
42
-
43
-
44
-
45
-
46
-
47
-
48
-
49
-
50
-
51
-
52
-
53
-
54
-
55
-
56
-
57
-
58
 |
 |