TP-Link USB2 Installation Instructions - Page 1
TP-Link USB2 Manual
 |
View all TP-Link USB2 manuals
Add to My Manuals
Save this manual to your list of manuals |
Page 1 highlights
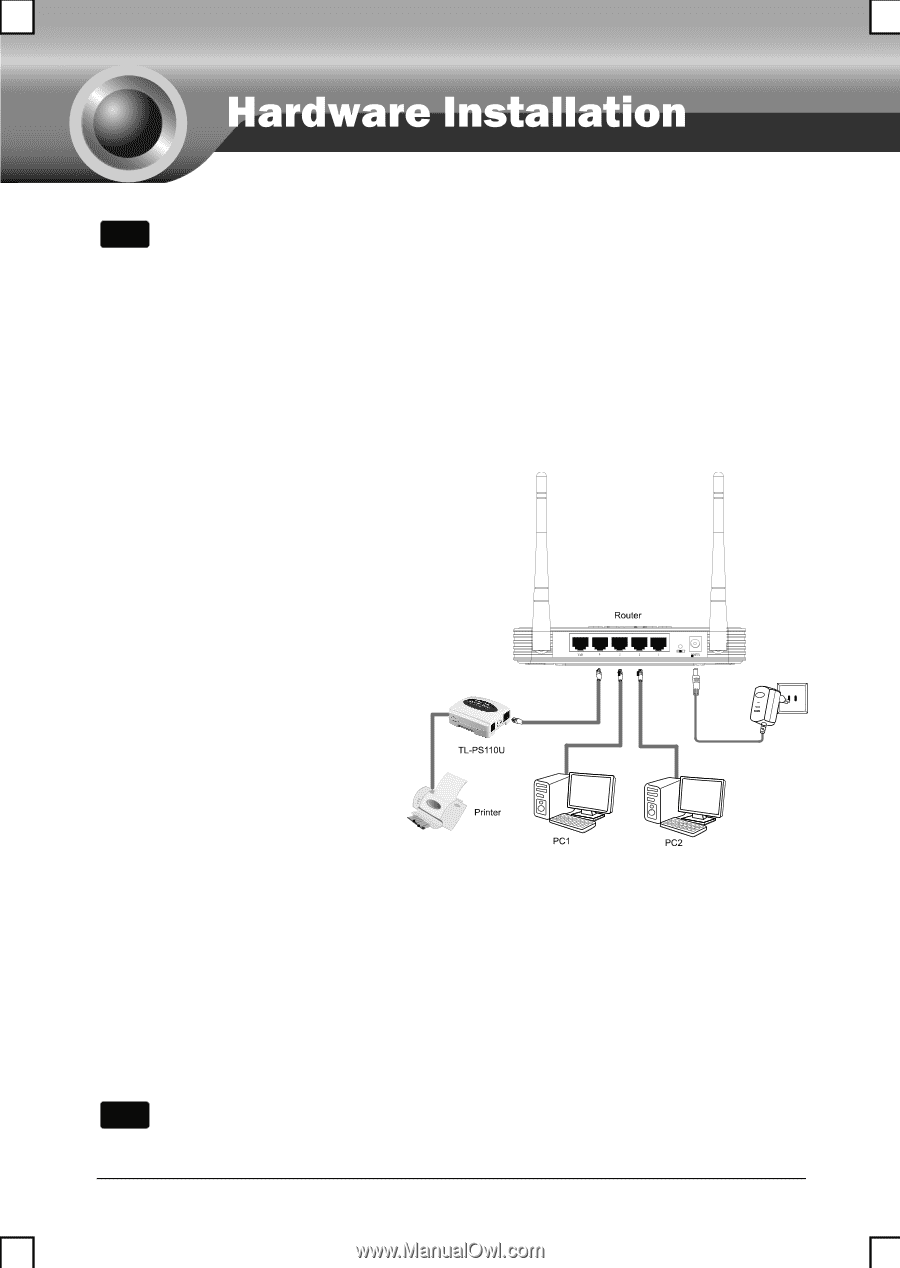
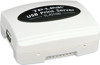
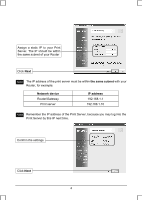
Note The product model shown in this QIG is TL-PS110U, as an example. Before you start, you should prepare the following items ¾ Windows 2000/XP/2003/Vista/7 computer with print server setup CD ¾ One Printer ¾ One Printer cable ¾ One Router Hardware Installation 1. Turn off the printer's power. 2. Connect the print server to your printer with the supplied printer cable. Connect the print server to your Router with the RJ45 cable. The image beside is the classic infrastructure topology for reference: 3. Turn the printer's power on. 4. Plug the AC power adapter into the power connector on the print server. 5. Wait 40 seconds as part of the print server's Power On Self Test (POST). Factory Default Settings ¾ Username: admin ¾ IP Address: 192.168.0.10 ¾ Subnet Mask: 255.255.255.0 Note The TL-PS110U is produced without password by default. 1
-
 1
1 -
 2
2 -
 3
3 -
 4
4 -
 5
5 -
 6
6 -
 7
7 -
8
-
9
-
10
 |
 |