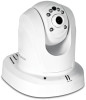
TRENDnet TV-IP672PI User's Guide - Page 15
Set DST Manually
 |
View all TRENDnet TV-IP672PI manuals
Add to My Manuals
Save this manual to your list of manuals |
Page 15 highlights
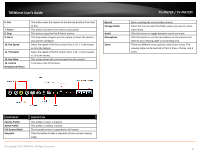
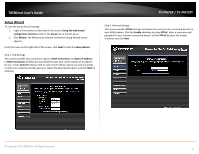
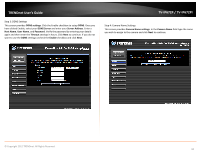
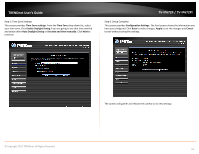
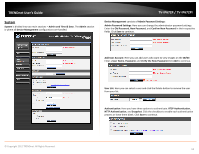
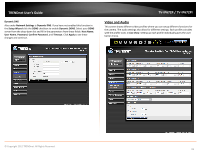
TRENDnet User's Guide The camera allows users to access the video directly For Internet Explorer, http://camera ip/directview/tvaview.cgi For Non Internet Explorer, http://camera ip/directview/tvjview.cgi When HTTP Authentication is enabled, user name and password are required to access the direct view page. Device Settings: Here you can change the Camera Name, click OSD to enable the Label Name and check Time Stamp to singe times into your images. The LED light has three options from the drop-down list: Power/Link, Off, or Flicker. The options are selfexplanatory. Click Save to continue. Privacy Settings: Here you can enable/disable the Privacy button function. TV-IP672P / TV-IP672PI The next configurable section under System is Time and Date. If you didn't set the time and date settings in the Setup Wizard, you can change them here. Under Time Configuration, select a Time Zone from the drop-down list. Click the checkbox next to Enable Daylight Saving to enable this function and choose either Auto Daylight Saving or Set DST Manually. Click Apply to continue. © Copyright 2012 TRENDnet. All Rights Reserved. 13
-
 1
1 -
2
-
3
-
4
-
5
-
6
-
7
-
8
-
9
-
 10
10 -
 11
11 -
 12
12 -
 13
13 -
 14
14 -
 15
15 -
 16
16 -
 17
17 -
 18
18 -
 19
19 -
 20
20 -
21
-
22
-
23
-
24
-
25
-
26
-
27
-
28
-
29
-
30
-
31
-
32
-
33
-
34
-
35
-
36
-
37
-
38
-
39
 |
 |
