Thermador CEM366TB Instructions for Use - Page 9
Getting familiar with the appliance
 |
View all Thermador CEM366TB manuals
Add to My Manuals
Save this manual to your list of manuals |
Page 9 highlights
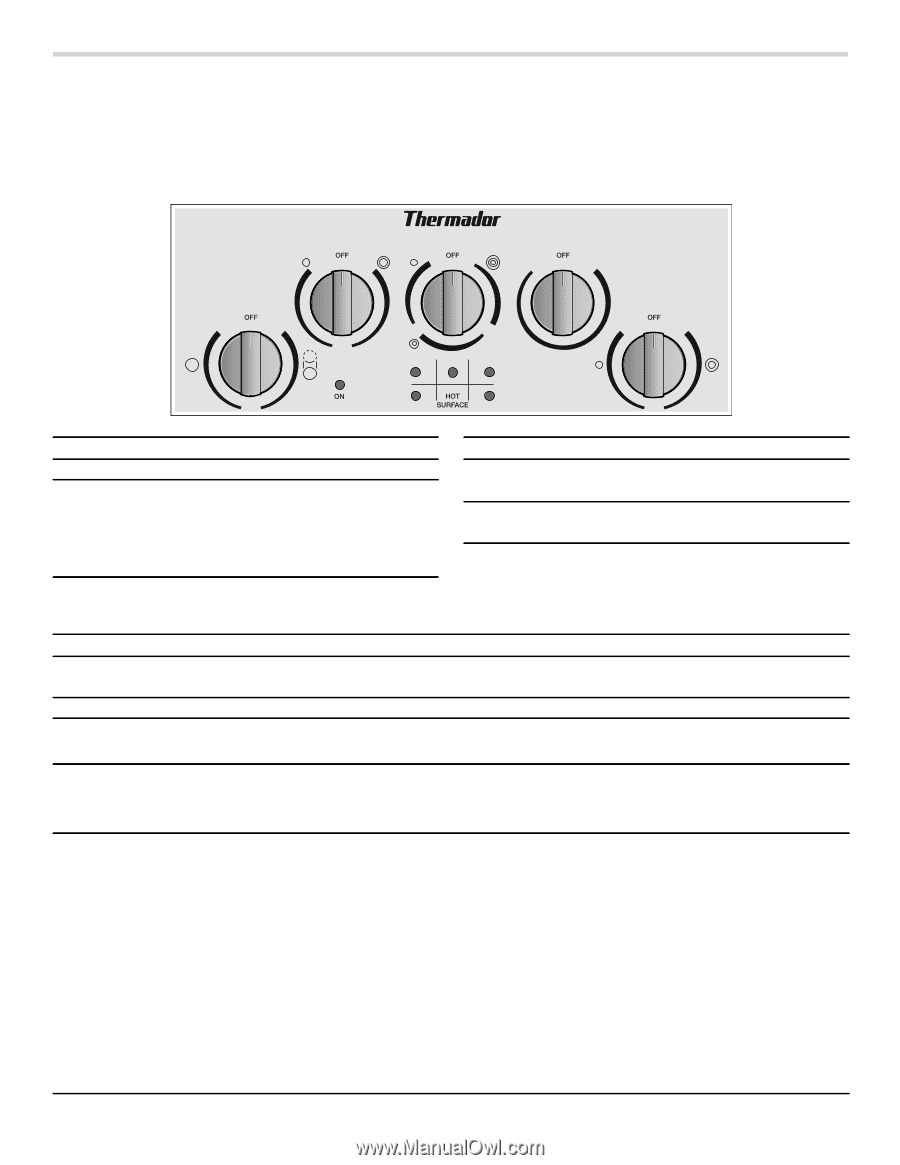
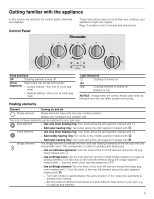
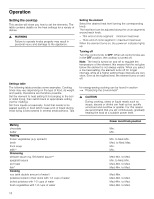
Getting familiar with the appliance In this section we describe the control panel, elements and displays. Control Panel These instructions apply to more than one cooktop, your appliance might vary slightly. Page 2 contains a list of models and dimensions. Knob positions Off Cooking element turned off. Circle Heat levels can be set contiuously: Segments ▯ Lowest setting = thin end of circle seg- ment ▯ Highest setting = thick end of circle segment Light Indicators $ Cooktop is turned on On ¶ Cooking element is turned on Surface is hot NOTICE: Always keep the control knobs clean and dry. Moisture and dirt can affect proper functioning. Heating elements Element $ Single element Turning on and off Single elements have only one size cooking surface. Always use cookware of a suitable size. The size of these elements can be matched to your pan size: ð Dual element ▯ Use only inner heating ring: Turn knob along the left segment marked with $. ▯ Add outer heating ring: Turn knob along the right segment marked with ð. Triple element ò ▯ Use only inner heating ring: Turn knob along the left segment marked with $. ▯ Add middle heating ring: Turn knob to the middle segment marked with ð. ▯ Add outer heating ring: Turn knob along the right segment marked with ò. Bridge element à The bridge element combines the front and rear heating elements at the left side into one long griddle zone. This configuration is ideal for griddles and large pans. ▯ Use as individual elements: Turn the knob of the front left element along the left segment marked with $. ▯ Use as Bridge zone: Use the front element and the middle bridge element to create an oblong element. Turn the knob of the front left element along the bridge segment marked with ö. Turn the knob of the rear left element to OFF. ▯ Use as Bridge element: Turn the knob of the front left element along the bridge segment marked with ö. Turn the knob of the rear left element along the right segment marked with ð. ▯ Turn both knobs to approximately the same position of the respective segments to achieve even heating. ▯ Set the knobs to different heat levels to create different heat zones in your pan, e.g. for searing and stewing. 9
-
 1
1 -
2
-
3
-
 4
4 -
 5
5 -
 6
6 -
 7
7 -
 8
8 -
 9
9 -
 10
10 -
 11
11 -
 12
12 -
 13
13 -
 14
14 -
15
-
16
-
17
-
18
-
19
-
20
-
21
-
22
-
23
-
24
-
25
-
26
-
27
-
28
-
29
-
30
-
31
-
32
-
33
-
34
-
35
-
36
-
37
-
38
-
39
-
40
-
41
-
42
-
43
-
44
-
45
-
46
-
47
-
48
 |
 |