Thermador PCG366G Installation Instructions PART3 - Page 15
Step 6: Backguard Installation, Step 7: Burner Test and Adjustment - range
 |
View all Thermador PCG366G manuals
Add to My Manuals
Save this manual to your list of manuals |
Page 15 highlights
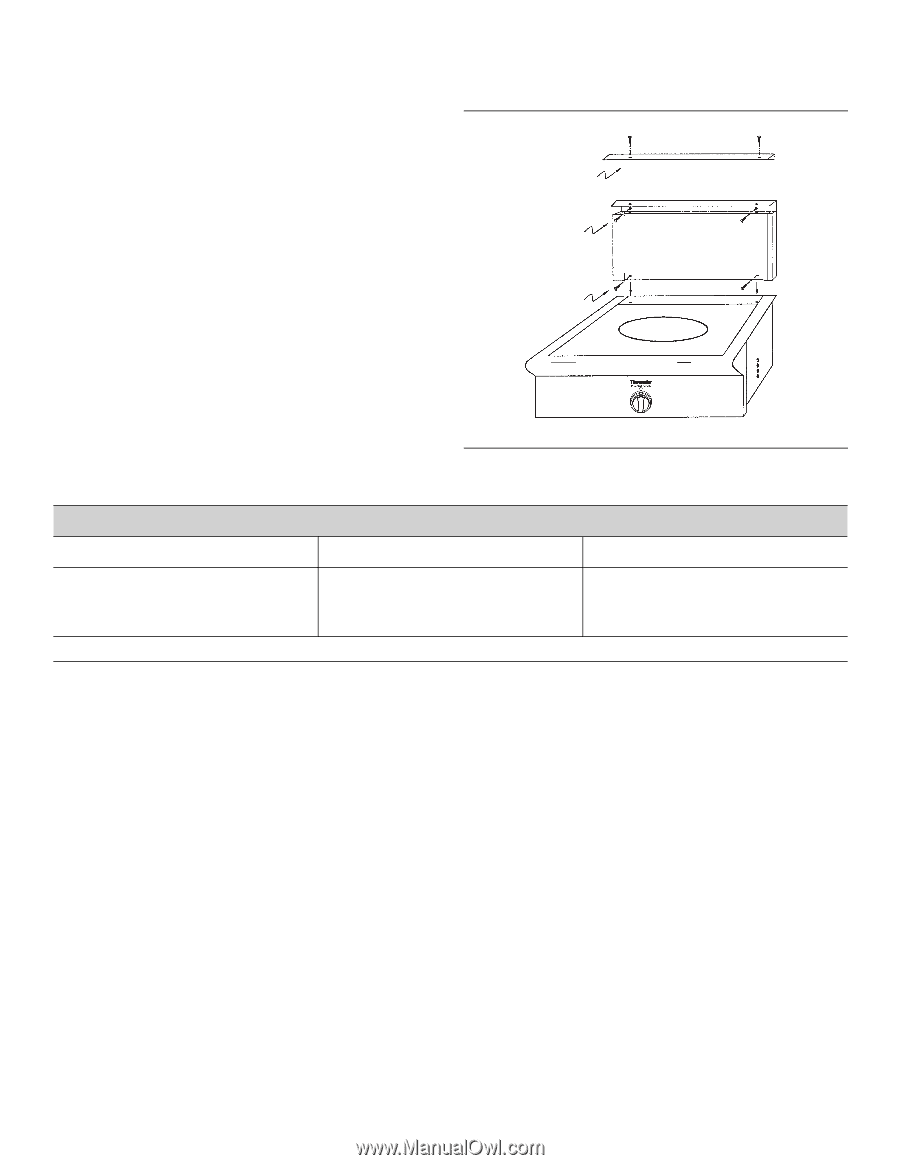
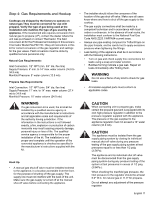
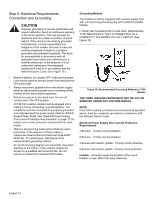
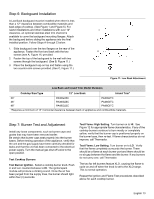
Step 6: Backguard Installation A Low Back backguard must be installed when there is less than a 12" clearance between combustible materials and back edge of cooktop. (See Figure 1 and Figure 5.) For island installations and other installations with over 12" C clearance, an optional stainless steel trim channel is available to cover the backguard mounting flanges. Attach the backguard before sliding the appliance into the final B installed position. Follow Steps A through C below: 1. Slide backguard over the two flanges on the rear of the appliance. Fasten the front and back with the two A screws (see A, Figure 11) provided. 2. Fasten the top of the backguard to the wall with two screws through the backguard. (See B, Figure 11.) 3. Place the backguard cap on top and fasten using the two counter-sink screws provided. (See C, Figure 11.) Figure 11: Low Back Attachment Low Back and Island Trim Model Numbers Cooktop Size/Type 12" Low Back Island Trim* 30" PA30GLBC PA30GITC 36" PA36GLBC PA36GITC 48" PA48GLBC PA48GITC *Requires a minimum of 12" horizontal clearance between back of appliance and combustible materials. Step 7: Burner Test and Adjustment Install any loose components, such as burner caps and grates that may have been removed earlier. Be certain that burner caps seat properly into the burner bases. Before testing operation of the appliance, verify that the unit and the gas supply have been carefully checked for leaks and that the unit has been connected to the electrical power supply. Turn the manual gas shut-off valve to the open position. Test Cooktop Burners Test Burner Ignition. Select a cooktop burner knob. Push in and turn counterclockwise to HI. The ignitor/spark module will produce a clicking sound. Once the air has been purged from the supply lines, the burner should light within four (4) seconds. Test Flame: High Setting. Turn burner on to HI. See Figure 12 for appropriate flame characteristics. If any of the cooktop burners continue to burn mostly or completely yellow, verify that the burner cap is positioned properly on the burner base, then re-test. If flame characteristics do not improve, call Thermador. Test Flame: Low Setting. Turn burner on to LO. Verify that the flame completely surrounds the burner. There should be a flame at each burner port and there should be no air gap between the flame and the burner. If any burners do not carry over, call Thermador. The two far left burners feature XLO, causing the flame to cycle on and off when the knob is set to the XLO range. This is normal operation. Repeat the Ignition and Flame Test procedures described above for each cooktop burner. English 13
-
 1
1 -
2
-
3
-
4
-
5
-
6
-
7
-
8
-
9
-
 10
10 -
 11
11 -
 12
12 -
 13
13 -
 14
14 -
 15
15 -
 16
16 -
 17
17 -
 18
18 -
 19
19 -
 20
20 -
21
-
22
-
23
-
24
-
25
-
26
-
27
-
28
-
29
-
30
-
31
-
32
-
33
-
34
-
35
-
36
-
37
-
38
-
39
-
40
-
41
-
42
-
43
-
44
-
45
-
46
-
47
-
48
-
49
-
50
-
51
-
52
-
53
-
54
-
55
-
56
 |
 |