Toshiba MES30V User Guide - Page 67
Transferring photos using Windows Media® Player 10, Start Sync
 |
View all Toshiba MES30V manuals
Add to My Manuals
Save this manual to your list of manuals |
Page 67 highlights
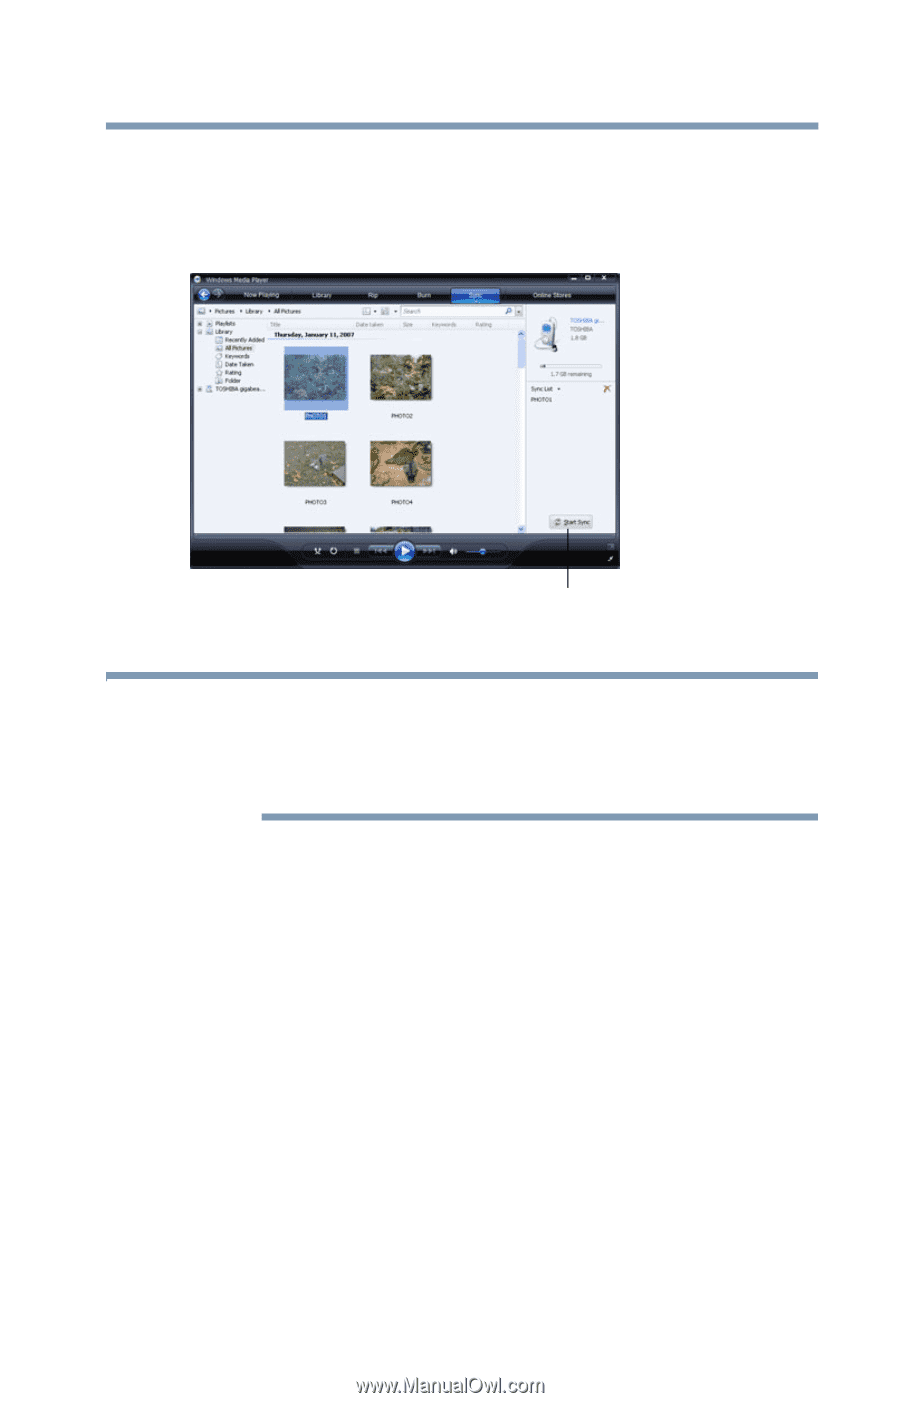
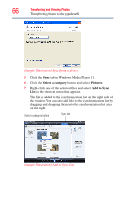
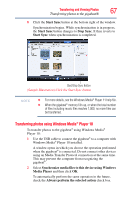
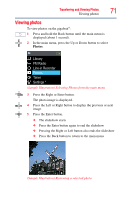
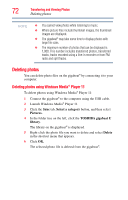
Transferring and Viewing Photos 67 Transferring photos to the gigabeat® 8 Click the Start Sync button at the bottom right of the window. Synchronization begins. While synchronization is in progress, the Start Sync button changes to Stop Sync. It then reverts to Start Sync when synchronization is completed. Start/Stop Sync Button (Sample Illustration) Click the Start Sync button NOTE ❖ For more details, see the Windows Media® Player 11 help file. ❖ When the gigabeat® memory fills up, or when the total number of files including music files reaches 1,000, no more files can be transferred. Transferring photos using Windows Media® Player 10 To transfer photos to the gigabeat® using Windows Media® Player 10: 1 Use the USB cable to connect the gigabeat® to a computer with Windows Media® Player 10 installed. A window opens in which you choose the operation performed when the gigabeat® is connected. Do not connect other devices using an Media Transfer Protocol connection at the same time. This may prevent the computer from recognizing the gigabeat®. 2 Select Synchronize media files to this device using Windows Media Player and then click OK. To automatically perform the same operation in the future, check the Always perform the selected action check box.
-
 1
1 -
2
-
3
-
4
-
5
-
6
-
7
-
8
-
9
-
10
-
11
-
12
-
13
-
14
-
15
-
16
-
17
-
18
-
19
-
20
-
21
-
22
-
23
-
24
-
25
-
26
-
27
-
28
-
29
-
30
-
31
-
32
-
33
-
34
-
35
-
36
-
37
-
38
-
39
-
40
-
41
-
42
-
43
-
44
-
45
-
46
-
47
-
48
-
49
-
50
-
51
-
52
-
53
-
54
-
55
-
56
-
57
-
58
-
59
-
60
-
61
-
 62
62 -
 63
63 -
 64
64 -
 65
65 -
 66
66 -
 67
67 -
 68
68 -
 69
69 -
 70
70 -
 71
71 -
 72
72 -
73
-
74
-
75
-
76
-
77
-
78
-
79
-
80
-
81
-
82
-
83
-
84
-
85
-
86
-
87
-
88
-
89
-
90
-
91
-
92
-
93
-
94
-
95
-
96
-
97
-
98
-
99
-
100
-
101
-
102
-
103
-
104
-
105
-
106
-
107
-
108
-
109
-
110
-
111
-
112
-
113
-
114
-
115
-
116
-
117
-
118
-
119
-
120
-
121
-
122
-
123
-
124
-
125
-
126
-
127
-
128
-
129
-
130
-
131
-
132
-
133
-
134
-
135
 |
 |