Toshiba Portege X20 PRT13A-05S002 Portege X20W-D Series Users Guide English - Page 44
Back, Safely Remove Hardware and Eject Media
 |
View all Toshiba Portege X20 PRT13A-05S002 manuals
Add to My Manuals
Save this manual to your list of manuals |
Page 44 highlights
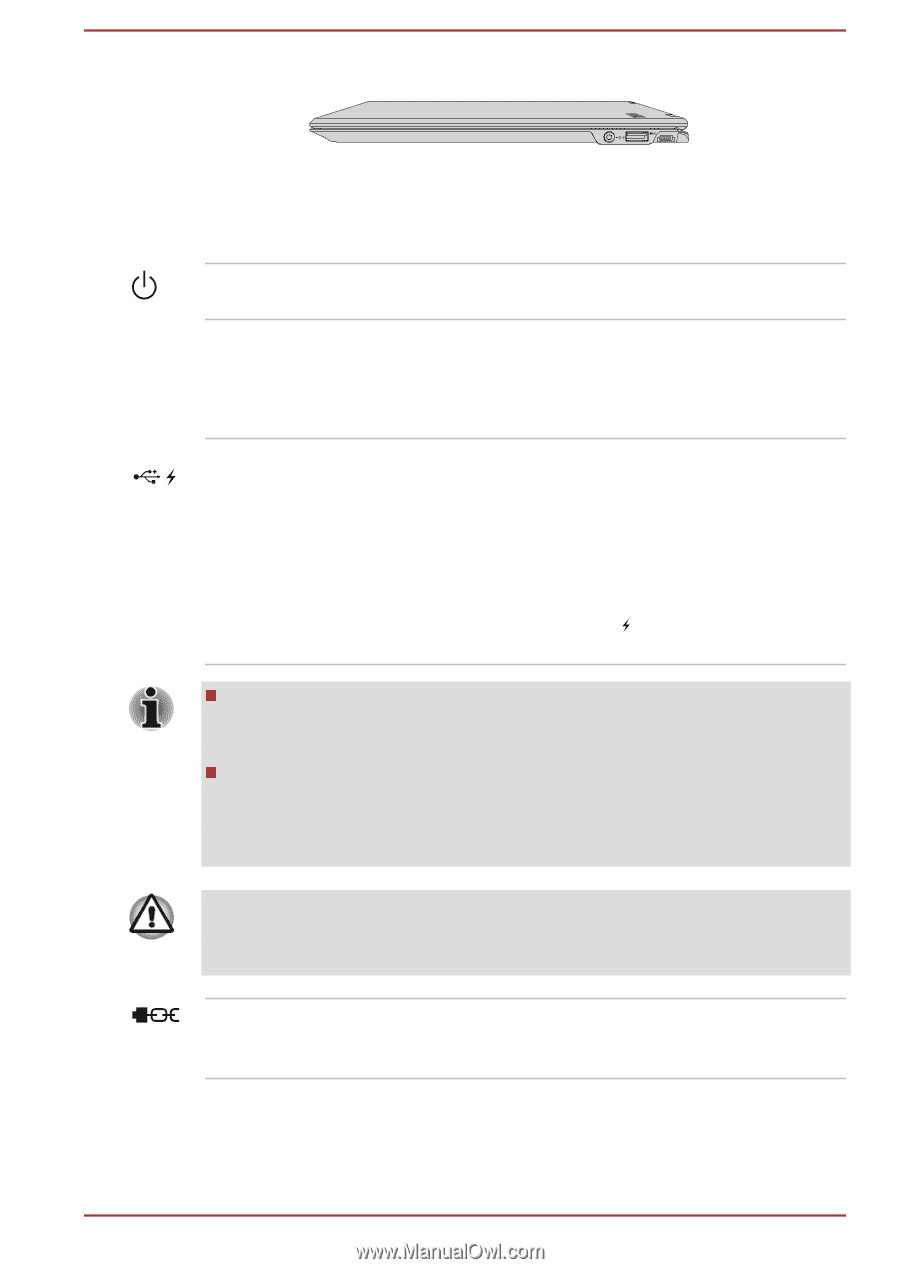
Figure 3-3 The right side of the computer 1. Power indicator 2. Power button 1 2 3 4 3. Universal Serial Bus (USB 3.0) port 4. Security lock slot Power button Press this button to turn the computer's power on or off. Power indicator The Power indicator normally glows white when the computer is turned on. However, if you turn off the computer into Sleep Mode, this indicator blinks white. Universal Serial Bus (USB 3.0) port One Universal Serial Bus port, which complies to the USB 3.0 standard, is provided on the right side of the computer. The USB 3.0 port is compliant with USB 3.0 standard and backward compatible with USB 2.0 devices. The port with the icon ( ) has Sleep and Charge function. Note that it is not possible to confirm the operation of all functions of all USB devices that are available. Some functions associated with a specific device might not operate properly. Before removing a USB device from the USB port of your computer, click the Safely Remove Hardware and Eject Media icon on the Windows Taskbar, and then select the USB device that you want to remove. Keep foreign metal objects, such as screws, staples, and paper clips, out of the USB port. Foreign metal objects can create a short circuit, which can cause damage and fire, possibly resulting in serious injury. Security lock slot A security cable can be attached to this slot and then connected to a desk or other large object in order to deter theft of the computer. Back The following figure shows the back of the computer. User's Manual 3-3
-
 1
1 -
2
-
3
-
4
-
5
-
6
-
7
-
8
-
9
-
10
-
11
-
12
-
13
-
14
-
15
-
16
-
17
-
18
-
19
-
20
-
21
-
22
-
23
-
24
-
25
-
26
-
27
-
28
-
29
-
30
-
31
-
32
-
33
-
34
-
35
-
36
-
37
-
38
-
 39
39 -
 40
40 -
 41
41 -
 42
42 -
 43
43 -
 44
44 -
 45
45 -
 46
46 -
 47
47 -
 48
48 -
 49
49 -
50
-
51
-
52
-
53
-
54
-
55
-
56
-
57
-
58
-
59
-
60
-
61
-
62
-
63
-
64
-
65
-
66
-
67
-
68
-
69
-
70
-
71
-
72
-
73
-
74
-
75
-
76
-
77
-
78
-
79
-
80
-
81
-
82
-
83
-
84
-
85
-
86
-
87
-
88
-
89
-
90
-
91
-
92
-
93
-
94
-
95
-
96
-
97
-
98
-
99
-
100
-
101
-
102
-
103
-
104
-
105
-
106
-
107
-
108
-
109
-
110
-
111
-
112
-
113
-
114
-
115
-
116
-
117
-
118
-
119
-
120
-
121
-
122
-
123
-
124
-
125
-
126
-
127
-
128
-
129
-
130
-
131
-
132
-
133
-
134
-
135
-
136
-
137
-
138
-
139
-
140
-
141
-
142
-
143
-
144
-
145
-
146
-
147
-
148
-
149
-
150
-
151
-
152
-
153
-
154
-
155
-
156
-
157
 |
 |