Toshiba RDXS32 Owners Manual - Page 110
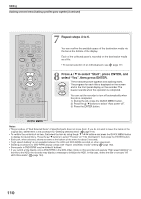
Repeat steps 4 to 6., Press, to select, Start, press ENTER, and, select, then press ENTER.
 |
View all Toshiba RDXS32 manuals
Add to My Manuals
Save this manual to your list of manuals |
Page 110 highlights
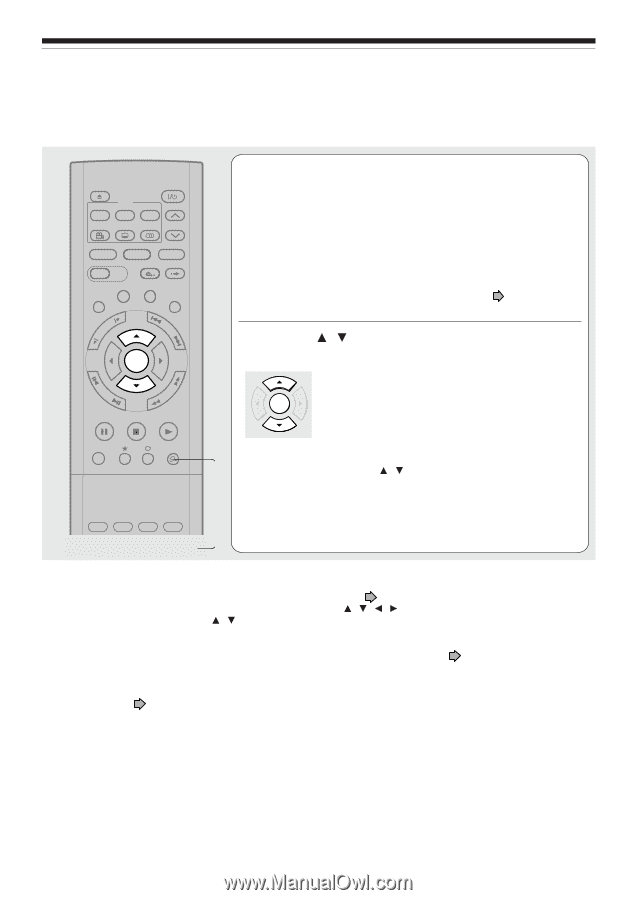
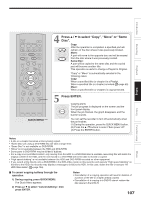
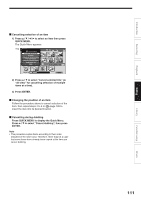
Editing Dubbing selected items (Dubbing specified parts together) (Continued) IP FRAME OPEN/CLOSE DVD TOP MENU MENU RETURN ANGLE SUBTITLE AUDIO CHANNEL HDD TIMESLIP DVD EASY NAVI INSTANT REPLAY INSTANT SKIP REC MENU EDIT MENU LIBRARY CONTENT MENU OW SK SL SEARCH ENTER /ADJUST PAUSE STOP PICTURE PLAY REC QUICK MENU 7 Repeat steps 4 to 6. You can confirm the available space of the destination media via the bar at the bottom of the display. Each of the collected parts is recorded on the destination media as a title. • To cancel selection of an individual part, see page 111. 8 Press / to select "Start", press ENTER, and select "Yes", then press ENTER. The broadcast picture appears and dubbing starts. The progress for each title is displayed on the screen and in the front panel display on the recorder. The ENTER buzzer sounds when the operation is completed. You can set the recorder to turn off automatically when the job is completed. 1) During the job, press the QUICK MENU button. 2) Press the / buttons to select "Auto power off". 3) Press the ENTER button. REMAIN DISPLAY TIME BAR CHP DIVIDE DIMMER FL SELECT ZOOM P in P QUICK MENU TV PROGRESSIVE Notes • This procedure of "Dub Selected Items" of specified parts does not move them. If you do not want to leave the items on the original disc, delete them in the procedure for "Deleting selected items" ( page 118). • To confirm the contents of an item, first select the item by using the / / / buttons and press the QUICK MENU button to display the Quick Menu. Press the / buttons to select "Preview" (or "Title information") then press the ENTER button. • Each part, when selected, shows its name at the bottom of the menu for about 2 seconds. • "High speed dubbing" is not available between the HDD and DVD-R/RW recorded on other equipment. • Dubbing procedures to DVD-R/RW always comply with "Aspect ratio(Video mode)" setting ( page 162). • Some parts in DVD-R/RW may be divided if dubbed. • If you record a title directly onto a DVD-R/RW in the DVD-Video mode on this recorder and execute "High speed dubbing" on the title to the HDD, the recorder may display a message to initialize the HDD. In this case, delete the title or execute "All HDD titles delete" ( page 164). 110
-
 1
1 -
2
-
3
-
4
-
5
-
6
-
7
-
8
-
9
-
10
-
11
-
12
-
13
-
14
-
15
-
16
-
17
-
18
-
19
-
20
-
21
-
22
-
23
-
24
-
25
-
26
-
27
-
28
-
29
-
30
-
31
-
32
-
33
-
34
-
35
-
36
-
37
-
38
-
39
-
40
-
41
-
42
-
43
-
44
-
45
-
46
-
47
-
48
-
49
-
50
-
51
-
52
-
53
-
54
-
55
-
56
-
57
-
58
-
59
-
60
-
61
-
62
-
63
-
64
-
65
-
66
-
67
-
68
-
69
-
70
-
71
-
72
-
73
-
74
-
75
-
76
-
77
-
78
-
79
-
80
-
81
-
82
-
83
-
84
-
85
-
86
-
87
-
88
-
89
-
90
-
91
-
92
-
93
-
94
-
95
-
96
-
97
-
98
-
99
-
100
-
101
-
102
-
103
-
104
-
 105
105 -
 106
106 -
 107
107 -
 108
108 -
 109
109 -
 110
110 -
 111
111 -
 112
112 -
 113
113 -
 114
114 -
 115
115 -
116
-
117
-
118
-
119
-
120
-
121
-
122
-
123
-
124
-
125
-
126
-
127
-
128
-
129
-
130
-
131
-
132
-
133
-
134
-
135
-
136
-
137
-
138
-
139
-
140
-
141
-
142
-
143
-
144
-
145
-
146
-
147
-
148
-
149
-
150
-
151
-
152
-
153
-
154
-
155
-
156
-
157
-
158
-
159
-
160
-
161
-
162
-
163
-
164
-
165
-
166
-
167
-
168
-
169
-
170
-
171
-
172
-
173
-
174
-
175
-
176
-
177
-
178
-
179
 |
 |