Toshiba Satellite 2455-S3001 Satellite 2455-S305/S306 User's Guide (PDF) - Page 150
Sample Windows Explorer windows, Lesson 7: Resizing, repositioning, and hiding windows
 |
View all Toshiba Satellite 2455-S3001 manuals
Add to My Manuals
Save this manual to your list of manuals |
Page 150 highlights
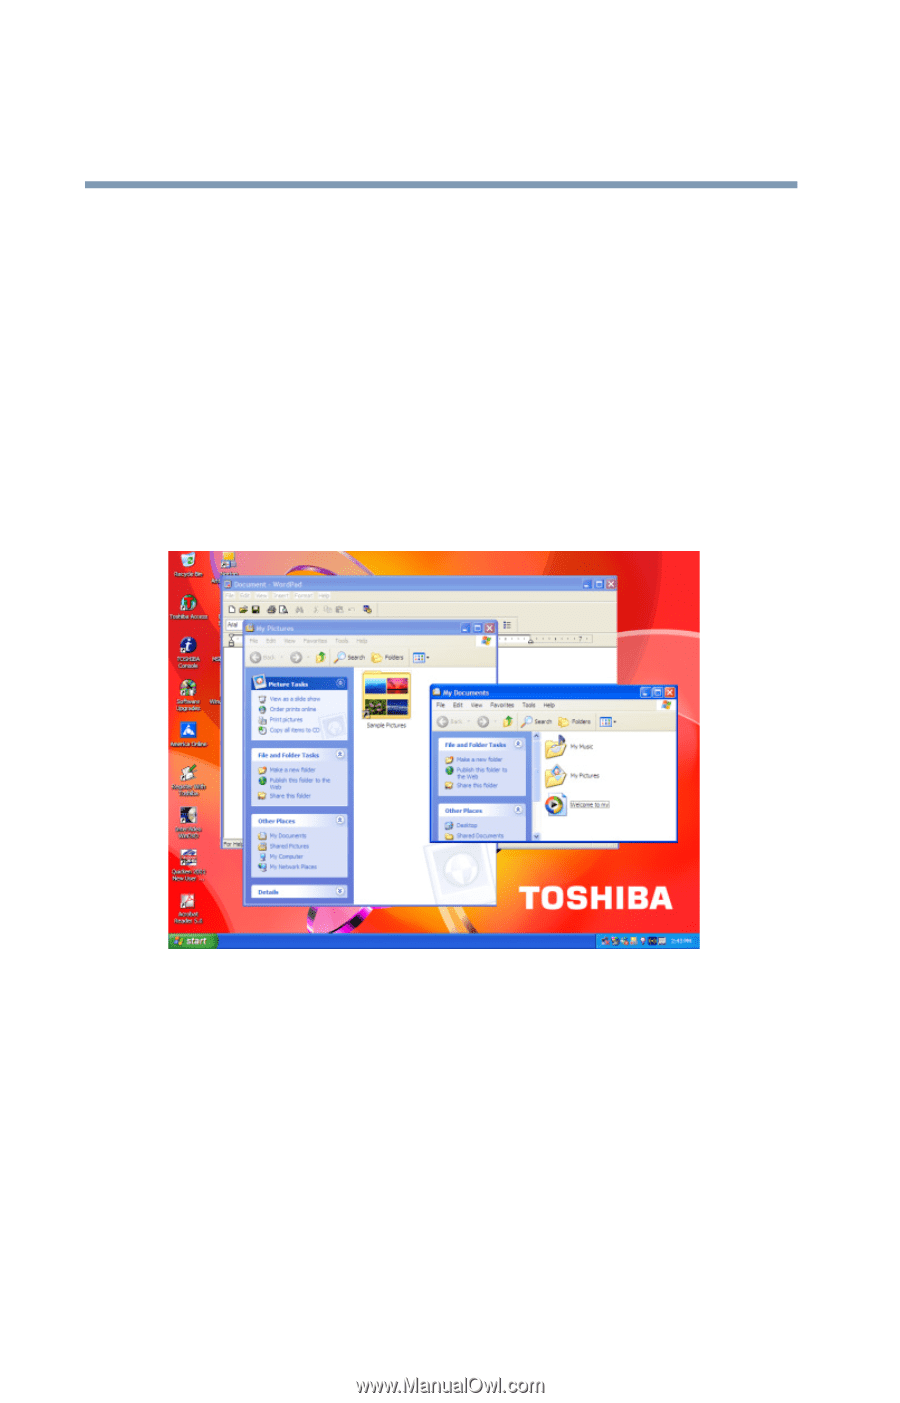
150 Getting to Know the Windows® XP Operating System Lesson 7: Resizing, repositioning, and hiding windows 6 Repeat steps 3 and 4 to change the size and position of Windows Explorer, placing it on the right side of the desktop. Now that the windows are side by side, you can see how you could refer to one window while working in the other. Resizing and moving windows allows you to rearrange the desktop to suit your needs. Experiment with different sizes and placements of windows to find the best arrangement for your work. Sample Windows Explorer windows At this point you have two programs open on the desktop. The next lesson shows you how to close them.
-
 1
1 -
2
-
3
-
4
-
5
-
6
-
7
-
8
-
9
-
10
-
11
-
12
-
13
-
14
-
15
-
16
-
17
-
18
-
19
-
20
-
21
-
22
-
23
-
24
-
25
-
26
-
27
-
28
-
29
-
30
-
31
-
32
-
33
-
34
-
35
-
36
-
37
-
38
-
39
-
40
-
41
-
42
-
43
-
44
-
45
-
46
-
47
-
48
-
49
-
50
-
51
-
52
-
53
-
54
-
55
-
56
-
57
-
58
-
59
-
60
-
61
-
62
-
63
-
64
-
65
-
66
-
67
-
68
-
69
-
70
-
71
-
72
-
73
-
74
-
75
-
76
-
77
-
78
-
79
-
80
-
81
-
82
-
83
-
84
-
85
-
86
-
87
-
88
-
89
-
90
-
91
-
92
-
93
-
94
-
95
-
96
-
97
-
98
-
99
-
100
-
101
-
102
-
103
-
104
-
105
-
106
-
107
-
108
-
109
-
110
-
111
-
112
-
113
-
114
-
115
-
116
-
117
-
118
-
119
-
120
-
121
-
122
-
123
-
124
-
125
-
126
-
127
-
128
-
129
-
130
-
131
-
132
-
133
-
134
-
135
-
136
-
137
-
138
-
139
-
140
-
141
-
142
-
143
-
144
-
 145
145 -
 146
146 -
 147
147 -
 148
148 -
 149
149 -
 150
150 -
 151
151 -
 152
152 -
 153
153 -
 154
154 -
 155
155 -
156
-
157
-
158
-
159
-
160
-
161
-
162
-
163
-
164
-
165
-
166
-
167
-
168
-
169
-
170
-
171
-
172
-
173
-
174
-
175
-
176
-
177
-
178
-
179
-
180
-
181
-
182
-
183
-
184
-
185
-
186
-
187
-
188
-
189
-
190
-
191
-
192
-
193
-
194
-
195
-
196
-
197
-
198
-
199
-
200
-
201
-
202
-
203
-
204
-
205
-
206
-
207
-
208
-
209
-
210
-
211
-
212
-
213
-
214
-
215
-
216
-
217
-
218
-
219
-
220
-
221
-
222
-
223
-
224
-
225
-
226
-
227
-
228
-
229
-
230
-
231
-
232
-
233
-
234
-
235
-
236
-
237
-
238
-
239
-
240
-
241
-
242
-
243
-
244
-
245
-
246
-
247
-
248
-
249
-
250
-
251
-
252
-
253
-
254
-
255
-
256
-
257
-
258
-
259
-
260
-
261
-
262
-
263
-
264
-
265
-
266
-
267
-
268
-
269
-
270
-
271
-
272
-
273
-
274
-
275
-
276
-
277
-
278
-
279
-
280
-
281
-
282
-
283
-
284
-
285
-
286
-
287
-
288
-
289
-
290
-
291
-
292
-
293
-
294
-
295
 |
 |
150
Getting to Know the Windows ® XP Operating System
Lesson 7: Resizing, repositioning, and hiding windows
6
Repeat steps
3
and
4
to change the size and position of
Windows Explorer, placing it on the right side of the
desktop.
Now that the windows are side by side, you can see how
you could refer to one window while working in the
other.
Resizing and moving windows allows you to rearrange the
desktop to suit your needs. Experiment with different sizes
and placements of windows to find the best arrangement for
your work.
Sample Windows Explorer windows
At this point you have two programs open on the desktop.
The next lesson shows you how to close them.