Tripp Lite SU1500RTXL2UA Owner's Manual for SmartOnline Rack/Tower UPS 932471 - Page 4
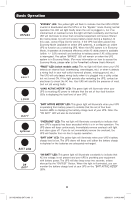
Connection and Start-Up - fan
 |
View all Tripp Lite SU1500RTXL2UA manuals
Add to My Manuals
Save this manual to your list of manuals |
Page 4 highlights
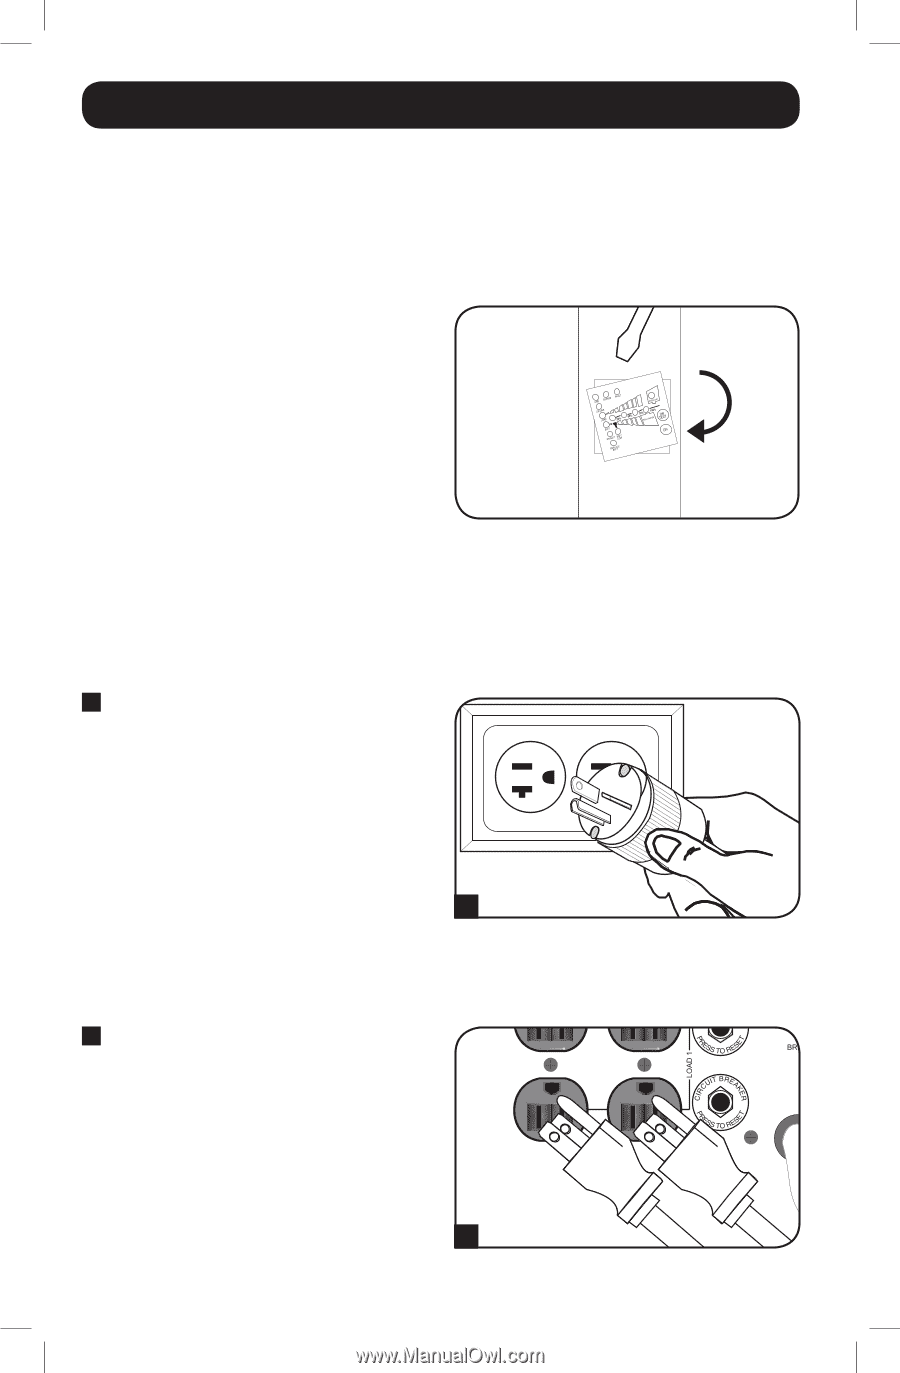
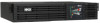
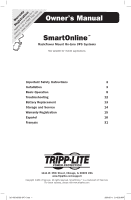
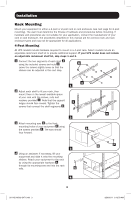
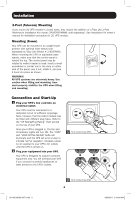
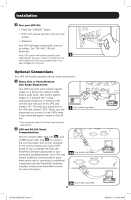
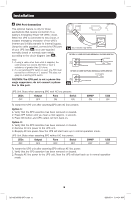
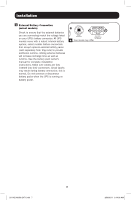
Installation 2-Post (Telecom) Mounting If you mount 2U UPS models in 2-post racks, they require the addition of a Tripp Lite 2-Post Rackmount Installation Kit (model: 2POSTKITRMWM, sold separately). See Installation Kit owner's manual for installation procedure for 2U UPS models. Mounting (Tower) Your UPS can be mounted in an upright tower position with optional base stands sold separately by Tripp Lite (Model # 2-9USTAND). When mounting the UPS on adjustable base stands, make sure that the control panel is toward the top. The control panel may be rotated to make it easier to read. Insert a small screwdriver or similar tool in the slots on either side of the panel, pop it out, rotate it, and pop it back into place as shown. WARNING! All UPS systems are extremely heavy. Use caution when lifting and mounting. User must properly stabilize the UPS when lifting and mounting. Connection and Start-Up 1 Plug your UPS's line cord into an electrical outlet. Your UPS must be connected to a dedicated circuit of sufficient amperage. Note, however, that the select models may be fitted with different plug types. Refer to the "OP Rating/Plug Rating" chart printed on the top of your UPS. Once your UPS is plugged in, the fan and all Indicator Lights will turn ON. The "LINE" and "LOAD ACTIVE METER" LEDs will illuminate and the UPS will emit a beep to indicate normal operation. However, power is not supplied to your UPS's AC outlets until the UPS is turned on. 2 Plug your equipment into your UPS. Your UPS is designed to support computer equipment only. You will overload your UPS if you connect household appliances or laser printers to the UPS's outlets. 1 Your model may differ. 201102199 93-2471.indb 4 2 Your model may differ. 4 3/30/2011 9:14:00 AM
-
 1
1 -
 2
2 -
 3
3 -
 4
4 -
 5
5 -
 6
6 -
 7
7 -
 8
8 -
 9
9 -
 10
10 -
11
-
12
-
13
-
14
-
15
-
16
-
17
-
18
-
19
-
20
-
21
-
22
-
23
-
24
-
25
-
26
-
27
-
28
-
29
-
30
-
31
-
32
-
33
-
34
-
35
-
36
-
37
-
38
-
39
-
40
-
41
-
42
-
43
-
44
-
45
-
46
-
47
-
48
 |
 |