Uniden BCT8 English Owners Manual - Page 16
Applying Power for Vehicle Installation, DC power Installation - scanners
 |
UPC - 050633650349
View all Uniden BCT8 manuals
Add to My Manuals
Save this manual to your list of manuals |
Page 16 highlights
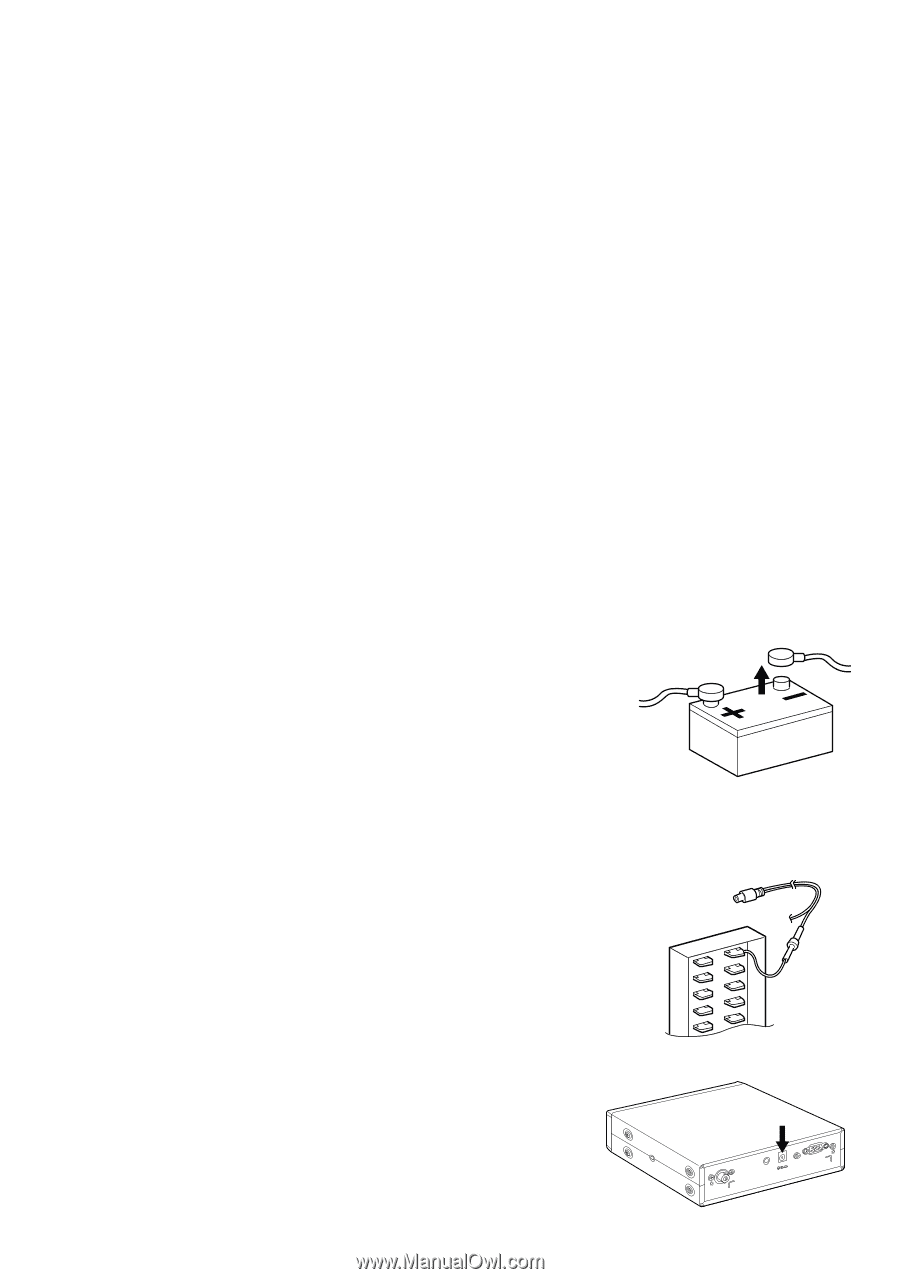
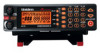
Applying Power for Vehicle Installation You can power your scanner using the supplied DC cigarette lighter power cord or an DC power cord. DC power Installation To power the scanner from a vehicle's 12V power source (such as a cigarette-lighter socket), you need a cigarette-lighter adapter. To connect an DC cigarette-lighter power cable, insert its barrel plug into the DC 12V jack on the rear of the scanner, then plug the power cable into your vehicle's cigarette lighter socket. Note: If you use a cigarette-lighter power cable and your vehicle's engine is running, you might hear electrical noise from the engine while scanning. This is normal. Caution: DC 12 V Jack can use a power source that supplies 12V DC at least 500 mA. You must use a power source that supplies 12V DC and delivers at least 500 mA. Your standard 12V car battery should be sufficient. The cord connector's center tip must be set to positive and its plug must fit the scanner's DC 12V jack. The supplied DC power cord meets these specifications. Using a power cord that does not meet these specifications could damage the scanner or the adapter. • Always connect the adapter or DC power cord to the scanner before you connect it to the power source. When you finish, disconnect the adapter or DC power cord from the power source before you disconnect it from the scanner. • For added safety and to protect your scanner, disconnect the cable from your vehicle battery's negative (-) terminal before you begin. Follow these steps to connect the DC power cord. 1. Connect the power cord's black wire to a chassis ground, such as a metal screw attached to a metal part of the vehicle's frame. Be sure that the screw is not insulated from the frame by a plastic part. 2. Connect the power cord's red wire (with in-line fuse) to a source of voltage that turns on and off with the ignition switch, such as a spare accessory terminal in your vehicle's fuse box. 3. Insert the power cord's barrel plug into the DC 12V jack on the rear of the scanner. 4. Reconnect the cable to the vehicle battery's negative (-) terminal. ANT. ESXPT.. DC 12V REMOTE 12
-
 1
1 -
2
-
3
-
4
-
5
-
6
-
7
-
8
-
9
-
10
-
 11
11 -
 12
12 -
 13
13 -
 14
14 -
 15
15 -
 16
16 -
 17
17 -
 18
18 -
 19
19 -
 20
20 -
 21
21 -
22
-
23
-
24
-
25
-
26
-
27
-
28
-
29
-
30
-
31
-
32
-
33
-
34
-
35
-
36
-
37
-
38
-
39
-
40
-
41
-
42
-
43
-
44
-
45
-
46
-
47
-
48
-
49
-
50
-
51
-
52
-
53
-
54
-
55
-
56
-
57
-
58
-
59
-
60
-
61
-
62
-
63
-
64
-
65
-
66
-
67
-
68
 |
 |