ViewSonic PX727-4K PX727-4K User Guide English - Page 14
Remote control effective range, Replacing the remote control batteries, Aspect, Pattern, Blank
 |
View all ViewSonic PX727-4K manuals
Add to My Manuals
Save this manual to your list of manuals |
Page 14 highlights
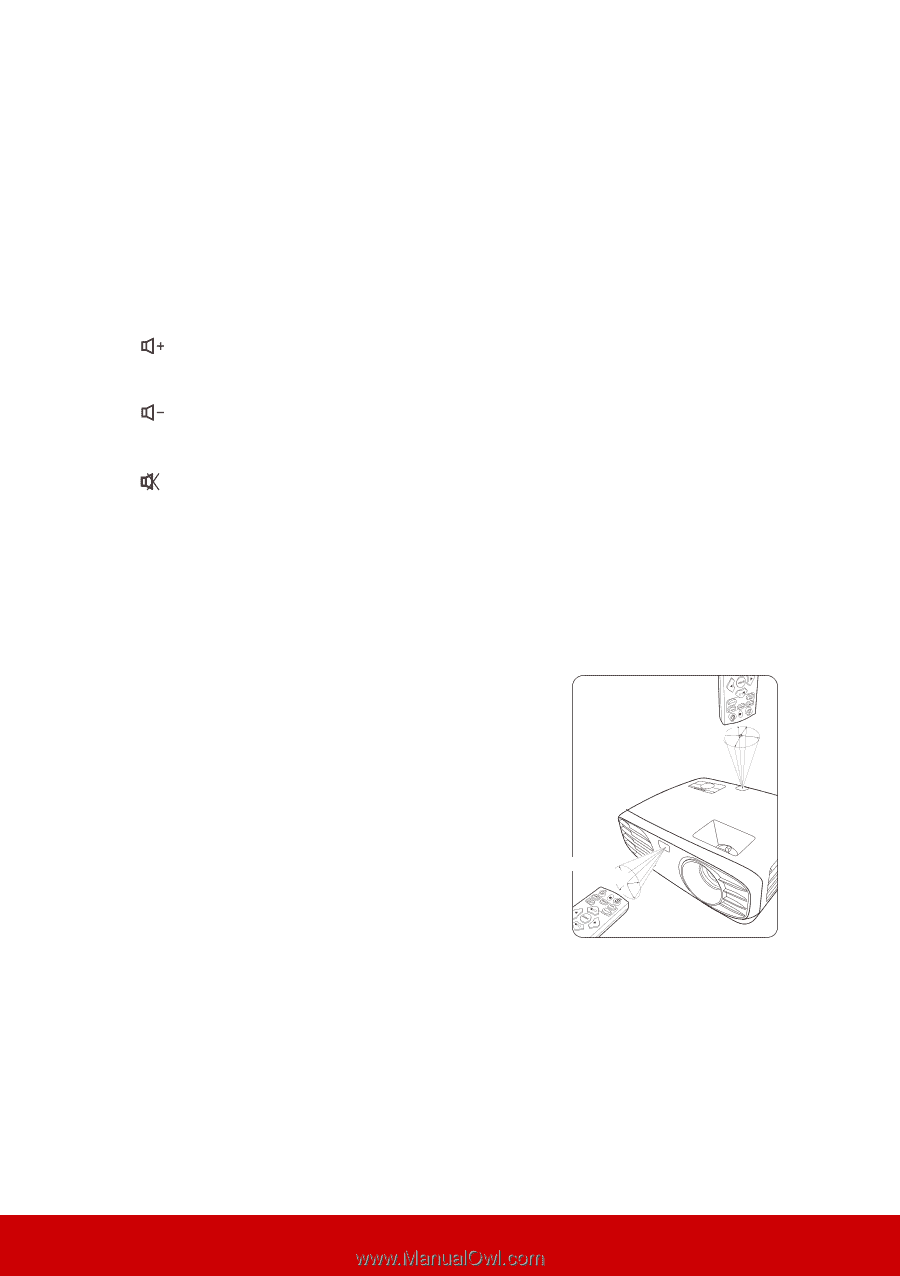
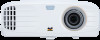
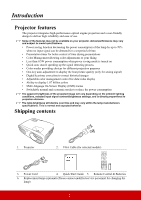
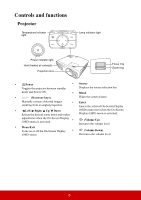
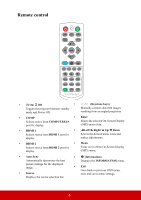
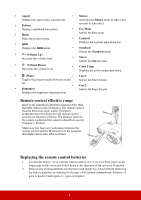
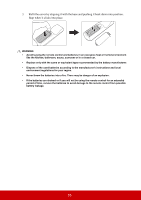
• Aspect Displays the aspect ratio selection bar. • Pattern Displays embedded test pattern. • Blank Hides the screen picture. • HDR Displays the HDR menu. • (Volume Up) Increases the volume level. • (Volume Down) Decreases the volume level. • Silence Activates the Silence mode. It takes a few seconds to take effect. • Eco Mode Selects the Eco mode. • Contrast Displays the contrast adjustment bar. • Standard Selects the Standard mode. • Movie Selects the Movie mode. • Color Temp Displays the color temperature menu. • (Mute) • User1 Toggles the projector audio between on and Selects the User 1 mode. off. • User2 • Brightness Selects the User 2 mode. Displays the brightness adjustment bar. Remote control effective range Refer to the illustration about the location of the InfraRed (IR) remote control sensor(s). The remote control must be held at an angle within 30 degrees perpendicular to the projector's IR remote control sensor(s) to function correctly. The distance between the remote control and the sensor(s) should not exceed 8 meters (~ 26 feet). Make sure that there are no obstacles between the remote control and the IR sensor(s) on the projector that might obstruct the infra-red beam. Approx. 30° Approx. 30° Replacing the remote control batteries 1. To open the battery cover, turn the remote control over to view its back, press on the finger grip on the cover and slide it down in the direction of the arrow as illustrated. 2. Remove any existing batteries (if necessary) and install two AAA batteries observing the battery polarities as indicated in the base of the battery compartment. Positive (+) goes to positive and negative (-) goes to negative. 9
-
 1
1 -
2
-
3
-
4
-
5
-
6
-
7
-
8
-
 9
9 -
 10
10 -
 11
11 -
 12
12 -
 13
13 -
 14
14 -
 15
15 -
 16
16 -
 17
17 -
 18
18 -
 19
19 -
20
-
21
-
22
-
23
-
24
-
25
-
26
-
27
-
28
-
29
-
30
-
31
-
32
-
33
-
34
-
35
-
36
-
37
-
38
-
39
-
40
-
41
-
42
-
43
-
44
-
45
-
46
-
47
-
48
-
49
-
50
-
51
-
52
-
53
-
54
-
55
-
56
-
57
-
58
-
59
-
60
-
61
-
62
 |
 |