ViewSonic PX727-4K PX727-4K User Guide English - Page 28
Fine-tuning the image quality in user modes, Adjusting Brightness, Adjusting Contrast, Adjusting Tint - noise
 |
View all ViewSonic PX727-4K manuals
Add to My Manuals
Save this manual to your list of manuals |
Page 28 highlights
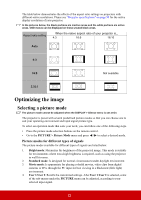
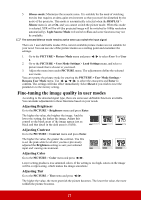
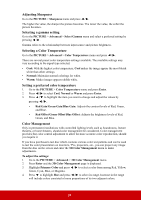
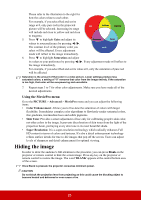
5. Silence mode: Minimizes the acoustic noise. It is suitable for the need of watching movies that requires an ultra-quiet environment so that you won't be disturbed by the noise of the projector. This mode is automatically selected when the DISPLAY > Silence menu is set at On, and you cannot switch the picture mode. When this mode is selected, XPR will be off (the projected image will be switched to 1080p resolution automatically), Light Source Mode will switch to Eco and some functions may not be available. The selected Silence mode remains active when you switch the input signal. There are 2 user-definable modes if the current available picture modes are not suitable for your need. You can use one of the picture modes as a starting point and customize the settings. 1. Go to the PICTURE > Picture Mode menu and press / to select User 1 or User 2. 2. Go to the PICTURE > User Mode Settings > Load Settings menu, and select a picture mode that is closest to your need. 3. Adjust the menu item under PICTURE menu. The adjustments define the selected user mode. You can rename the picture mode by entering the PICTURE > User Mode Settings > Rename User Mode menu. Use / / / to select the characters and Enter to confirm. The settings will take effect immediately. Select Reset if you wish to reset the parameters to the factory setting. Fine-tuning the image quality in user modes According to the detected signal type, there are some user-definable functions available. You can make adjustments to these functions based on your needs. Adjusting Brightness Go to the PICTURE > Brightness menu and press Enter. The higher the value, the brighter the image. And the lower the setting, the darker the image. Adjust this control so the black areas of the image appear just as black and that detail in the dark areas is visible. -30 Adjusting Contrast Go to the PICTURE > Contrast menu and press Enter. 50 +80 The higher the value, the greater the contrast. Use this to set the peak white level after you have previously adjusted the Brightness setting to suit your selected input and viewing environment. -30 0 +40 Adjusting Color Go to the PICTURE > Color menu and press / . Lower setting produces less saturated colors. If the setting is too high, colors on the image will be overpowering, which makes the image unrealistic. Adjusting Tint Go to the PICTURE > Tint menu and press / . The higher the value, the more greenish the picture becomes. The lower the value, the more reddish the picture becomes. 23
-
 1
1 -
2
-
3
-
4
-
5
-
6
-
7
-
8
-
9
-
10
-
11
-
12
-
13
-
14
-
15
-
16
-
17
-
18
-
19
-
20
-
21
-
22
-
 23
23 -
 24
24 -
 25
25 -
 26
26 -
 27
27 -
 28
28 -
 29
29 -
 30
30 -
 31
31 -
 32
32 -
 33
33 -
34
-
35
-
36
-
37
-
38
-
39
-
40
-
41
-
42
-
43
-
44
-
45
-
46
-
47
-
48
-
49
-
50
-
51
-
52
-
53
-
54
-
55
-
56
-
57
-
58
-
59
-
60
-
61
-
62
 |
 |
