Vivitar 46 Camera Manual - Page 13
Self Timer, Change Image Resolution
 |
View all Vivitar 46 manuals
Add to My Manuals
Save this manual to your list of manuals |
Page 13 highlights
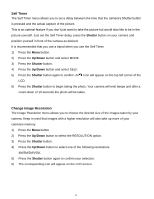
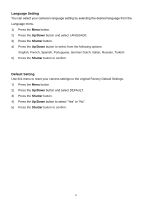
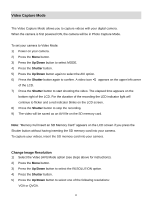
Self Timer The Self Timer menu allows you to set a delay between the time that the camera's Shutter button is pressed and the actual capture of the picture. This is an optimal feature if you don't just want to take the picture but would also like to be in the picture yourself. Just set the Self Timer delay, press the Shutter button on your camera and position yourself in front of the camera as desired. It is recommended that you use a tripod when you use the Self Timer. 1) Press the Menu button. 2) Press the Up/Down button and select MODE. 3) Press the Shutter button. 4) Press the Up/Down button and select SELF. 5) Press the Shutter button again to confirm. An icon will appear on the top left corner of the LCD. 6) Press the Shutter button to begin taking the photo. Your camera will emit beeps and after a count-down of 10 seconds the photo will be taken. Change Image Resolution The Image Resolution menu allows you to choose the desired size of the images taken by your camera. Keep in mind that images with a higher resolution will also take up more of your camera's memory. 1) Press the Menu button. 2) Press the Up/Down button to select the RESOLUTION option. 3) Press the Shutter button. 4) Press the Up/Down button to select one of the following resolutions: 4M/3M/2M/VGA. 5) Press the Shutter button again to confirm your selection. 6) The corresponding icon will appear on the LCD screen. 12
-
 1
1 -
2
-
3
-
4
-
5
-
6
-
7
-
 8
8 -
 9
9 -
 10
10 -
 11
11 -
 12
12 -
 13
13 -
 14
14 -
 15
15 -
 16
16 -
 17
17 -
 18
18 -
19
-
20
-
21
-
22
-
23
-
24
-
25
-
26
-
27
 |
 |
