Whirlpool SB160PEEB User Manual - Page 14
Baking/roasting without preheating
 |
View all Whirlpool SB160PEEB manuals
Add to My Manuals
Save this manual to your list of manuals |
Page 14 highlights
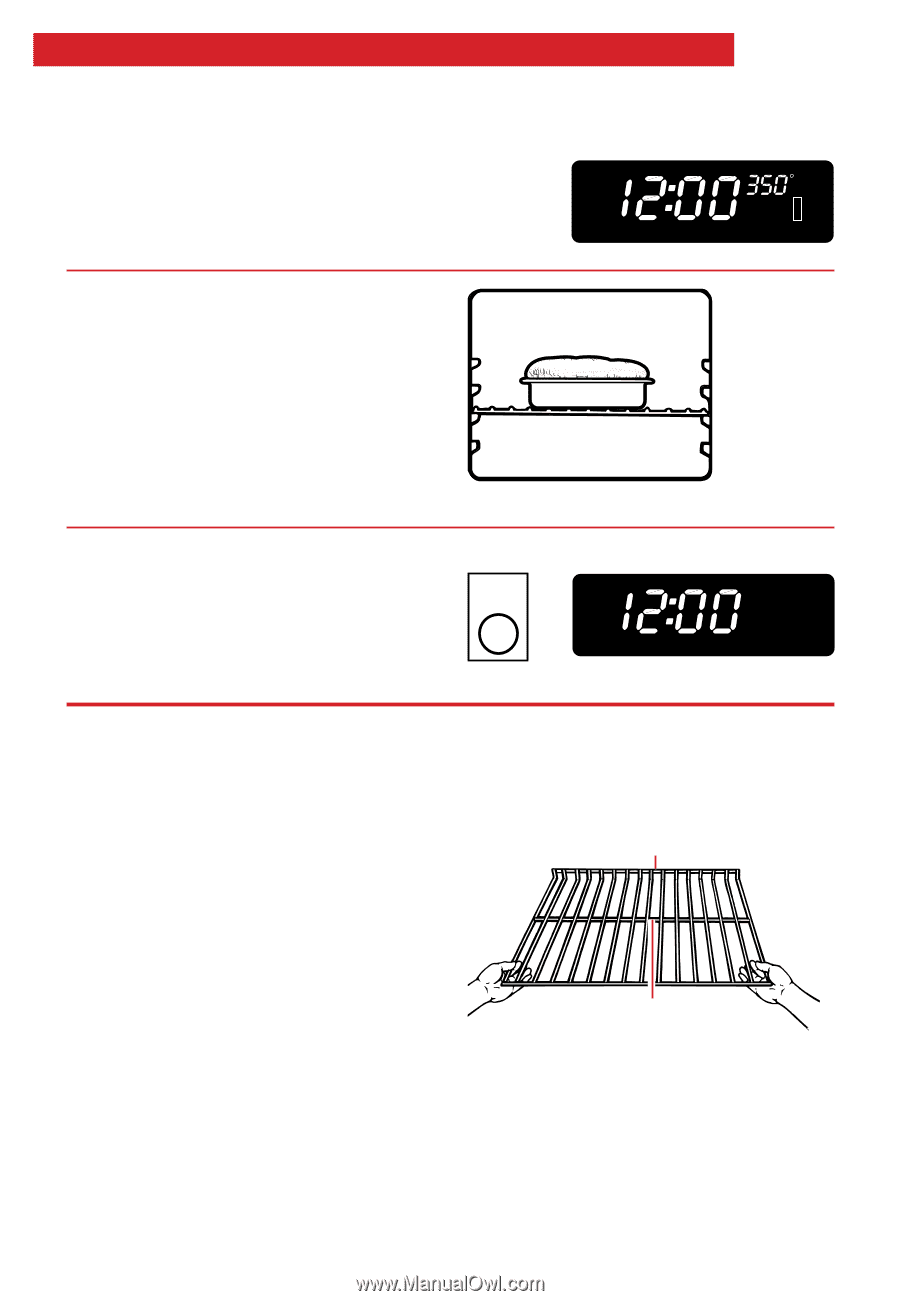
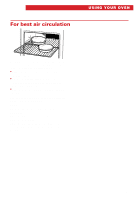
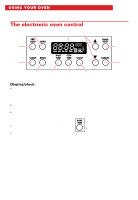
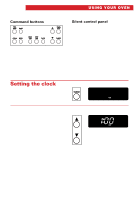
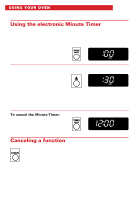
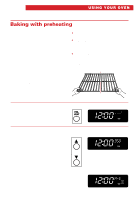
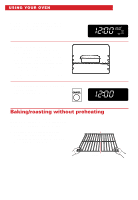
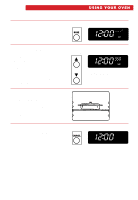
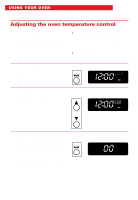
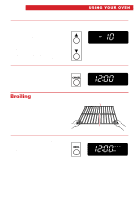
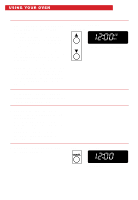
USING YOUR OVEN When the oven is finished preheating, one tone will sound and the small display will show the programmed set temperature. YOU SEE O N BAKE 4. Put food in the oven. The oven will automatically go from preheating into baking. You do not have to set a separate baking cycle. During baking, the oven burner will turn on and off to keep the oven temperature at the setting. The ON Indicator Light will cycle on and off with the burner. NOTE: Do not place food directly on the oven bottom. 5. When baking is done, press the Cancel button. The oven will then shut off. PRESS CANCEL YOU SEE (time of day) Baking/roasting without preheating NOTE: Do not attempt to light the oven burner during a power failure. See "Important Safety Instructions" on page 5 for more information. 1. Position the rack(s) properly before turning on the oven. For further information, see "Positioning racks and pans" on page 8. Rear of rack Center rack bar 14
-
 1
1 -
2
-
3
-
4
-
5
-
6
-
7
-
8
-
 9
9 -
 10
10 -
 11
11 -
 12
12 -
 13
13 -
 14
14 -
 15
15 -
 16
16 -
 17
17 -
 18
18 -
 19
19 -
20
-
21
-
22
-
23
-
24
-
25
-
26
-
27
-
28
-
29
-
30
-
31
-
32
-
33
-
34
-
35
-
36
-
37
-
38
-
39
-
40
 |
 |