Xerox M118 User Guide - Page 153
Direct Send, Fax Receiving Mode, Report Settings, Auto Receive
 |
UPC - 095205219258
View all Xerox M118 manuals
Add to My Manuals
Save this manual to your list of manuals |
Page 153 highlights
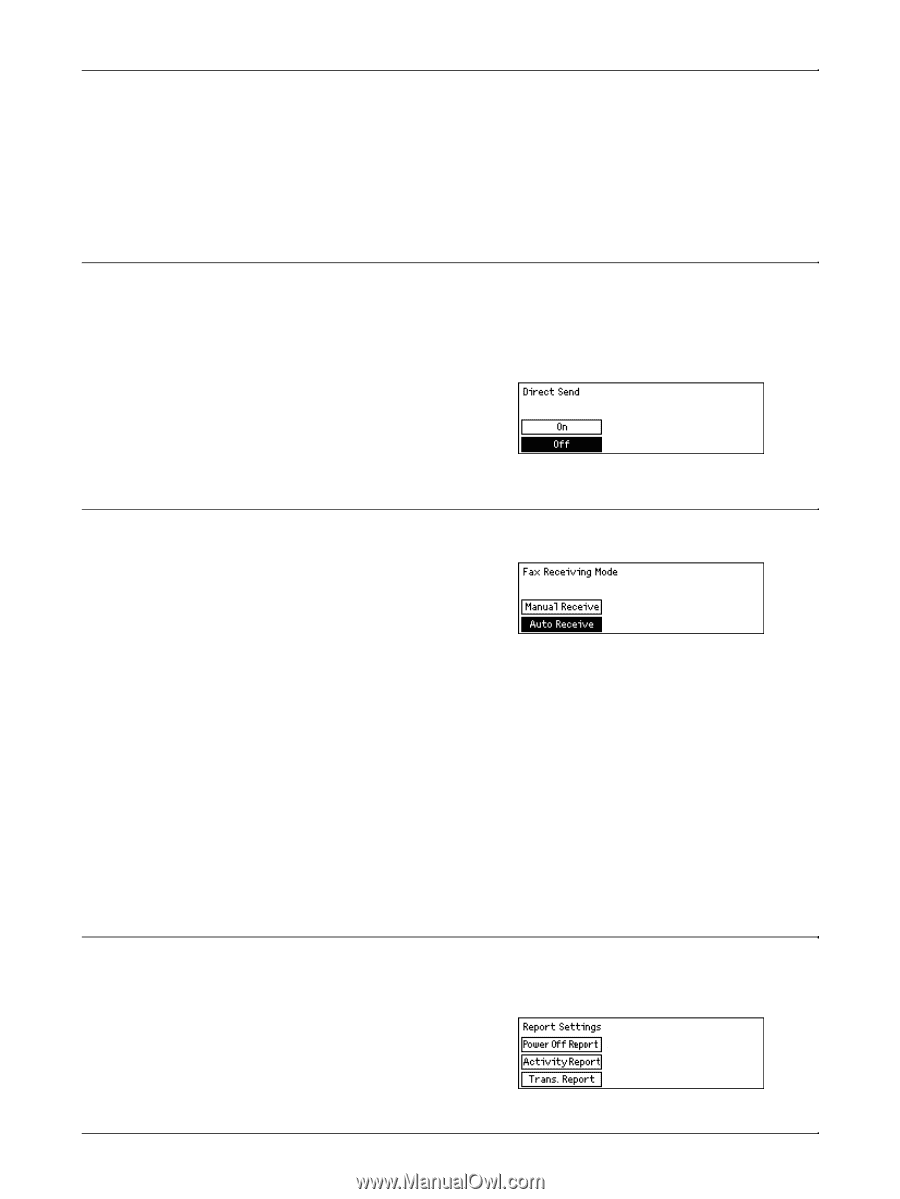
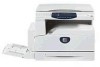
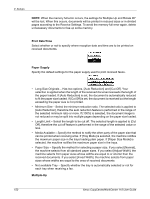
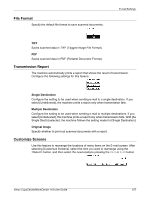
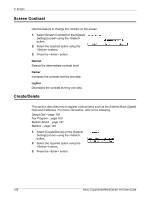
Fax Settings Select the extension or outside line. If you selected [Extension], then enter the number (0 to 9) to connect with the outside line, using the alphanumeric keypad on the control panel. Press the button to clear the previous value. NOTE: When changing the setting of [Ext./Outside Line], you may need to re-register fax numbers in the Address Book. Direct Send This features uses the document feeder to start sending a fax immediately after scanning the first page of the document. This is a useful feature when there is inadequate available memory on the machine. When you use the feature, the green light illuminates. Specify On or Off as the default value of this feature. Fax Receiving Mode Specify whether the machine should start receiving a fax with or without your intervention. Auto Receive Automatically starts receiving a fax after the specified the number of rings on the Access Attempt screen. After selecting [Auto Receive] using the button, pressing the button allows you to specified the number of rings on the Access Attempt screen within the range of 1 to 20. Use the alphanumeric keypad on the control panel. Manual Receive Receives a fax manually. When you have communicated with a caller and confirm that the call is a fax job, press the button to receive a fax. Refer to On-Hook in the Fax chapter on page 81. Report Settings Use this feature to specify how reports are to be automatically printed. NOTE: Even if you set the machine to print out reports automatically, they cannot be printed out when the memory is insufficient. Xerox CopyCentre/WorkCentre 118 User Guide 153
-
 1
1 -
2
-
3
-
4
-
5
-
6
-
7
-
8
-
9
-
10
-
11
-
12
-
13
-
14
-
15
-
16
-
17
-
18
-
19
-
20
-
21
-
22
-
23
-
24
-
25
-
26
-
27
-
28
-
29
-
30
-
31
-
32
-
33
-
34
-
35
-
36
-
37
-
38
-
39
-
40
-
41
-
42
-
43
-
44
-
45
-
46
-
47
-
48
-
49
-
50
-
51
-
52
-
53
-
54
-
55
-
56
-
57
-
58
-
59
-
60
-
61
-
62
-
63
-
64
-
65
-
66
-
67
-
68
-
69
-
70
-
71
-
72
-
73
-
74
-
75
-
76
-
77
-
78
-
79
-
80
-
81
-
82
-
83
-
84
-
85
-
86
-
87
-
88
-
89
-
90
-
91
-
92
-
93
-
94
-
95
-
96
-
97
-
98
-
99
-
100
-
101
-
102
-
103
-
104
-
105
-
106
-
107
-
108
-
109
-
110
-
111
-
112
-
113
-
114
-
115
-
116
-
117
-
118
-
119
-
120
-
121
-
122
-
123
-
124
-
125
-
126
-
127
-
128
-
129
-
130
-
131
-
132
-
133
-
134
-
135
-
136
-
137
-
138
-
139
-
140
-
141
-
142
-
143
-
144
-
145
-
146
-
147
-
 148
148 -
 149
149 -
 150
150 -
 151
151 -
 152
152 -
 153
153 -
 154
154 -
 155
155 -
 156
156 -
 157
157 -
 158
158 -
159
-
160
-
161
-
162
-
163
-
164
-
165
-
166
-
167
-
168
-
169
-
170
-
171
-
172
-
173
-
174
-
175
-
176
-
177
-
178
-
179
-
180
-
181
-
182
-
183
-
184
-
185
-
186
-
187
-
188
-
189
-
190
-
191
-
192
-
193
-
194
-
195
-
196
-
197
-
198
-
199
-
200
-
201
-
202
-
203
-
204
-
205
-
206
-
207
-
208
-
209
-
210
-
211
-
212
-
213
-
214
-
215
-
216
-
217
-
218
-
219
-
220
-
221
-
222
-
223
-
224
-
225
-
226
-
227
-
228
-
229
-
230
 |
 |