Beretta 92 FS Compact Inox Operating Instructions - Page 15
Recoil, Spring, Guide, Lubrication, Frame, Cleaning, Magazine, Cartridge, Rotation, After, Field,
 |
View all Beretta 92 FS Compact Inox manuals
Add to My Manuals
Save this manual to your list of manuals |
Page 15 highlights
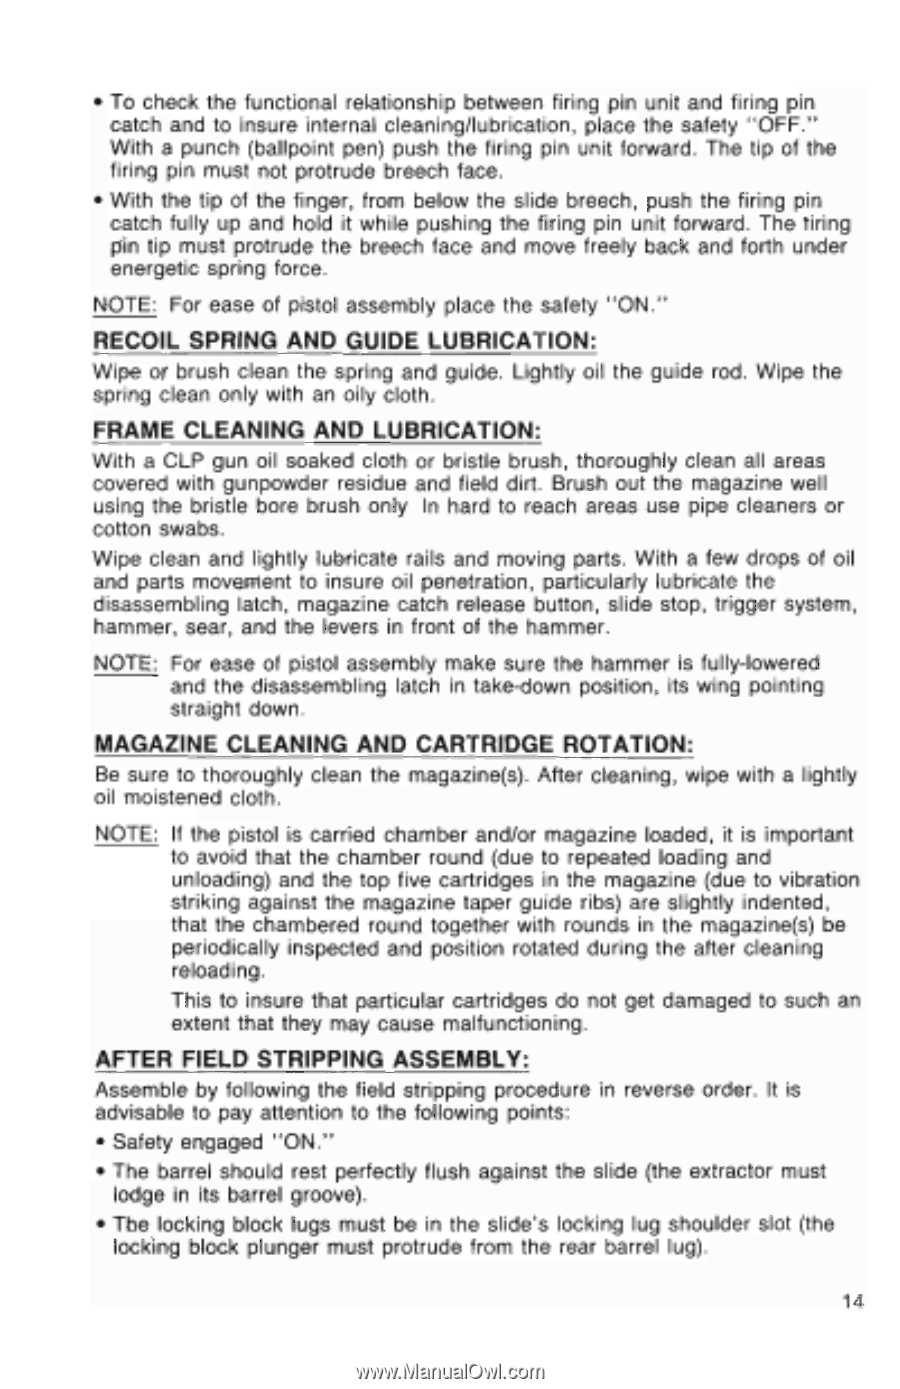
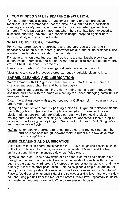
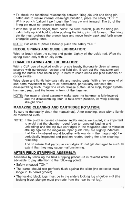
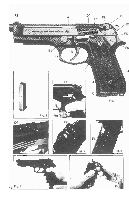
• To check the functional relationship between firing pin unit and firing pin catch and to insure internal cleaning/lubrication, place the safety "OFF." With a punch (ballpoint pen) push the firing pin unit forward. The tip of the firing pin must not protrude breech face. • With the tip of the finger, from below the slide breech, push the firing pin catch fully up and hold it while pushing the firing pin unit forward. The tiring pin tip must protrude the breech face and move freely back and forth under energetic spring force. NOTE: For ease of pistol assembly place the safety "ON." RECOIL SPRING AND GUIDE LUBRICATION: Wipe or brush clean the spring and guide. Lightly oil the guide rod. Wipe the spring clean only with an oily cloth. FRAME CLEANING AND LUBRICATION: With a CLP gun oil soaked cloth or bristle brush, thoroughly clean all areas covered with gunpowder residue and field dirt. Brush out the magazine well using the bristle bore brush only In hard to reach areas use pipe cleaners or cotton swabs. Wipe clean and lightly lubricate rails and moving parts. With a few drops of oil and parts movervient to insure oil penetration, particularly lubricate the disassembling latch, magazine catch release button, slide stop, trigger system, hammer, sear, and the levers in front of the hammer. NOTE: For ease of pistol assembly make sure the hammer is fully-lowered and the disassembling latch in take-down position, its wing pointing straight down. MAGAZINE CLEANING AND CARTRIDGE ROTATION: Be sure to thoroughly clean the magazine(s). After cleaning, wipe with a lightly oil moistened cloth. NOTE: If the pistol is carried chamber and/or magazine loaded, it is important to avoid that the chamber round (due to repeated loading and unloading) and the top five cartridges in the magazine (due to vibration striking against the magazine taper guide ribs) are slightly indented, that the chambered round together with rounds in the magazine(s) be periodically inspected and position rotated during the after cleaning reloading. This to insure that particular cartridges do not get damaged to such an extent that they may cause malfunctioning. AFTER FIELD STRIPPING ASSEMBLY: Assemble by following the field stripping procedure in reverse order. It is advisable to pay attention to the following points: • Safety engaged "ON." • The barrel should rest perfectly flush against the slide (the extractor must lodge in its barrel groove). • The locking block lugs must be in the slide's locking lug shoulder slot (the locking block plunger must protrude from the rear barrel lug). 14
-
 1
1 -
2
-
3
-
4
-
5
-
6
-
7
-
8
-
9
-
 10
10 -
 11
11 -
 12
12 -
 13
13 -
 14
14 -
 15
15 -
 16
16 -
 17
17 -
 18
18 -
 19
19 -
 20
20 -
21
-
22
-
23
-
24
 |
 |